** Warning: Unless you are a pattern tester, you have landed here too soon! This pattern is currrently being tested by skilled pattern testers. The final version will be released on Friday, 16 October 2026. You are welcome to give it a shot, but you might spot an error! **
Or, buy pdf now, ad free, for £1.50.
All Rights to Pattern and Photos Reserved by Courtney J Campbell
Disclaimer: Some of the links on this page are affiliate links. This means that if you click on the link and purchase the item, I will receive an affiliate commission at no additional cost to you. As an Amazon affiliate partner, I earn from qualifying purchases. All opinions remain my own.
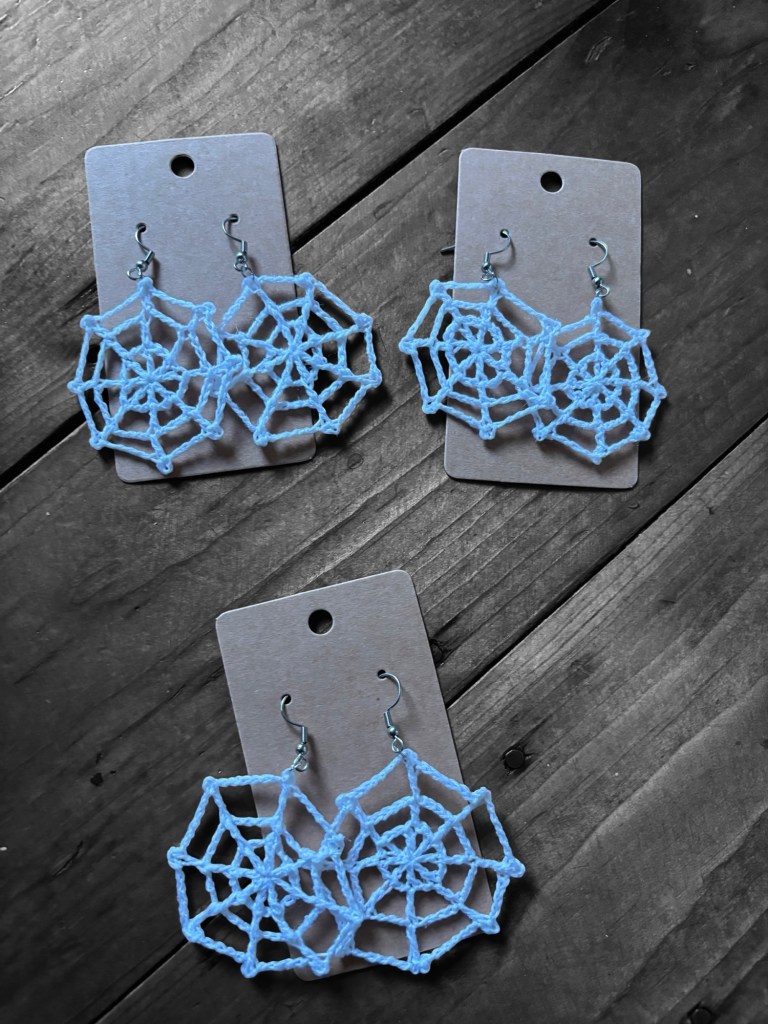
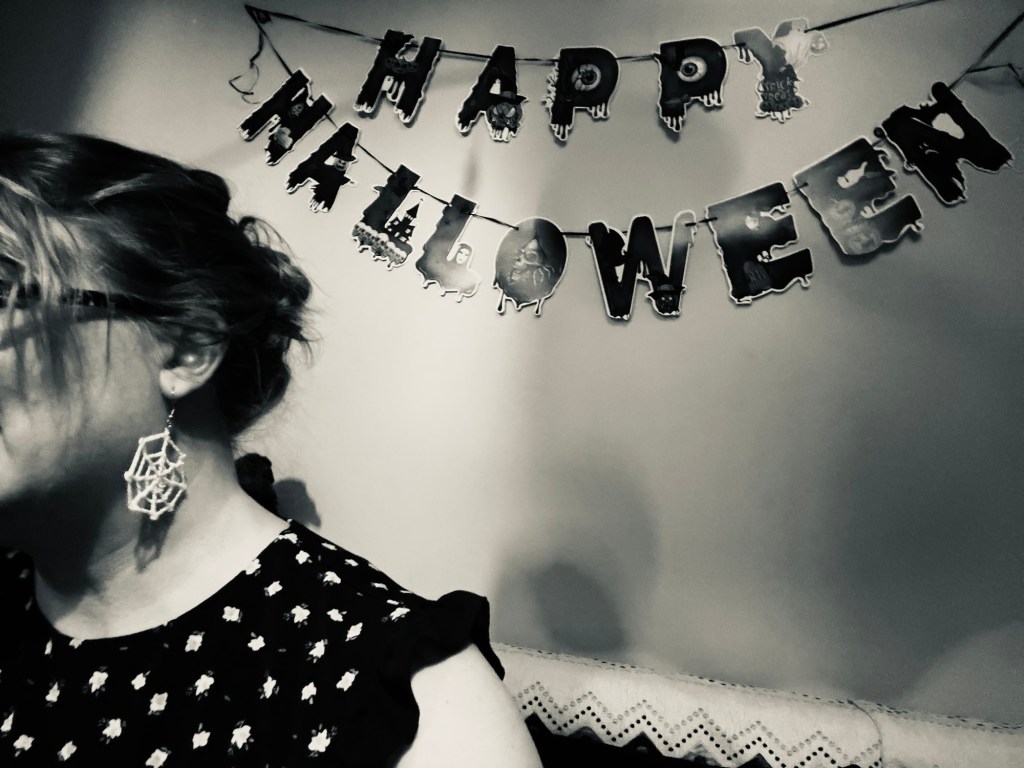
Looking to crochet something that makes your goth pop, your witchy brew, or your deep love of arachnids shine? This Spooky Spiderweb Earring crochet pattern is quick, uses just a bit of crochet thread and earring hardware, and doesn’t require an exceptional amount of skill.
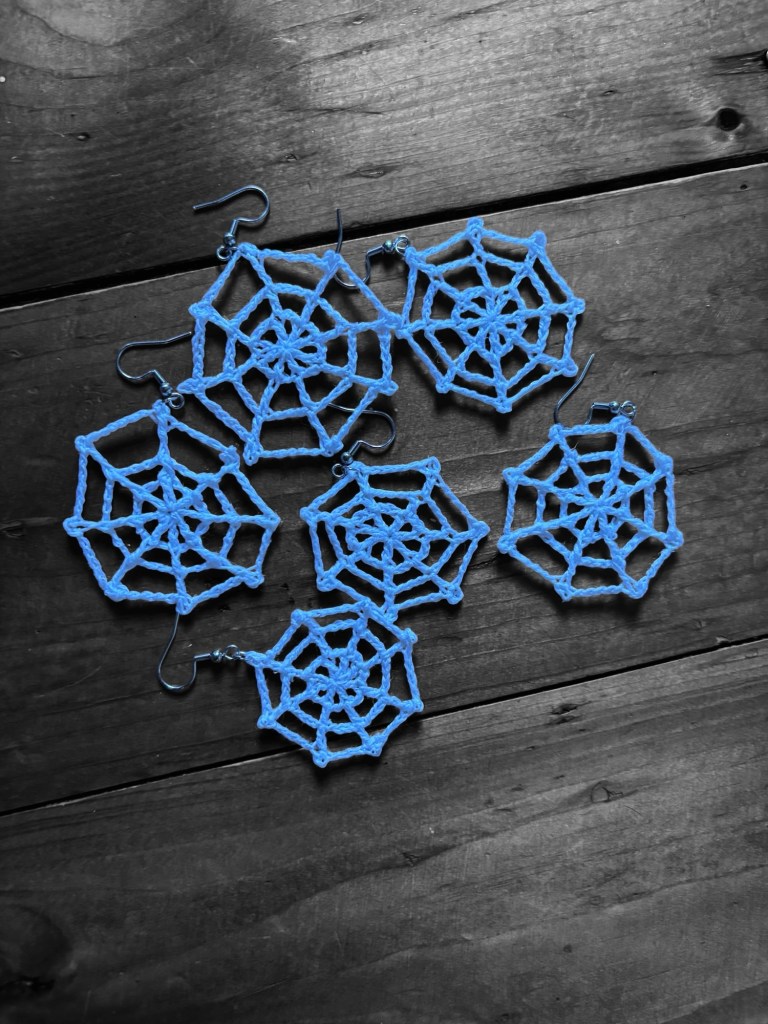
I offer two options for making these earrings. One is slightly easier and not as textured. The other uses front post double crochets to make the web a bit more obvious. I made mine in thread (10 Crochet Cotton), but you could try making it with a fine yarn if you are into larger earrrings, or with dk yarn, if you want a larger web to use as a house decoration.
The beauty of this pattern is that it doesn’t need to be perfect. In fact, if you make them too perfect, they don’t really look quite right. A little bit of wonkiness adds a ton of spookiness. On top of it, a lot of the shaping is done as you pin the earrings to the blocking mat. I made several versions of these with more or fewer chains to see which I liked best. The truth? They all come out pretty much the same after the stiffener dried. So, if you want to do three chains instead of two as your starting double crochet, it won’t really change much. You do you, boo. Boo!
The Pattern
To complete this project, you will need to know how to:
- Chain
- Start a project in the round
- Work in the round
- Do a double crochet
- Do a front post double crochet
- Do a frront post single crochet
- Slip stitch
- Fasten off
- Weave in ends
- Block and stiffen
- Fasten findings and earring hooks
Difficulty level: Beginner – pattern uses chain (ch), double crochet (dc), slip stitch (sl st), front post double crochet (fpdc), front post single crochet (fpsc), picot, a magic ring (mr). Stitch count is included at the end of the line for each found.
Finished size:
With a 1mm hook and number 10 cotton, my earrings (without hook and finding) came out to 2 inches, or roughly 5 cm, across. Working with a .7mm hook, they came out slightly smaller — around 1.75 inches, or slightly under 4.5cm, across. Your length with hook will depend on your findings and hook.
Materials:
- Cotton crochet thread (size 10). I am a fan of Aunt Lydia’s or Golo.
- Crochet hook – I suggest a metal hook between .7 and 1mm in size. This very affordable set is my favorite for all thing crochet lace and filet. I suggest wrapping some clear tape around to cover the size or it rubs off.
- Sewing needle for sewing in ends.
- PVC glue, starch, or stiffening spray. Aleene’s Stiffen Quick spray is my favorite for small items like this.
- Blocking mats and stainless steel pins for blocking. Alternatively, you can cover a sheet of cardboard with cling film to use as a mat.
- Findings. I am currently using this set. This kit has findings and pliers.
- Earring hooks. Because so many people have nickel allergies and silver will eventually stain the cotton, I suggest getting stainless steel hooks from a reputable Etsy vendor. I get mine from JewelleryByHoneybee here.
- Pliers. This kit has findings and pliers.
- Optional: Magnifying glass with light. From one day to the next, my eyes got old and stopped focusing. This item has been a life saver for me.
Gauge: Instead of working a gauge swatch, I suggest measuring the length of the base of your bandana as you go until you reach the desired size. You do not want this to work up tight or it will be too stiff. Instead, seek a tension that creates a flowy feel.
Abbreviations
- magic ring (mr)
- half double crochet (hdc)
- double crochet (dc)
- front post double crochet (fpdc)
- front post single crochet (fpsc)
- skip (sk)
- stitch (st)
- chain (ch)
- slip stitch (sl st)
- space (sp)
NOTES:
Pattern follows US terms.
Numbers in italics at the end of each rnd are total st count. The starting ch 3 or starting fpsc and ch 2 (depending on which version you use and rnd you are on) is included in the st count of the rnd.
Repeat stitches between parentheses/brackets.
The picot is formed when you sc or sl st in either the second ch from hook or the dc just made.
In option (A), the first 3 ch of the starting ch stand in for the starting dc. In option (B), this is true only for the first rnd. In subsequent rnds of option (B), the fpsc and first 2 ch stand in for the first fpdc. You are free to modify this as you wish.
INSTRUCTIONS – Please note that that I offer two options for this pattern simultaneously. The first round is the same for both. The second and third have two options. I indicate with an (A) the simpler option and (B) the option using fpdc. I also offer photos for both options.
Rnd 1: In mr, ch 5, then repeat (dc, ch2) seven times. Join with sl st to third ch of starting ch. Total stitches: 8 dc, 8 ch-2 sp.
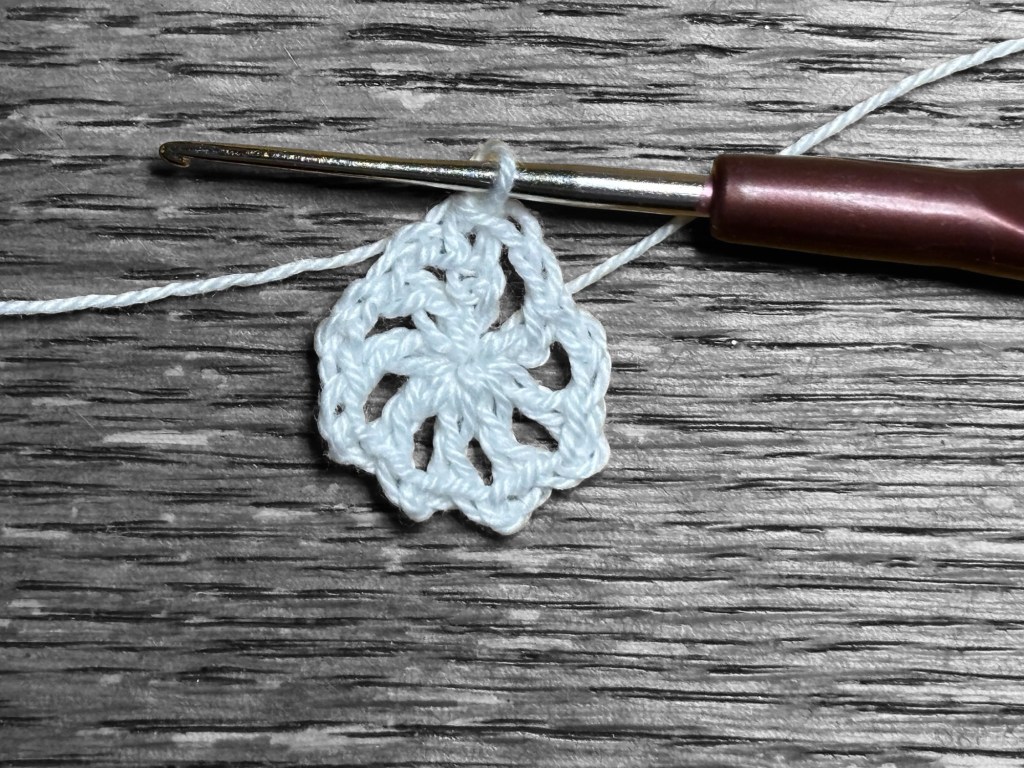
Rnd 2: If version (A): ch 7, then repeat (dc in next st formed by dc of previous rnd, ch 4) seven times. Join with sl st to thrid ch of starting ch. Total stitches: 8 dc, 8 ch-4 sp.
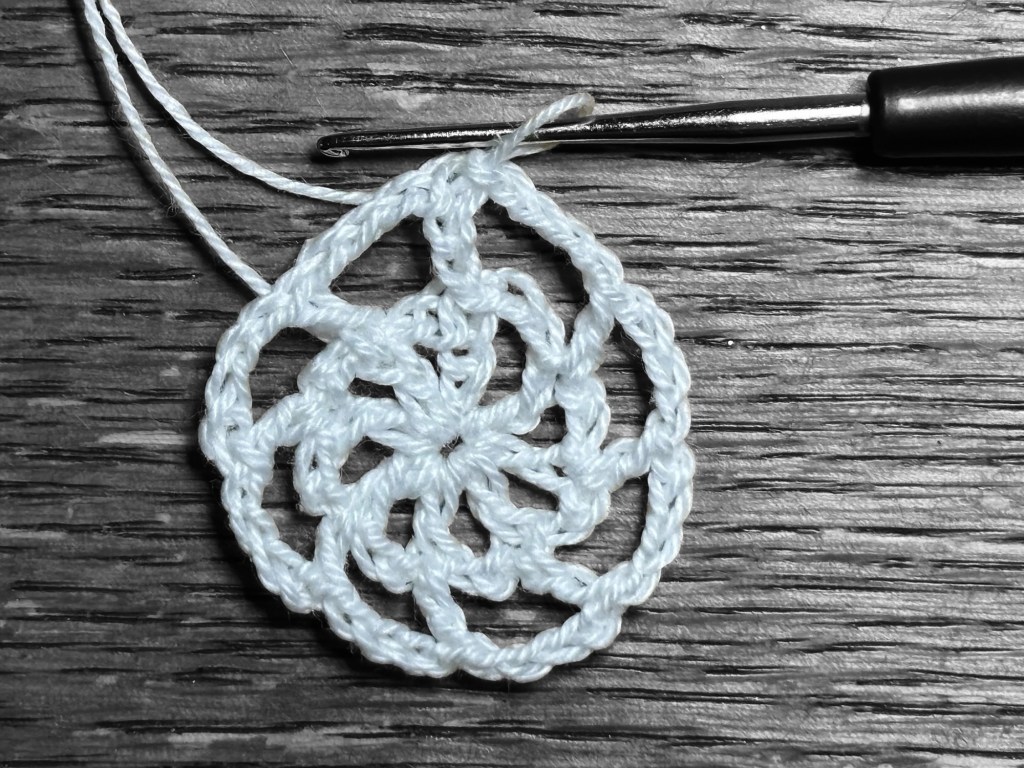
If version (B): fpsc around starting st of first rnd. ch 6, then repeat (fpdc around next post formed by dc of previous rnd, ch 4) seven times. Join with sl st to second ch of starting ch. Total stitches: 8 fpdc, 8 ch-4 sp.
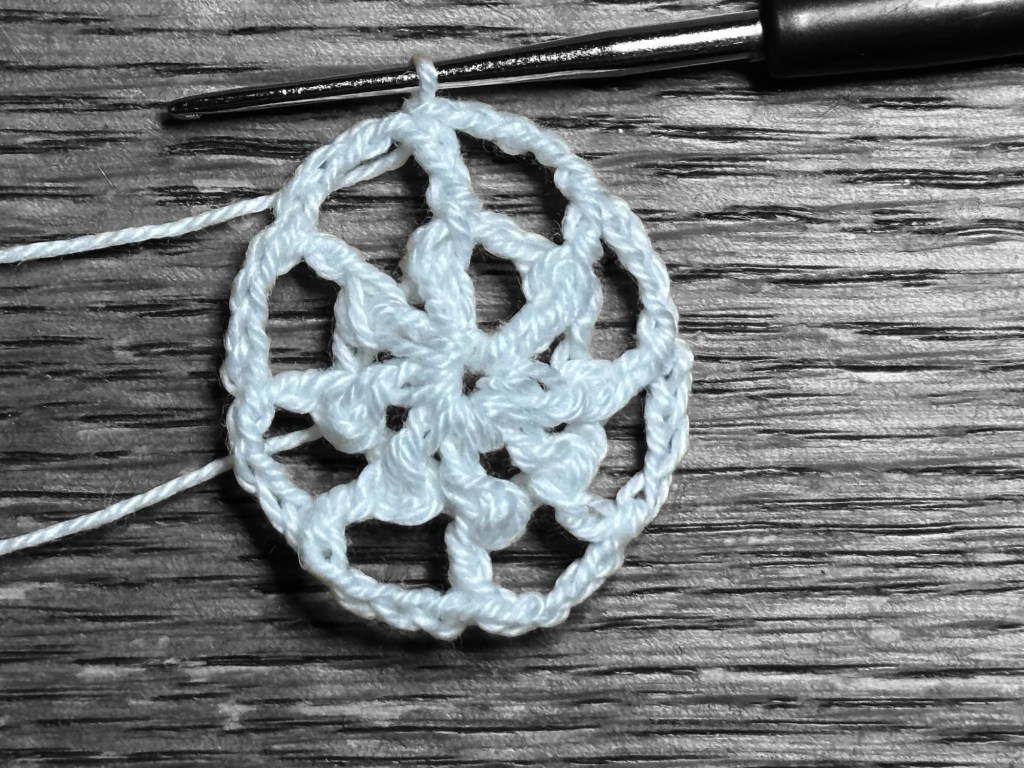
Rnd 3: If version (A): ch 5, then either sl st or sc (depending on which is easier for you) in the second ch from hook. Ch 5, then repeat (dc in next st formed by dc of previous rnd, ch 2, then either sl st or sc in dc just formed, ch 5) seven times. Join with sl st to the same st as beginning picot st. Total stitches: 8 dc, 8 picot, 8 ch-5 sp.
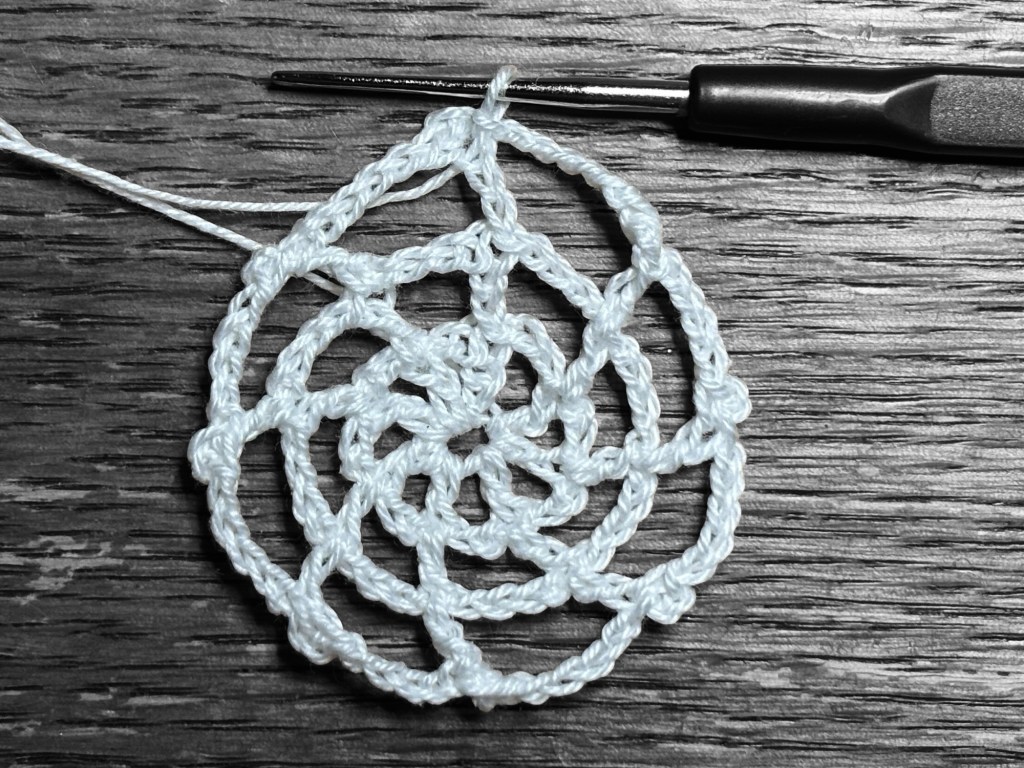
If version (B): fpsc around starting st of first rnd, ch 4, then either sl st or sc (depending on which is easier for you) in second ch from the hook. Ch 5, then repeat (fpdc around next post formed by fpdc of previous rnd, ch 2, then either sl st or sc in top of fpdc just formed, ch 5) seven times. Join with sl st to the same st as beginning picot st. Total stitches: 8 fpdc, 8 picot, 8 ch-5 sp.
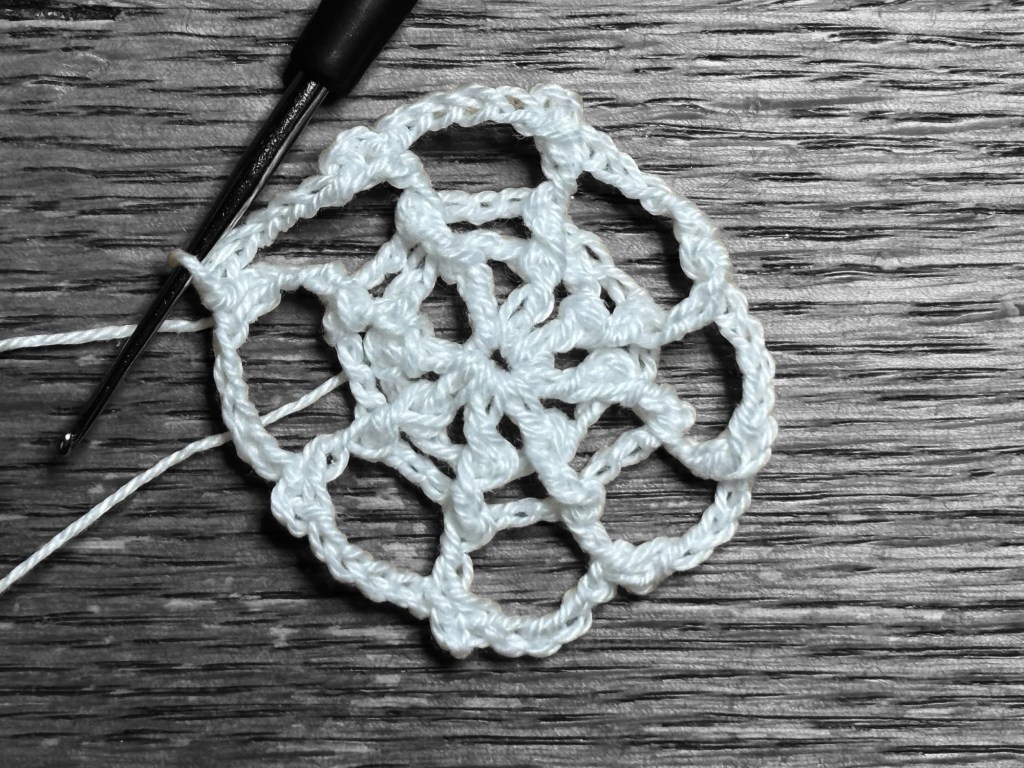
Fasten off. Weave in ends, using a sewing needle.
Apply stiffener of your choice and pin to blocking mat by placing a pin in each picot and stretching to shape. Dry overnight.
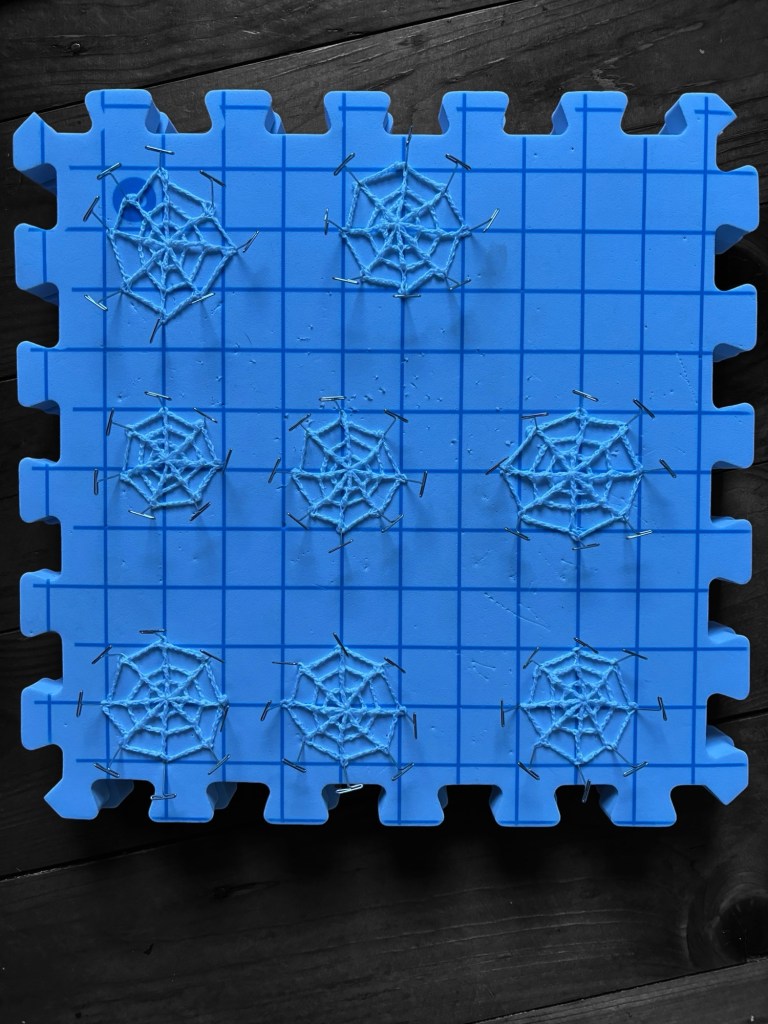
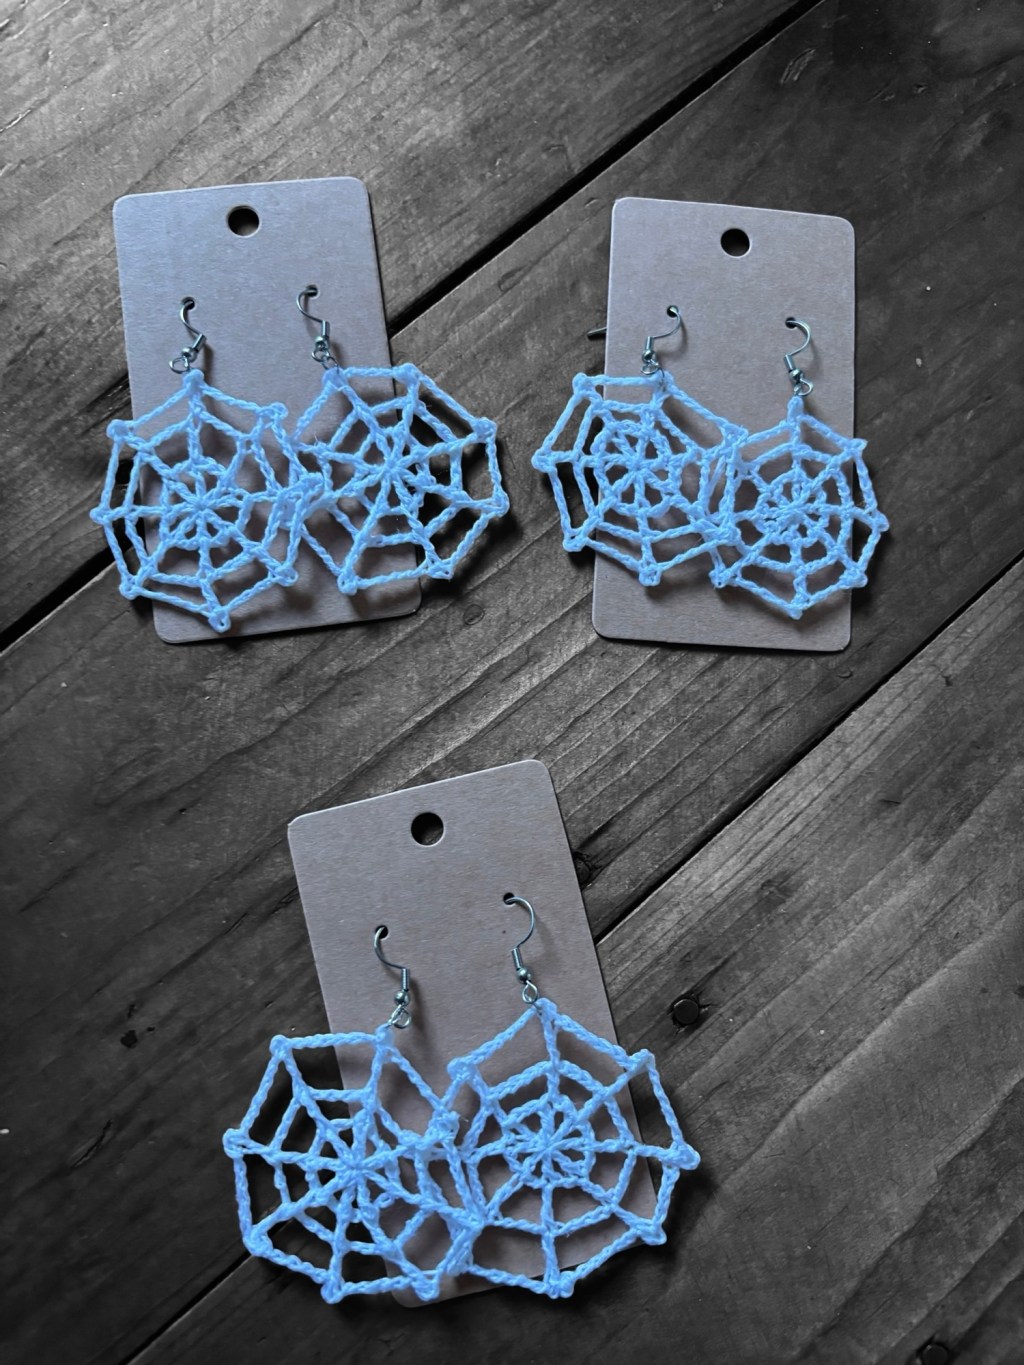
Add findings and hooks.
Now, wear them, gift them, or sell them!
I’d love to see your finished item! Please add a project page to Ravelry and tag @FiveStitchesCrochet on social media. Share it in a comment below and don’t forget to subscribe to receive my latest free patterns!
Thank you to the amazing crocheters who tested this pattern and provided valuable feedback. I am so blown away by the work you have done and humbled by your support!
Thank you!
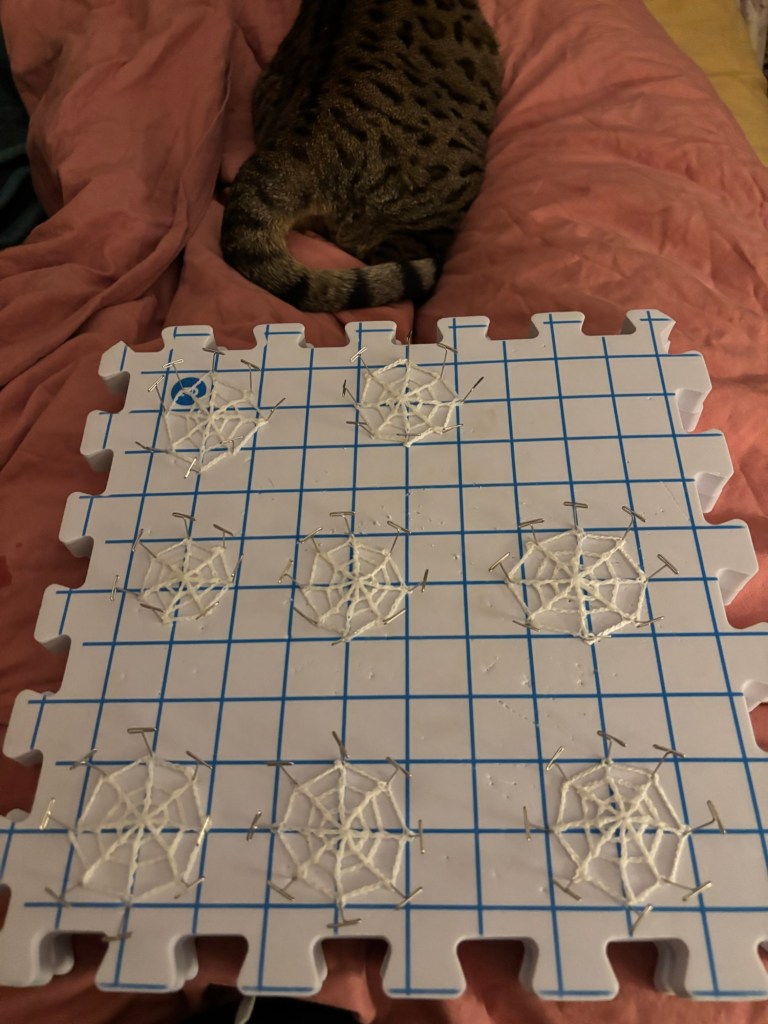
And, of course, enjoy the obligatory cat crochet photo, this time, featuring Kiki’s booty.
All Rights to Pattern and Photos Reserved by Courtney J Campbell




Leave a Reply