Or, buy pdf now, ad free, for £1.50.
All Rights Reserved by Courtney J Campbell
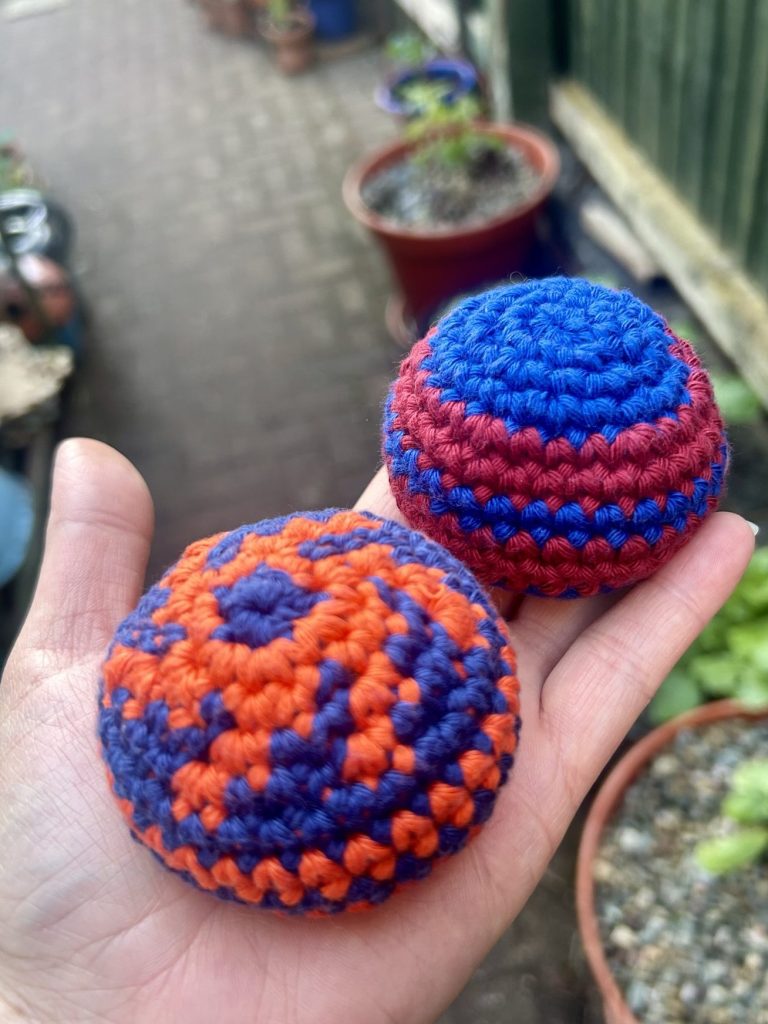
I was really excited when I heard that hacky sacks have made a comeback. Yes, they are very easy to make. But, also, as a proud member of Gen X, I was an avid amateur hacky sack player. I absolutely loved getting a circle together for a good hack session.
A hacky sack, like my Snowball Fight pattern, is just a stuffed sphere. But, of course, it is made to a certain size. I noticed that most patterns currently circulating produce foot bags that are much bigger than what we used back in the day. So, I consulted standards. According to Wikipedia, a hacky sack is usually between 2.5 and 3 inches in diameter and weighs between 40 and 65 grams.
The crochet patterns I tried produced foot bags at the high end of the sizing standard at about 3 inches in diameter, but there is a catch: foot bags need to be worn in. Whenever we would get a new one, we’d spend a good amount of time fidgeting with it until it loosened (this was as true for the paneled leather sacks as for the crocheted or knit sacks). A crocheted hacky-sack style foot bag made to 3 inches or more in diameter will loosen and get bigger with time.
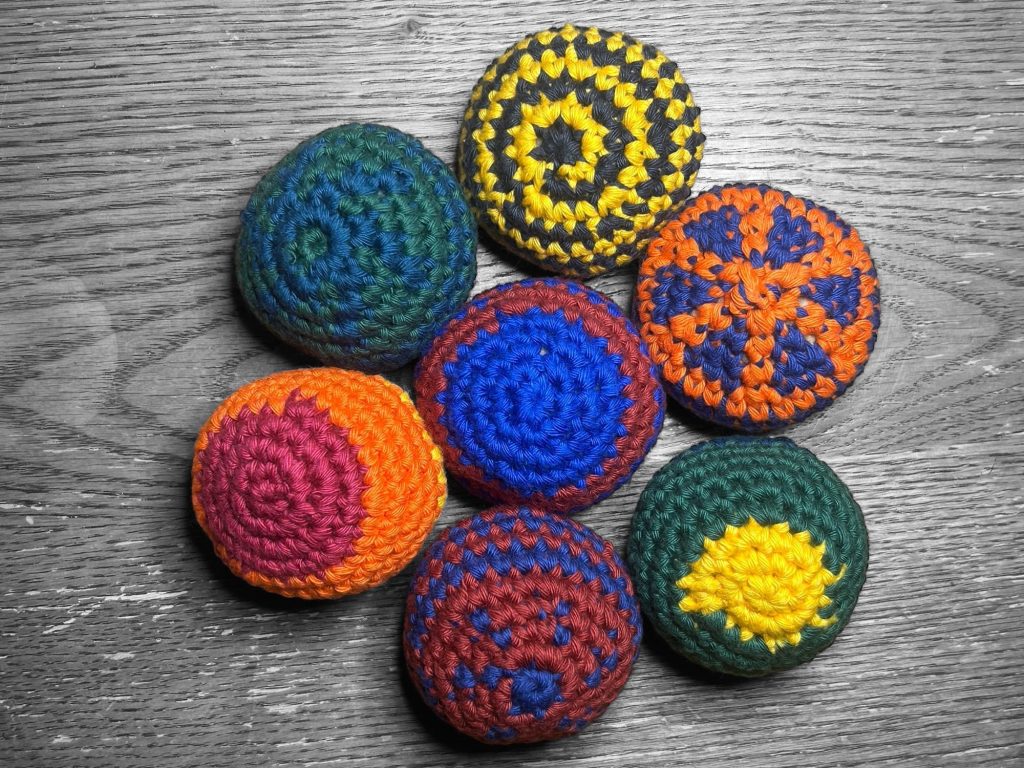
So, I adjusted the size to make it a bit smaller — my pattern works up to 2.5 inch diameter. With the recycled plastic pellets I used, it weighs on the light side of the standard at 45 grams. It is hard to get it much heavier with plastic pellets, but you could add sand if you want your foot bag to be a bit heavier.
These are really easy to make, are a ton of fun to play with, and, according to Etsy, are selling like hot cakes. So, give it a try and let me know in the comments how it goes for you!
To complete this project, you will need to know how to:
- Chain
- Start a project in the round
- Increase (work two stitches in the same space)
- Decrease (work a stitch across two spaces)
- Do a single crochet
- Finish off
- Weave in ends
- Change colors (optional)
- Carry colors (optional)
Difficulty level: Beginner to Intermediate – pattern uses chain (ch), single crochet (sc), slip stitch (sl st), increasing (inc), decreasing (dec), and working in the round (rnd). Stitch count is included at the end of the line for each round.
Finished size: roughly 2.5 inches in diameter
Materials:
- Light worsted or heavy DK cotton (roughly 12-15 grams per hacky sack). I used Hobbii Rainbow 8/8 cotton. Acrylic will work up smaller and will stretch out really quickly!
- Filling: I use Poli Recycled Plastic Pellets (roughly 30-33 grams). Some people use uncooked rice, beans, or popcorn kernels. These will work well short term, but since hacky sack is usually played outside, the foot bag will inevitably get wet, leading to a potential issue with mold.
- Nylon footy (Also called “try socks” for trying on shoes)
- Needle and thread for sewing sock closed
- 3.5 mm crochet hook
- Stitch marker to mark first st of each round
- Yarn needle for closing sack and sewing in ends
Gauge: Instead of working a gauge swatch, I suggest measuring the diameter (across) of your foot bag after round 9. It should be around 2.5 inches. If it is too big, use a smaller hook. If it is too small, size up or add another increase round.
Abbreviations
- round (rnd)
- magic ring (mr)
- single crochet (sc)
- stitch (st)
- chain (ch)
- increase (inc)
- decrease (dec)
NOTES:
Pattern follows US terms.
Numbers at the end of each round are total st count.
Repeat stitches between parentheses/brackets.
The foot bag is worked in continuous rounds. You do not join at the end of the round, but instead, place a stitch marker in the first st of each rnd so that you know where one rnd ends and another begins. Move stitch marker up at the end of each round.
If you are working a color pattern, I suggest carrying the yarn color not being used — it adds additional structure to the foot bag. Also, tie your yarn together securely and weave in your ends with care. This item will suffer a lot of wear and tear!
In the photos, I work the increases and decreases in orange to make them more visible for you and also to make a fun design.
Rnd 1: In mr, work 6 sc. Close mr, but do not join. (Total stitch count for round: 6 sc)
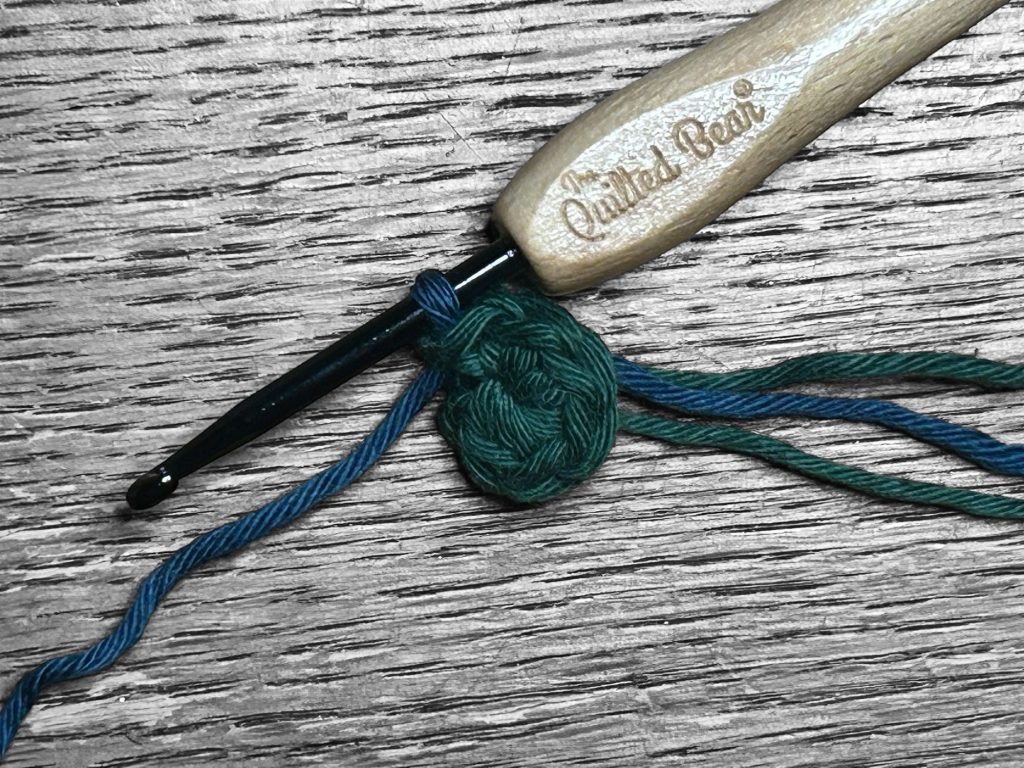
Rnd 2: Inc in each st around. (12 sc)
Note on color: I encourage you to try some fun color patterns. For the sake of clarity in this pattern, I changed color for the increases and decreases, always changing colors in the last yarn over/pull through of the stitch before the new color starts. But you can do this in whatever way you wish!
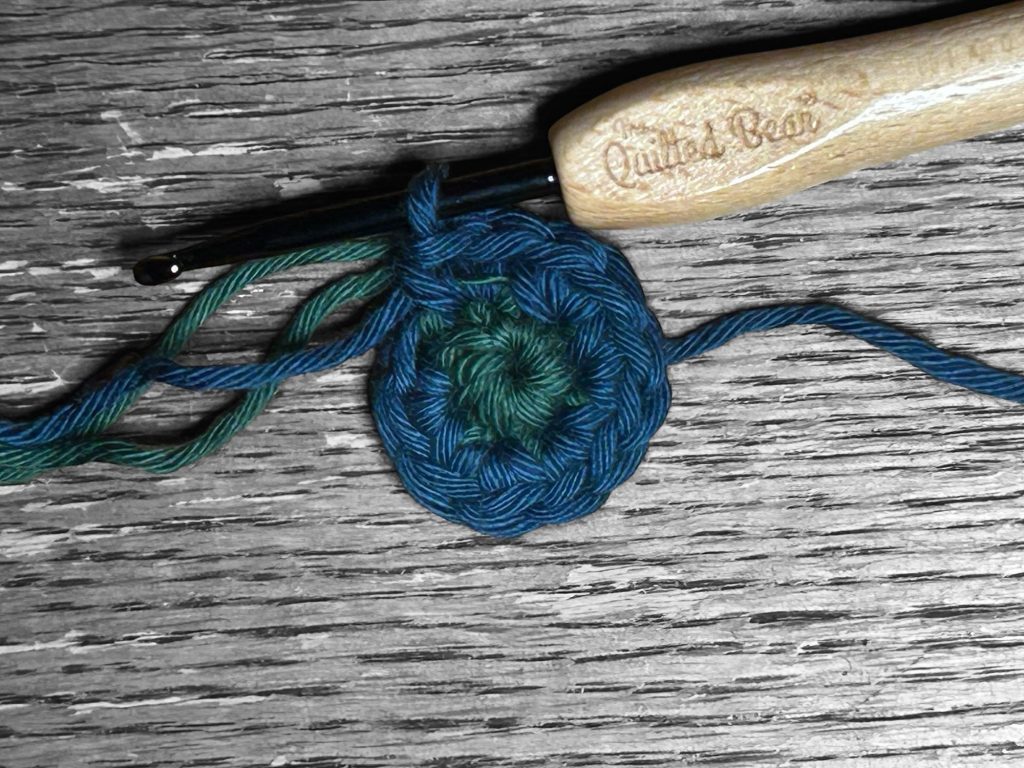
Rnd 3: Repeat (inc, sc) around. (18 sc)
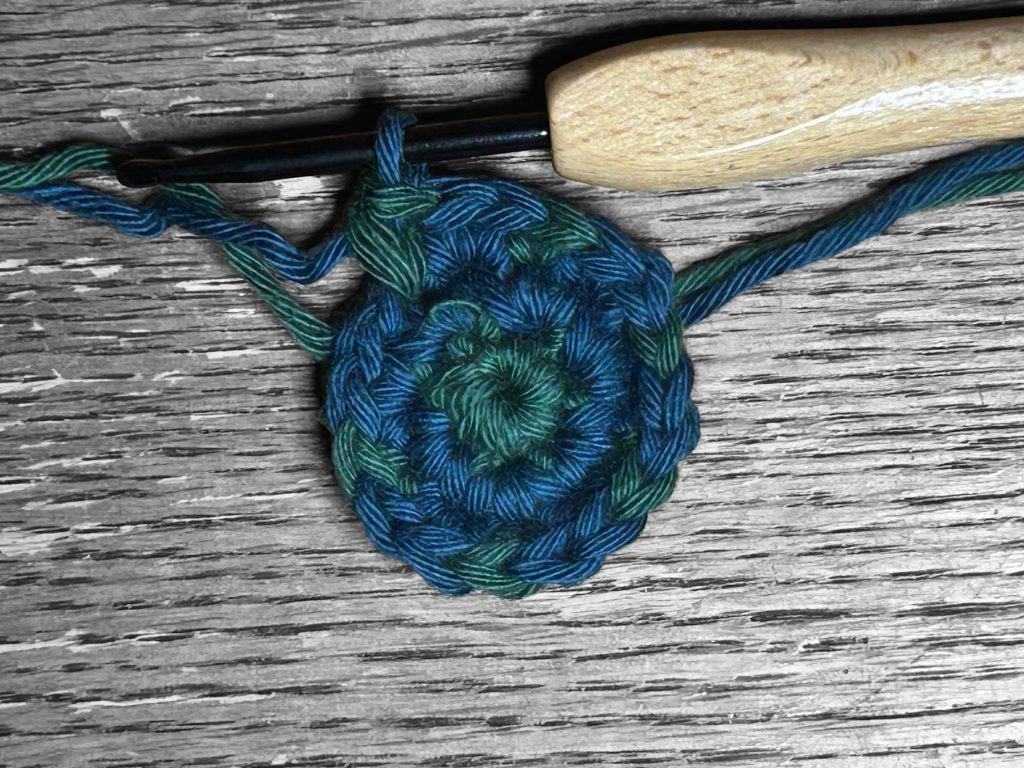
Rnd 4: Repeat (inc, 2 sc) around. (24 sc)
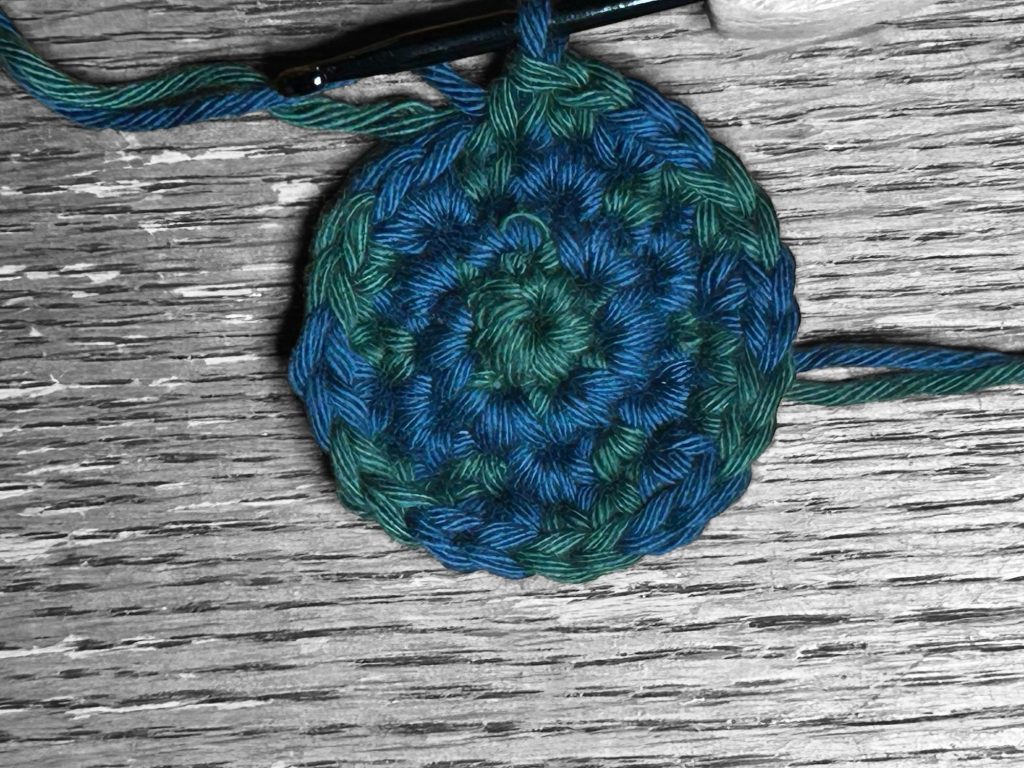
Rnd 5: Repeat (inc, 3 sc) around. (30 sc)
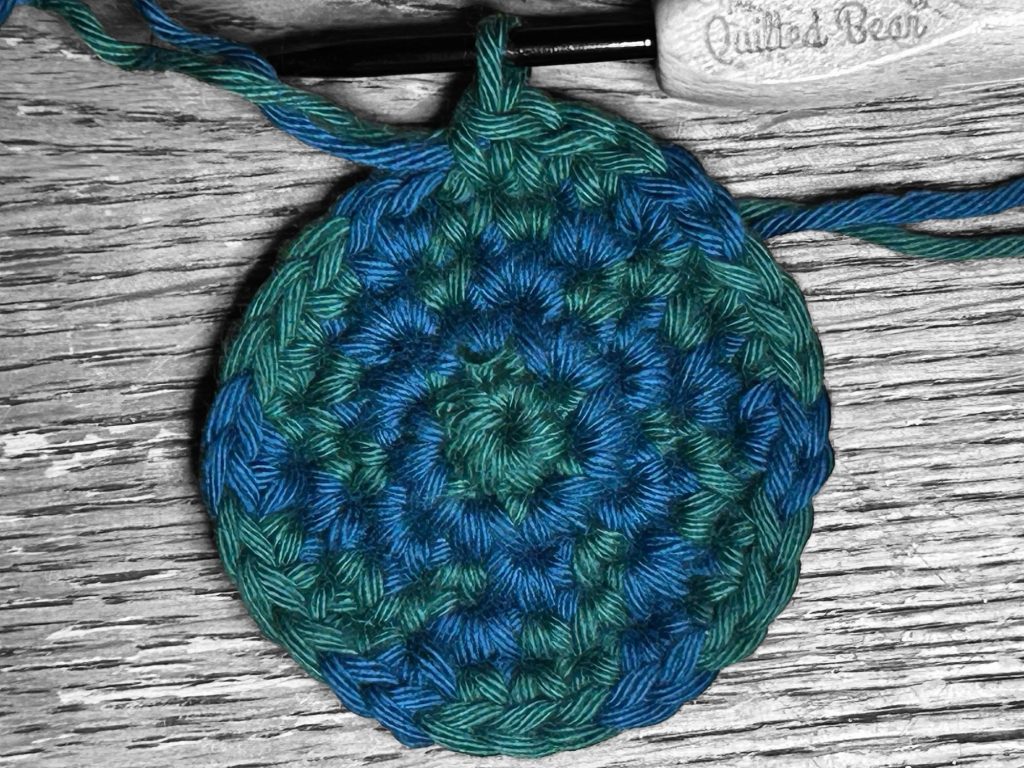
Rnds 6-9: 30 sc around for four rnds.
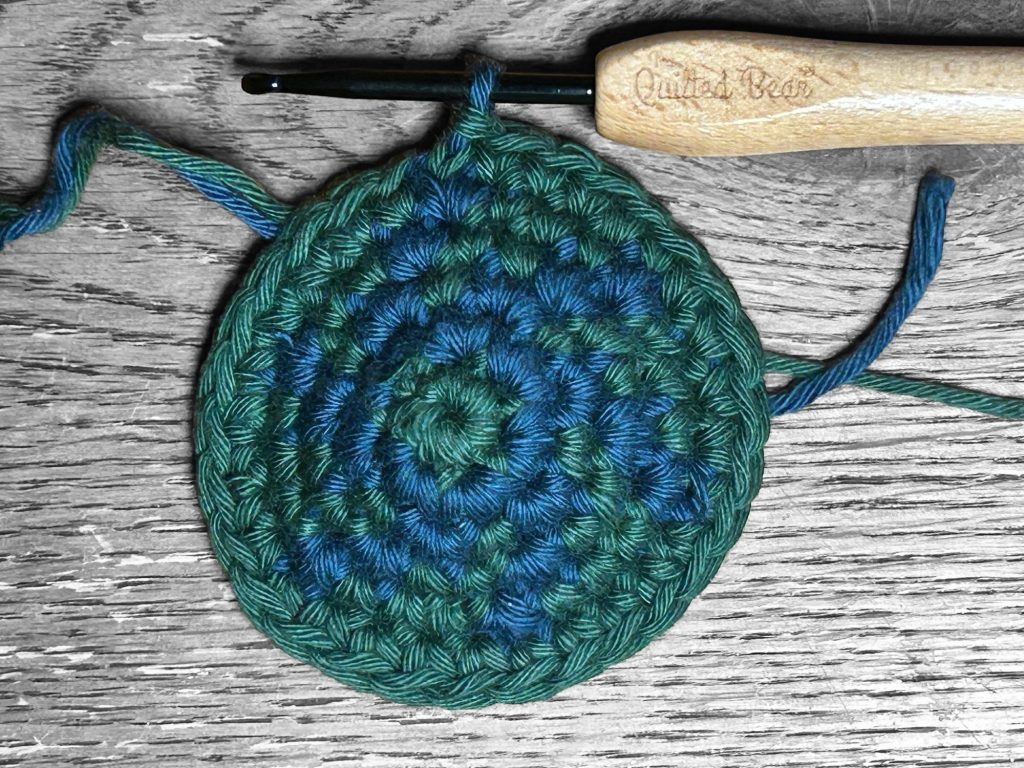
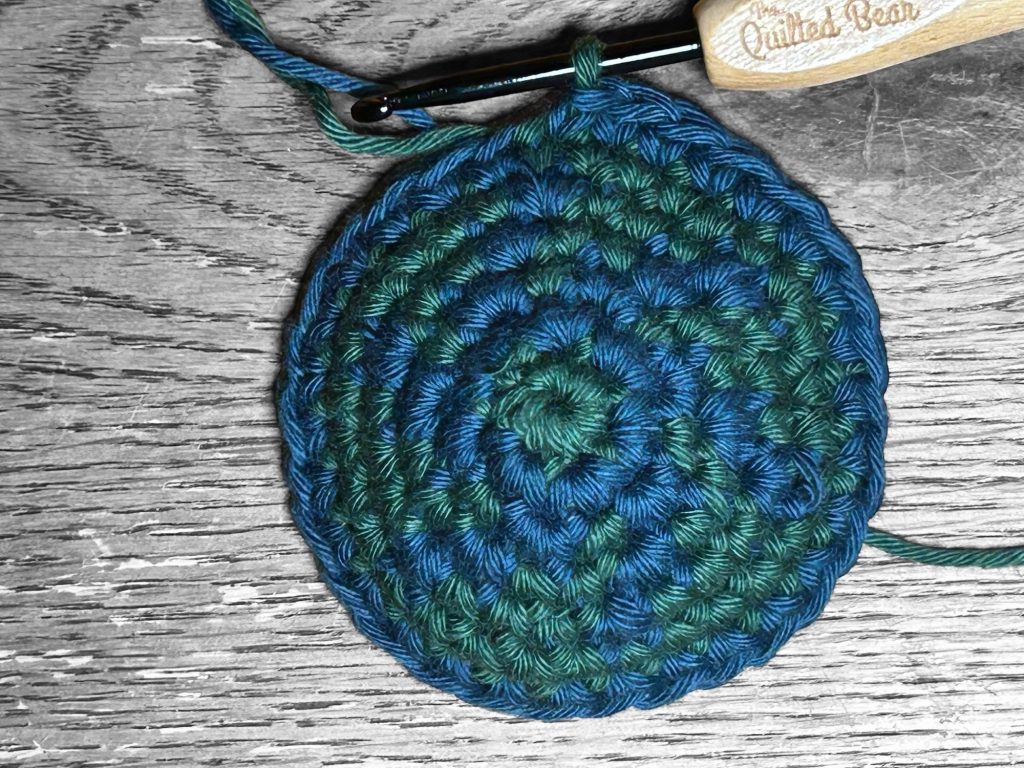
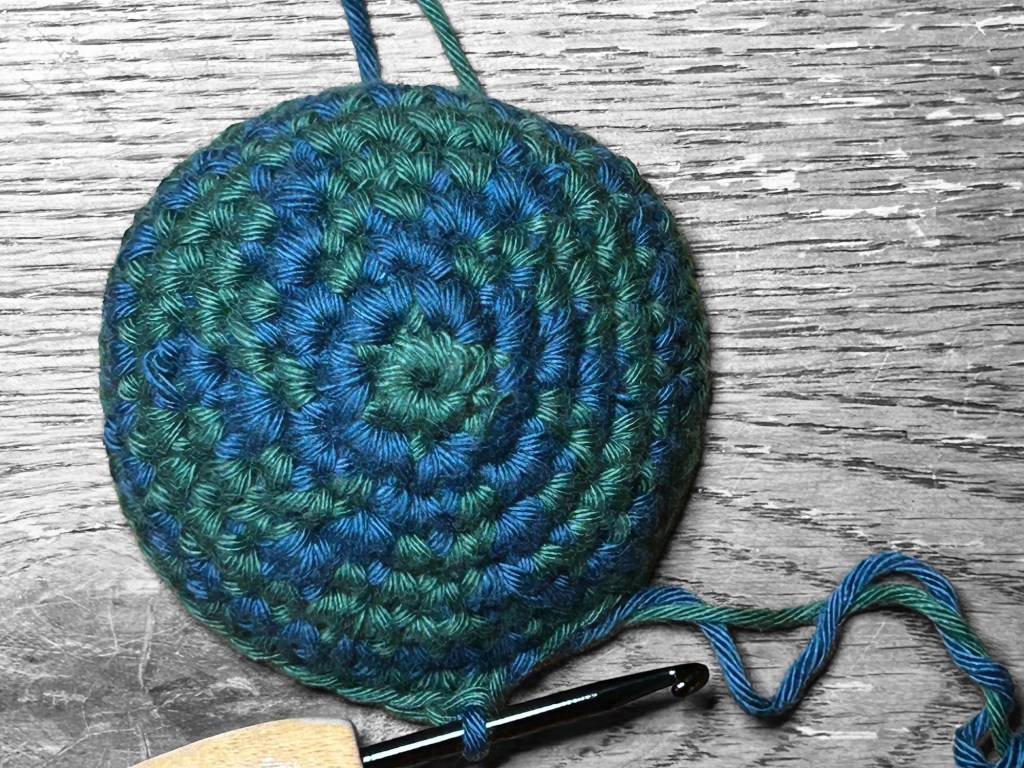
Measure the diameter after round 9. It should be between 2.5 and 3 inches across. If it is too small, you can either change to a larger hook or go back to the end of rnd 5 and add an increase row, repeating (inc, 4 sc) for 36 sc. This would mean that you would also have to add an additional dec row before row 10, repeating (dec, 4 sc) for 30 sc.
Rnd 10: Repeat (dec, 3 sc) around. (24 sc)
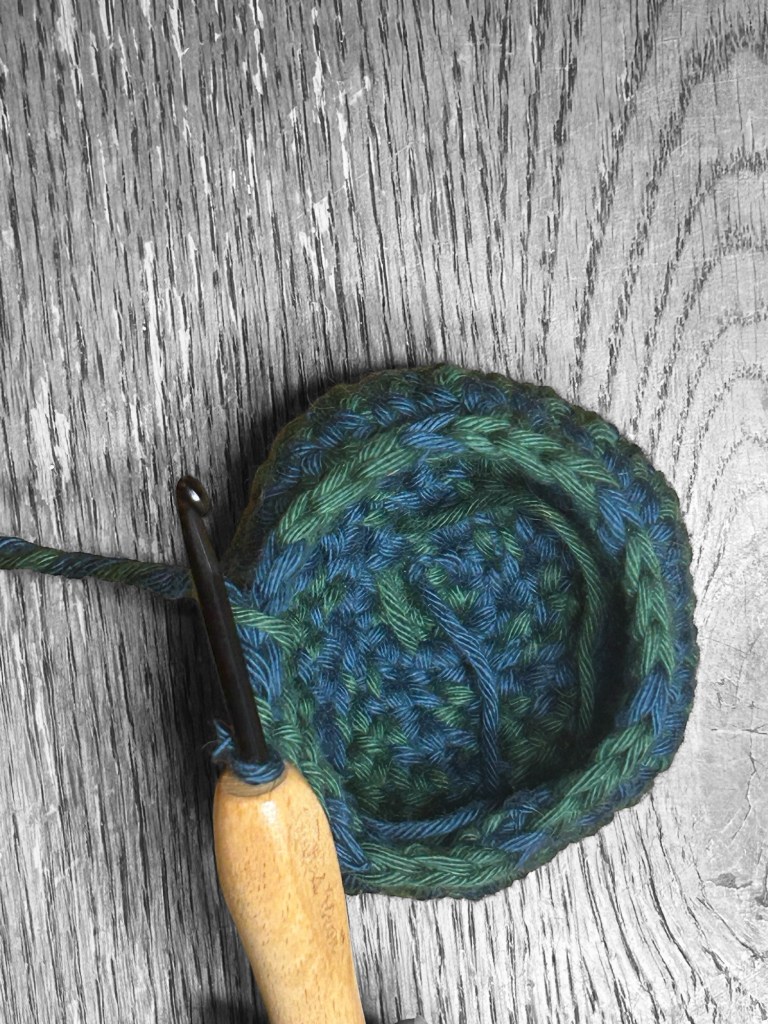
Rnd 11: Repeat (dec, 2 sc) around. (18 sc)
Weave in loose ends from mr and any color changes.
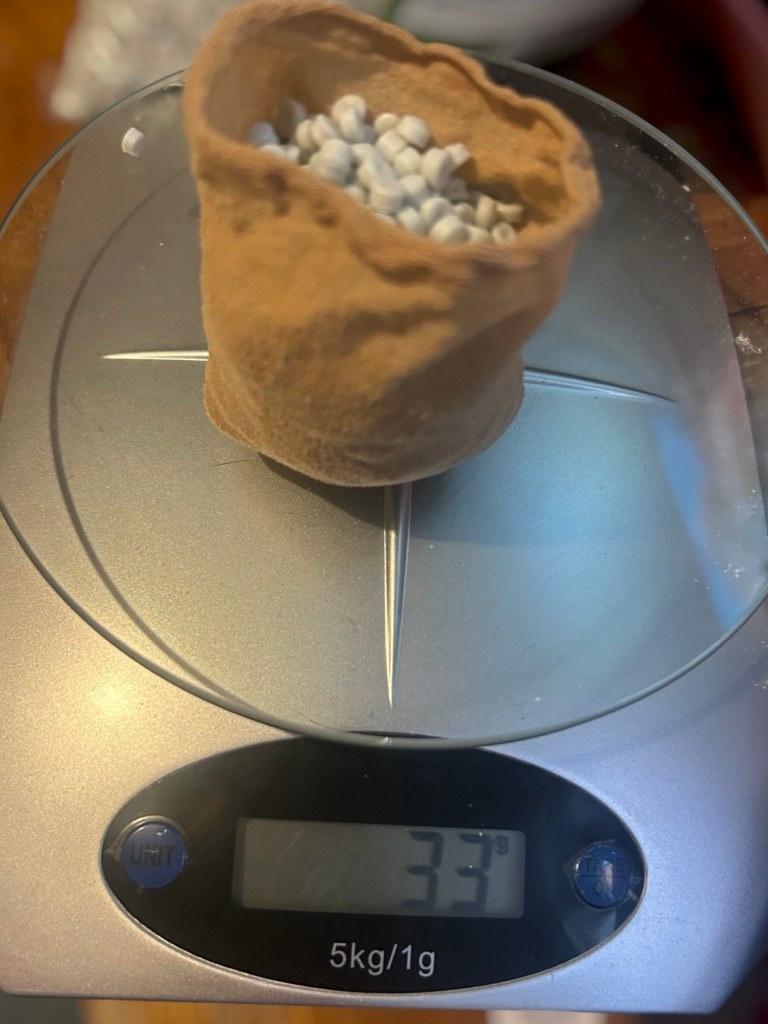
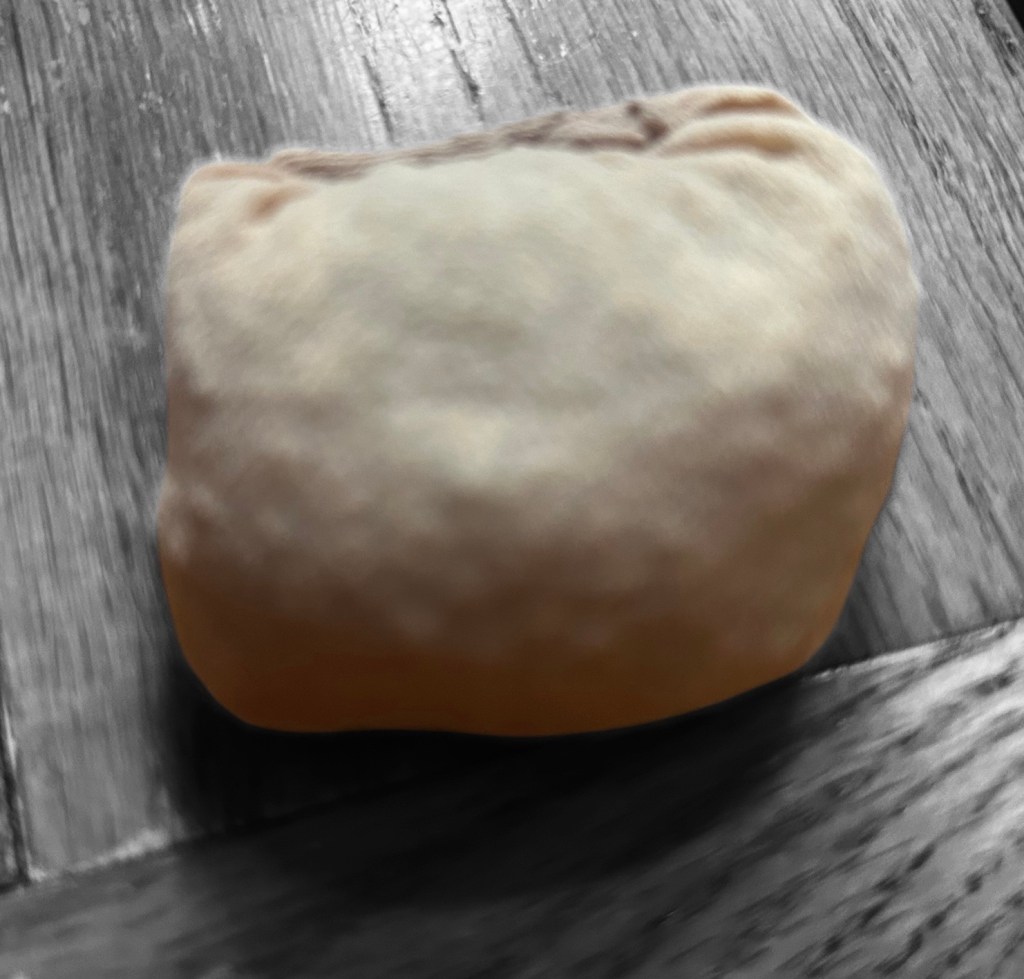
Scoop pellets into nylon sock. I suggest putting in between 30 and 35 grams. Roll the top down and sew the ankle hole closed by hand. I suggest going back and forth to ensure it’s secure. Place the pellet sock inside the sack.
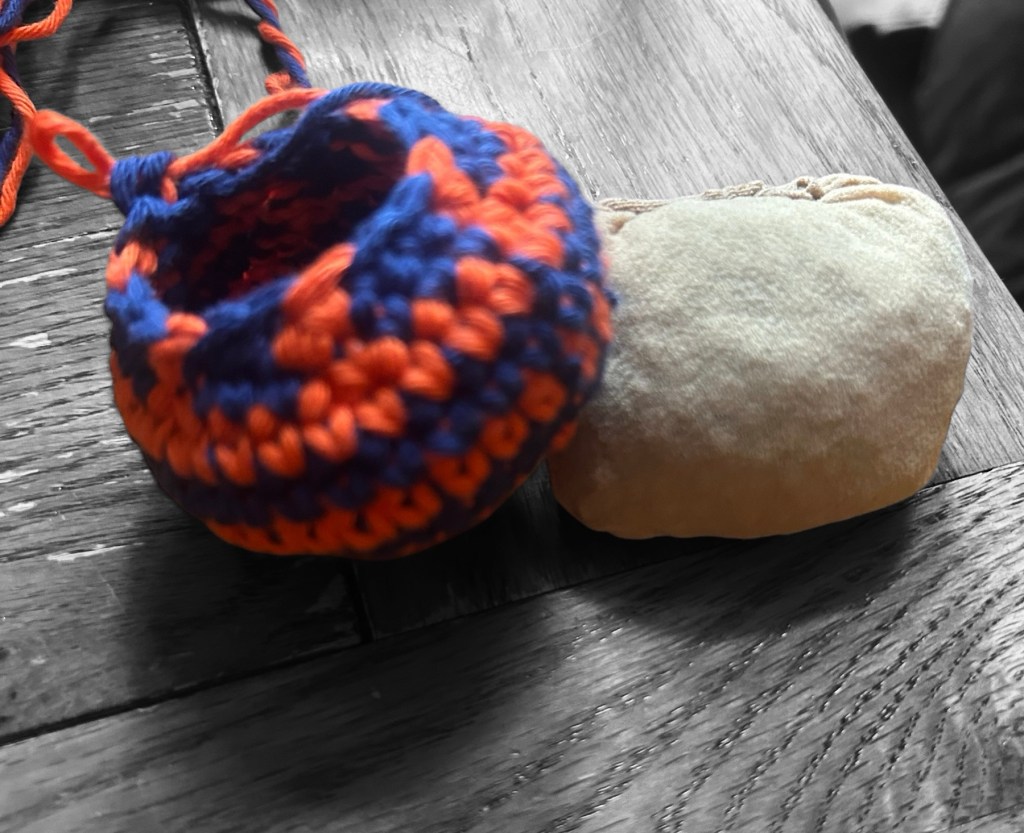
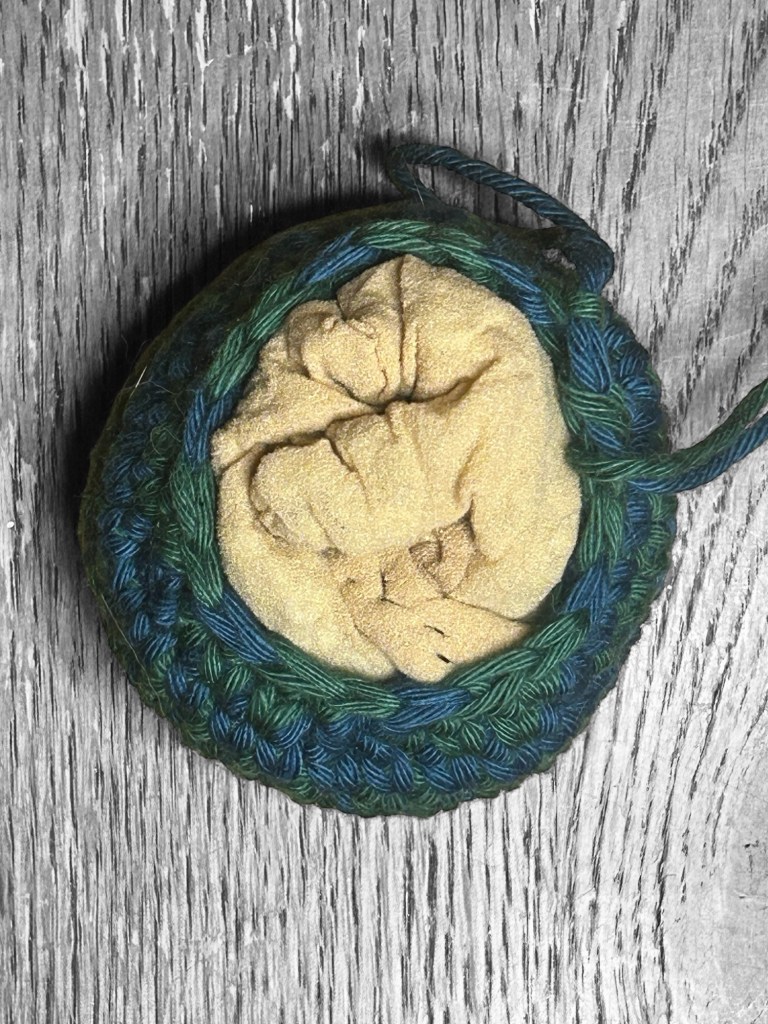
Rnd 12: Repeat (dec, sc) around. (12 sc)
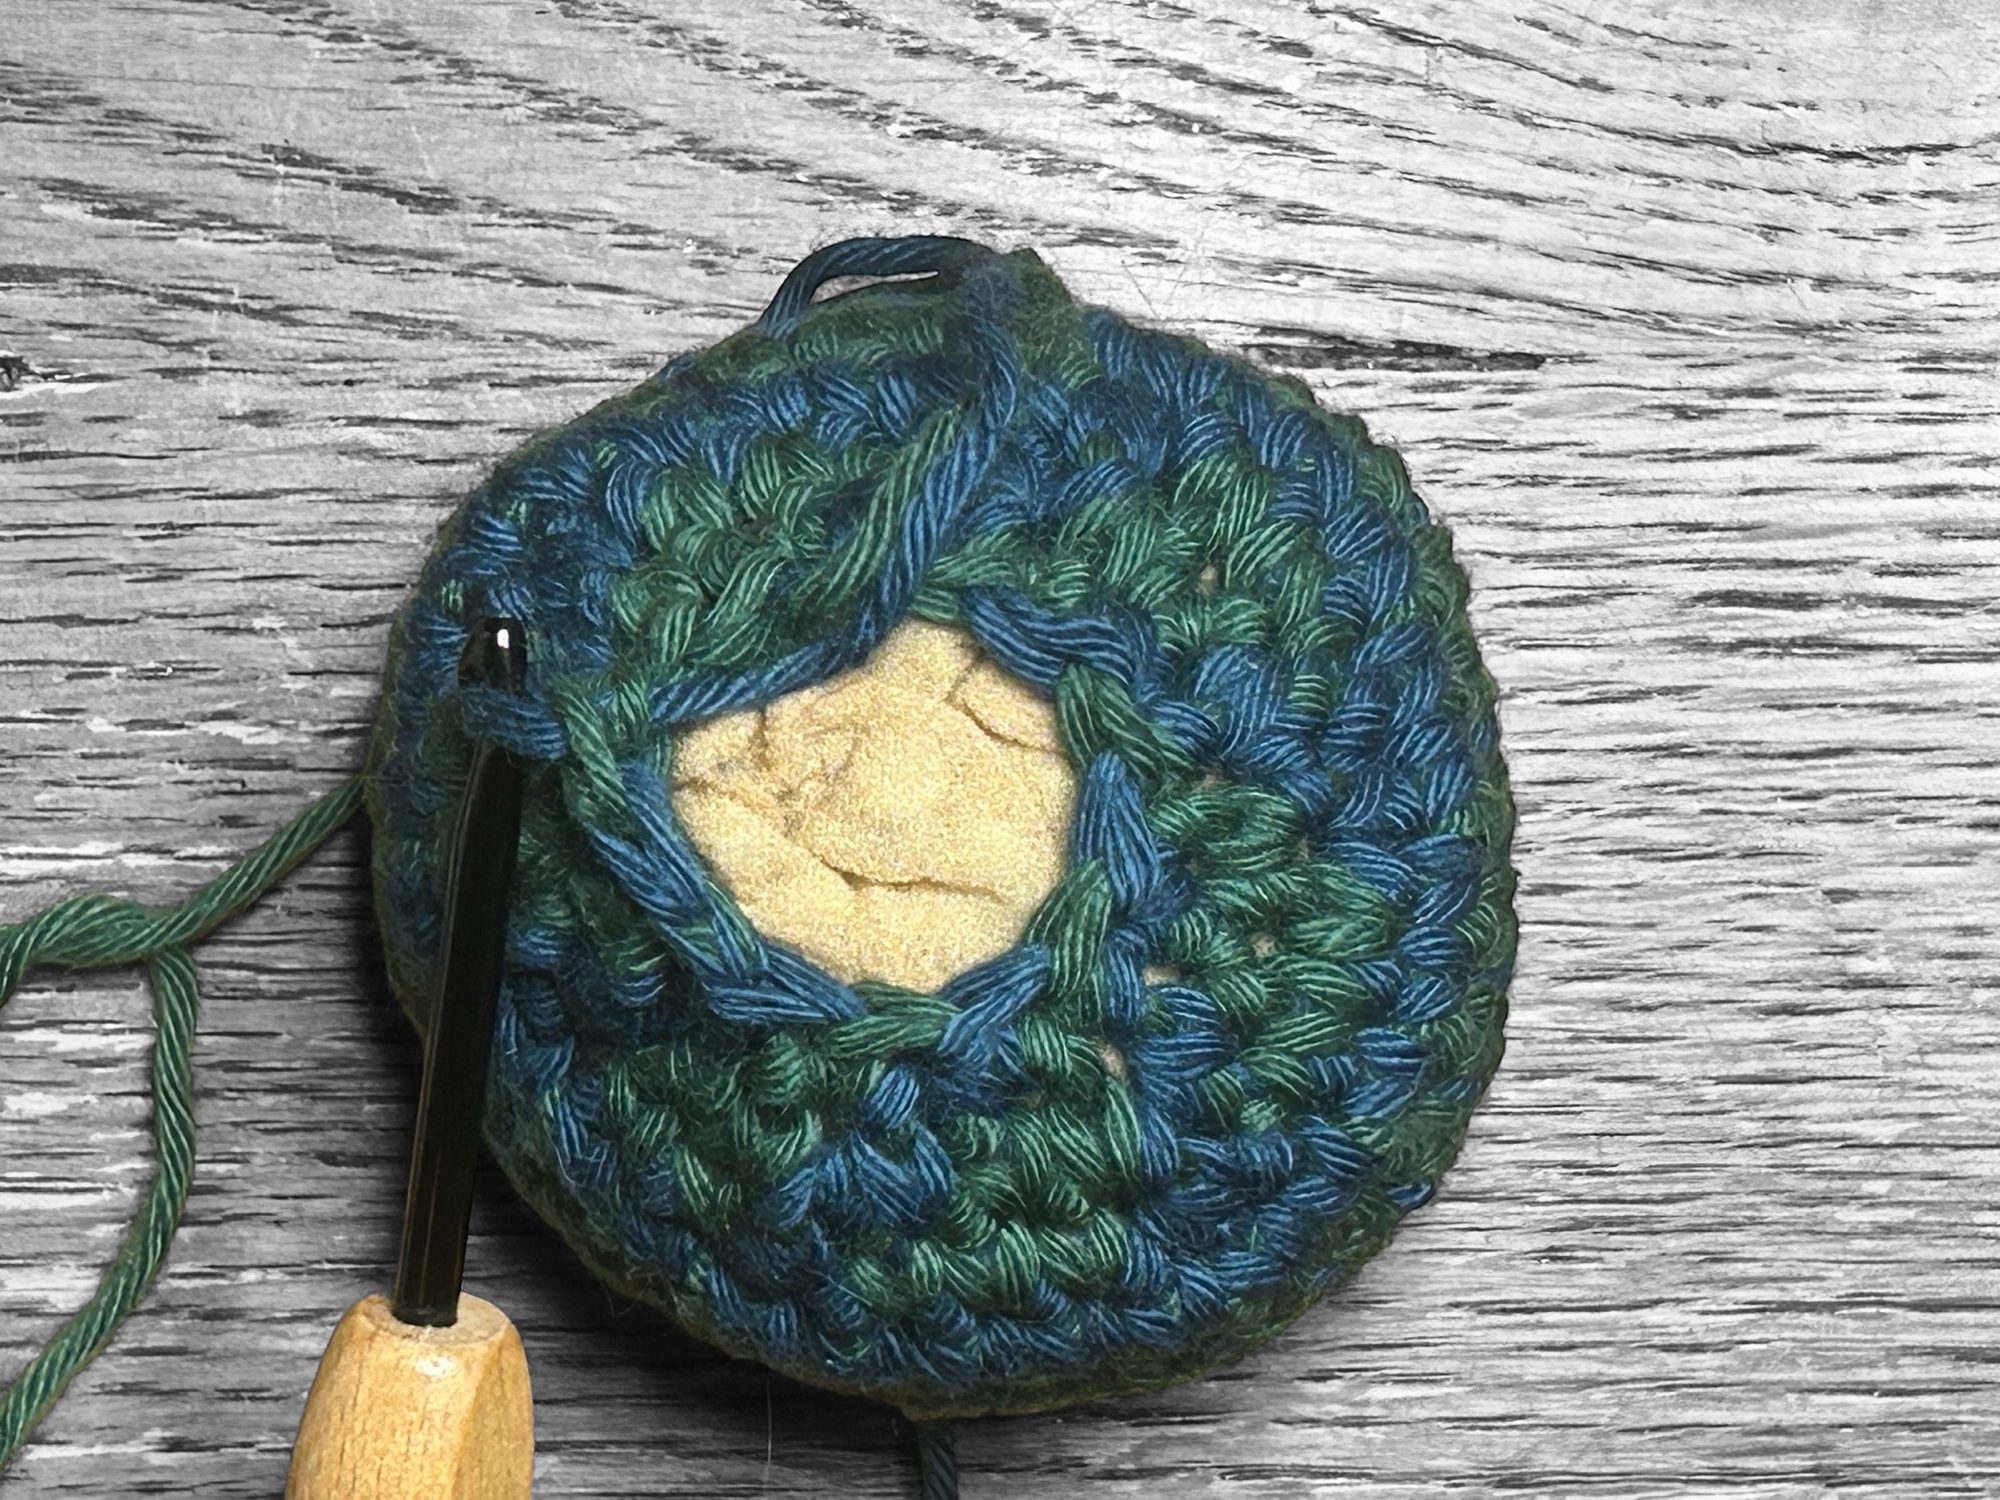
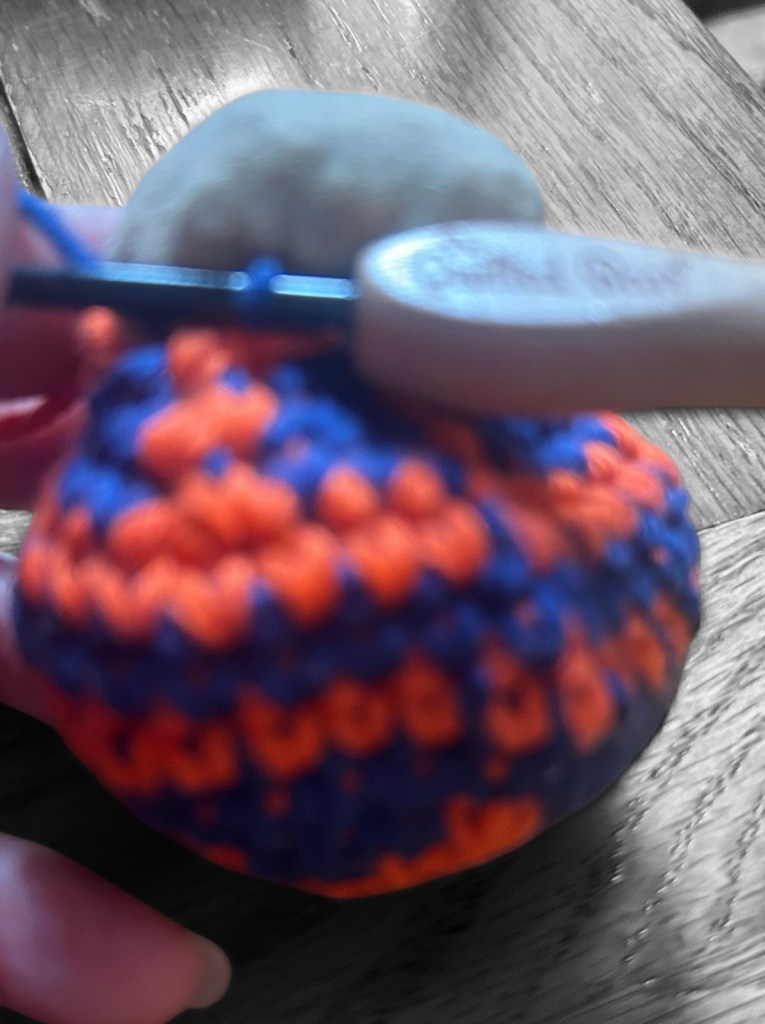
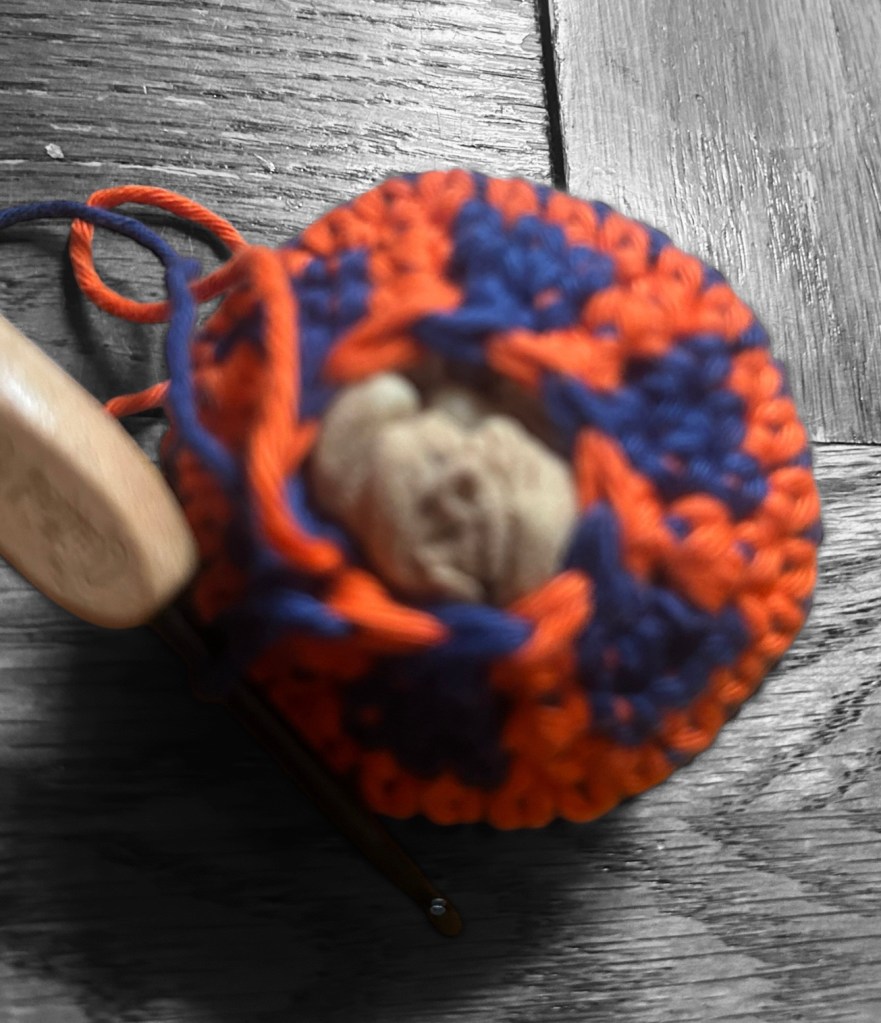
Rnd 13: Dec in each st around. (6 sc)
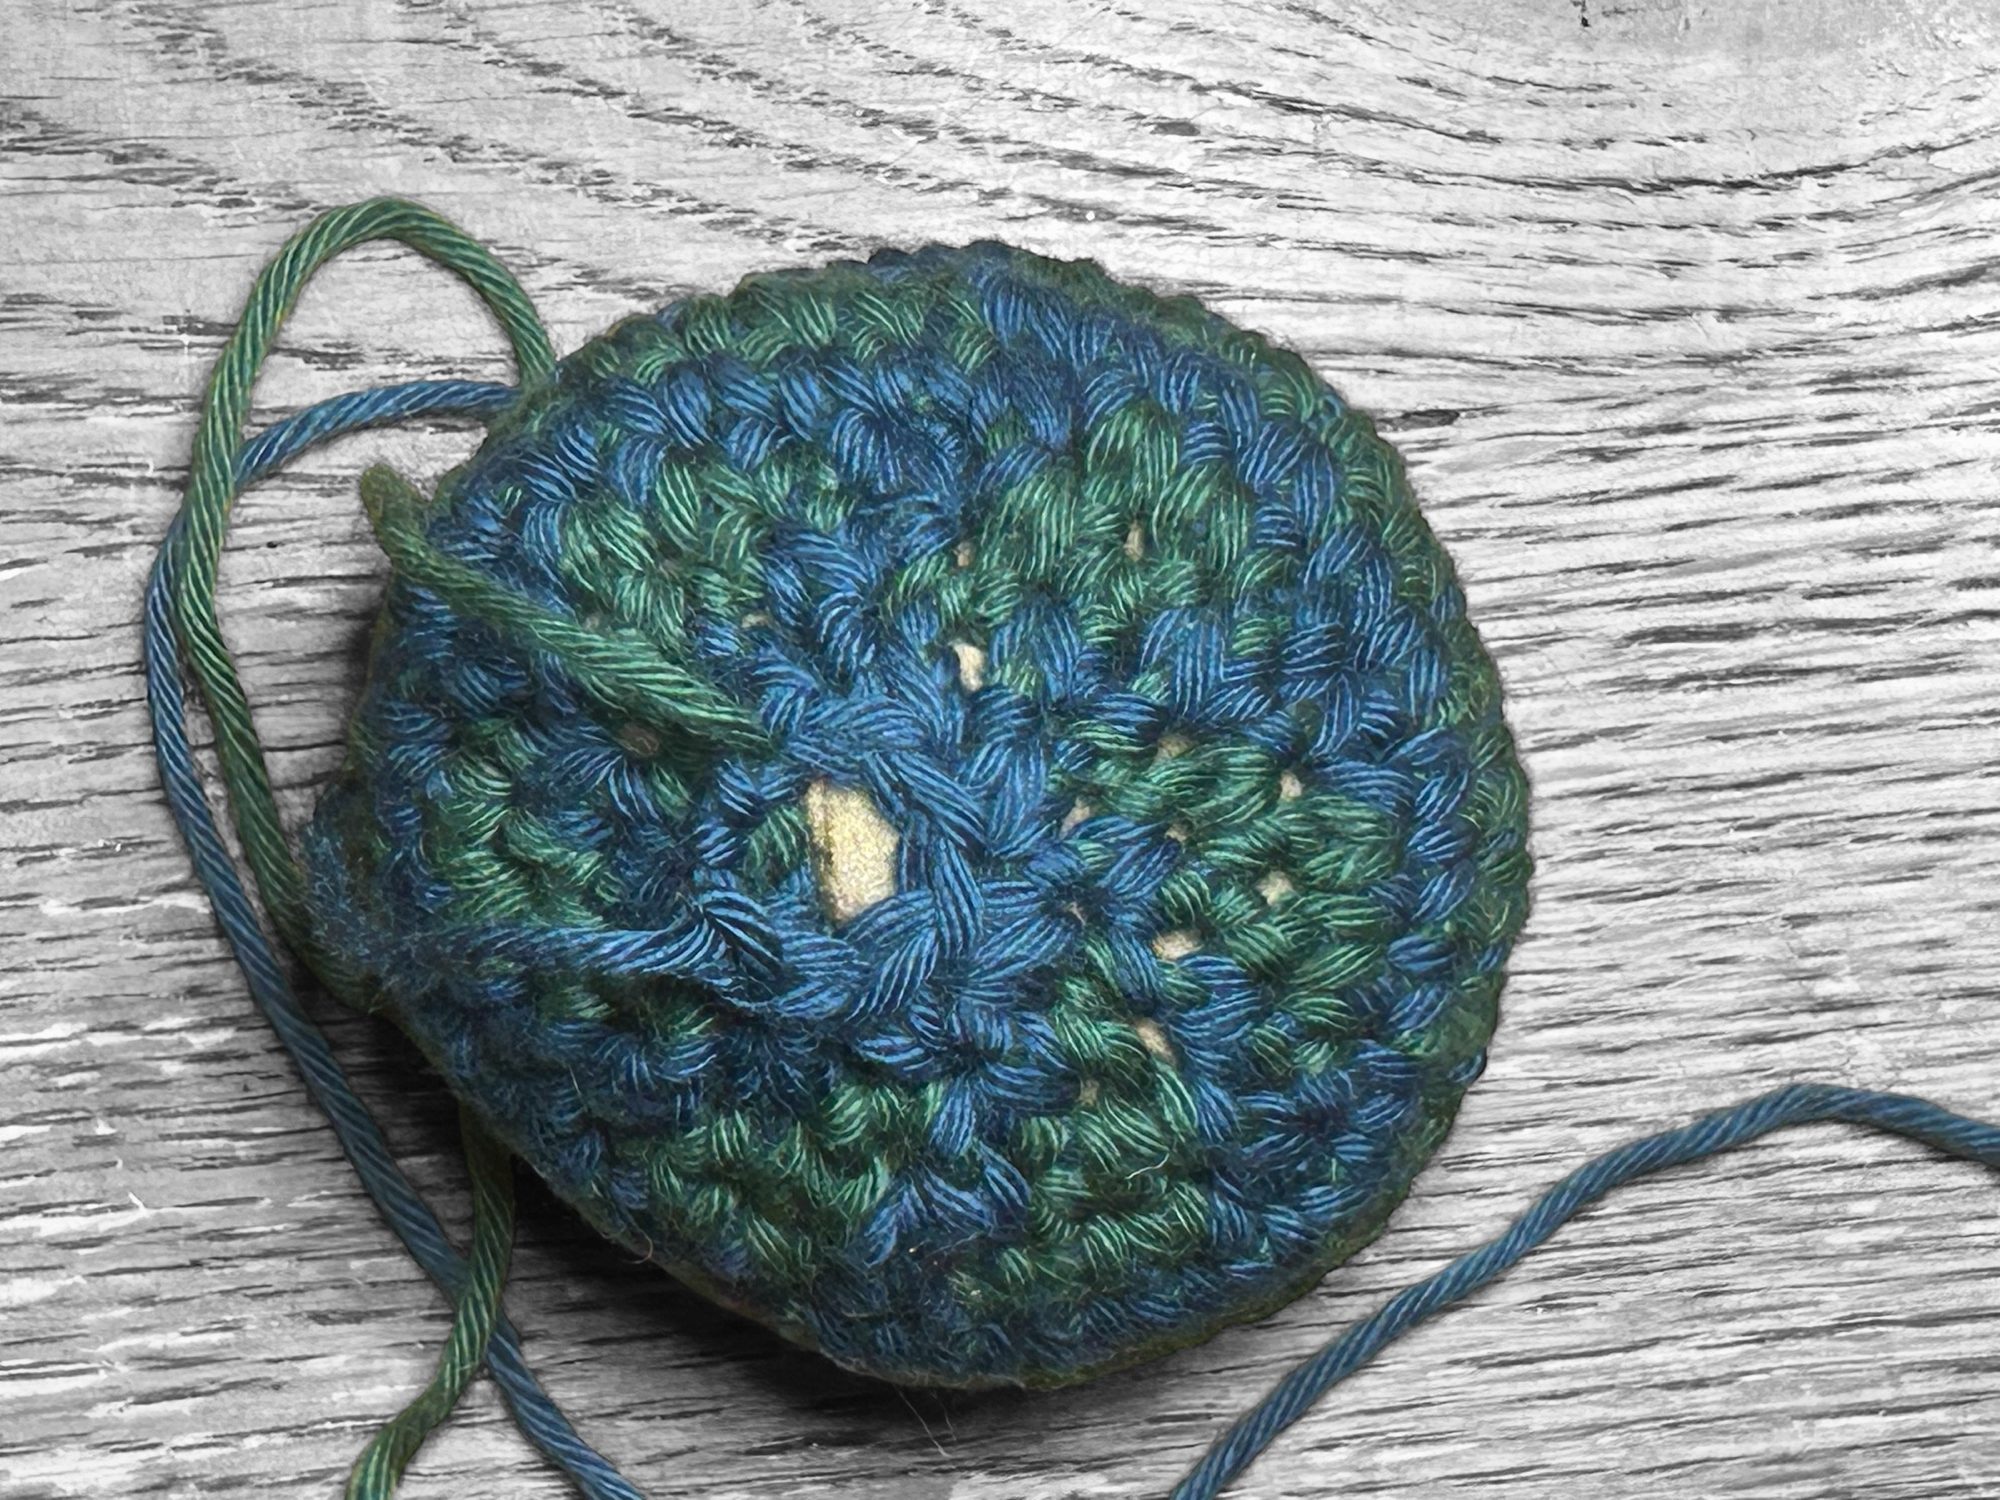
Fasten off, leaving a long tail. Use the long tail to close the hole at the end by weaving your needle up through one st, down through the next. Pull tight.
Weave in ends tightly.
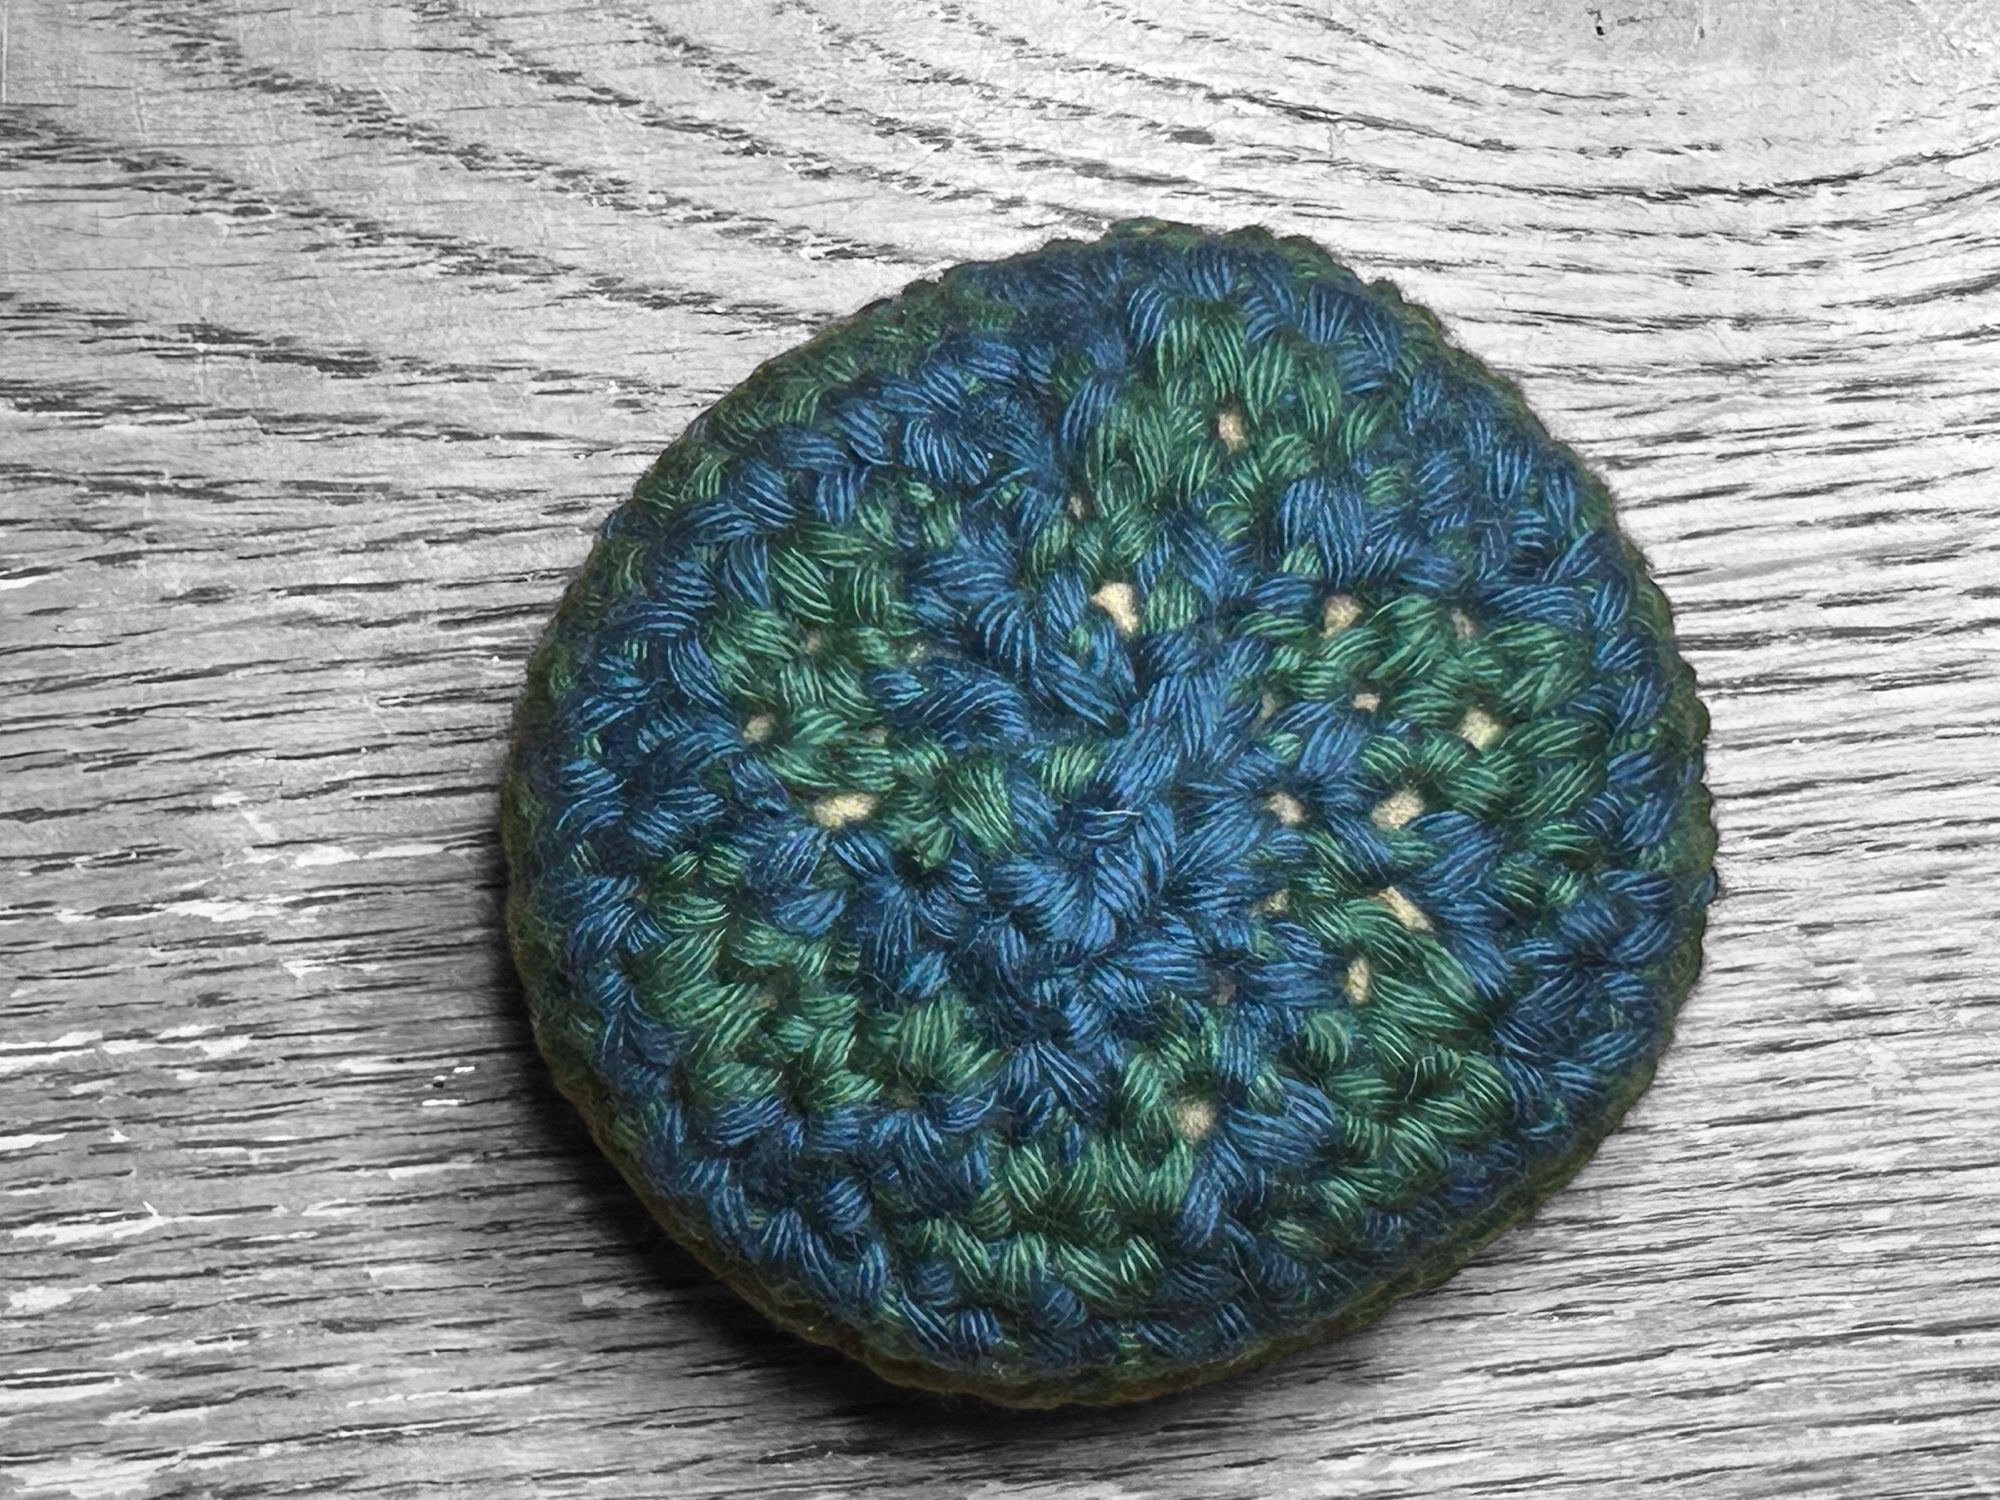
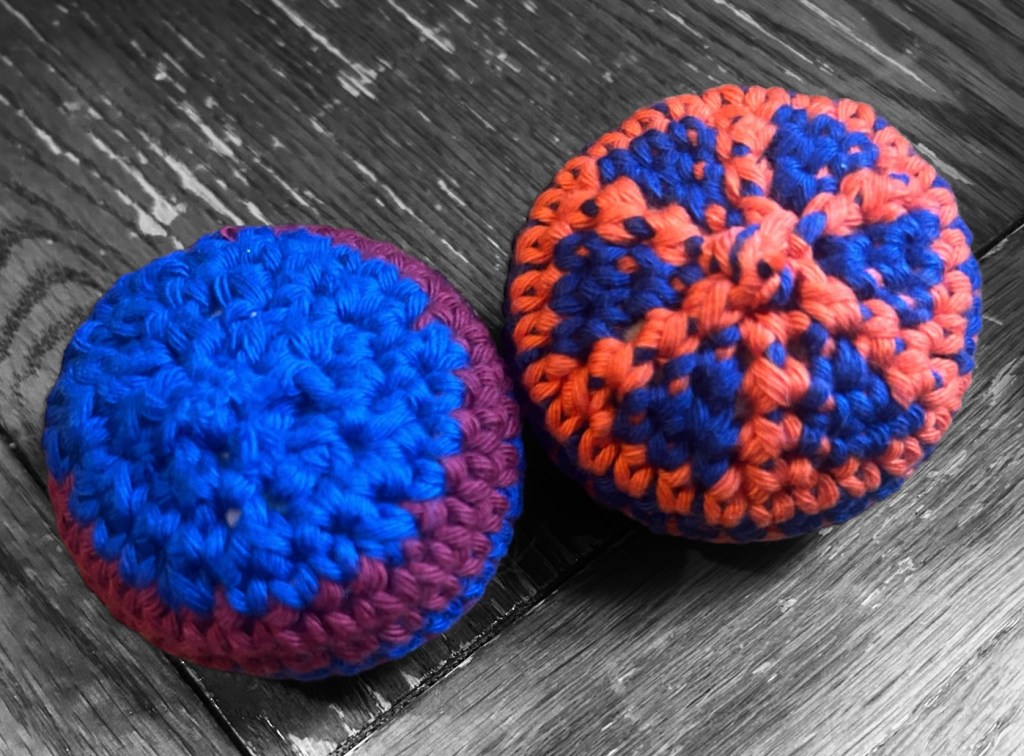
Now, play it, gift it, or sell it!
I’d love to see your finished item! Share it in a comment below and don’t forget to subscribe to receive my latest free patterns!
Thank you to the amazing crocheters who tested this pattern and provided valuable feedback:
- Mama Frog/Judy Wickert, certified crochet teacher with ACA
- @stardust.stitchcraft
- @perfectlyimperfectottawa
- @stabbinstitcher
- @krochetwithkaity


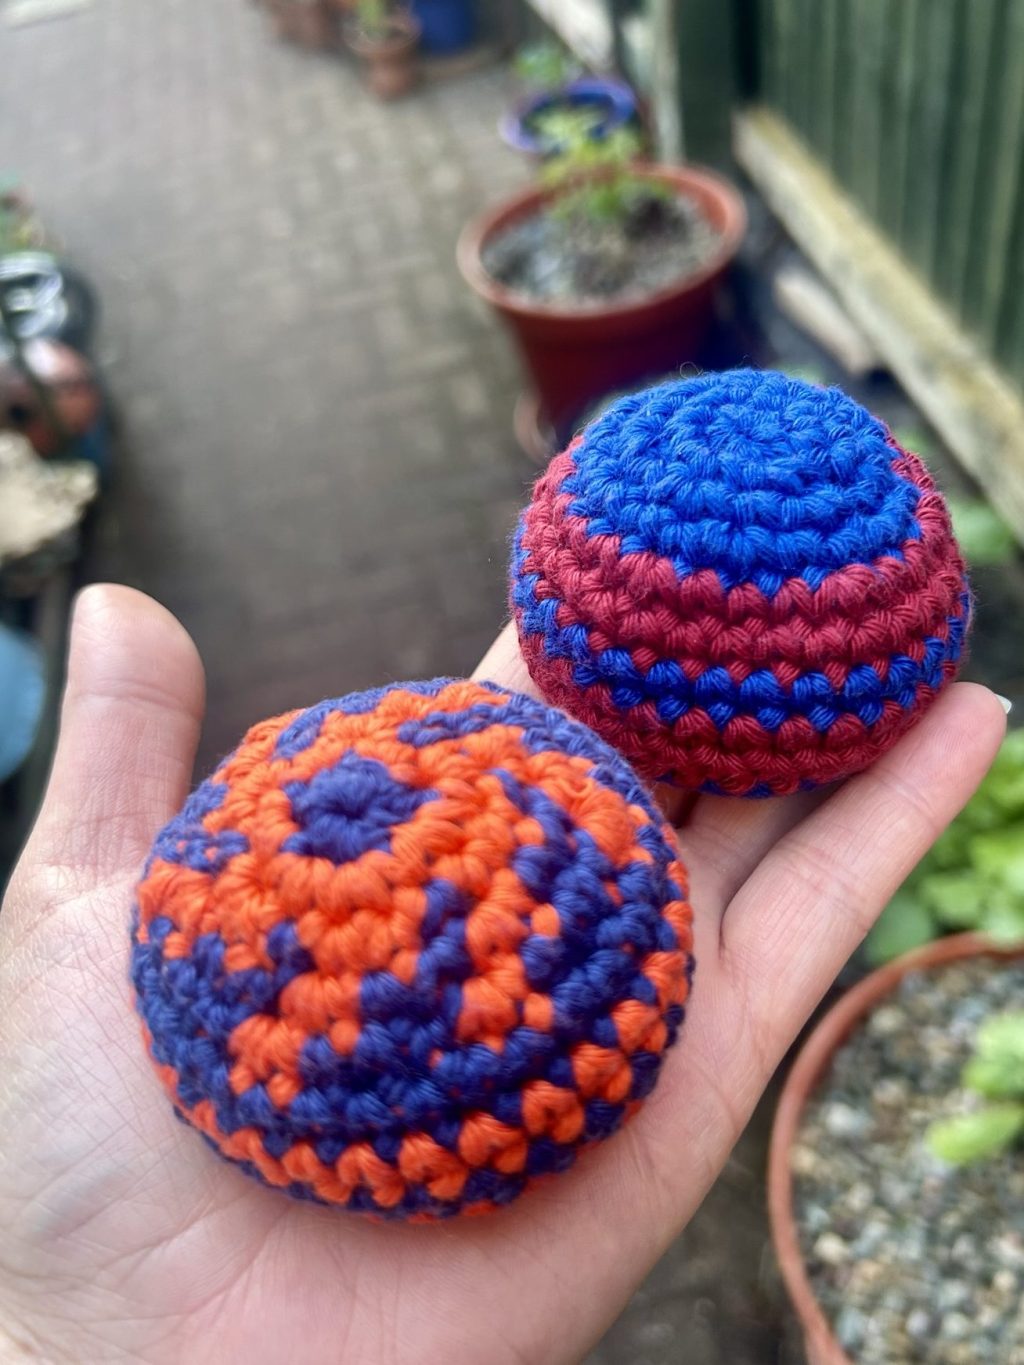
 Five Stitches Crochet
Leave a comment