Fun, sustainable, quick, last-minute gift for kids
Or, buy now, ad free, for £2.
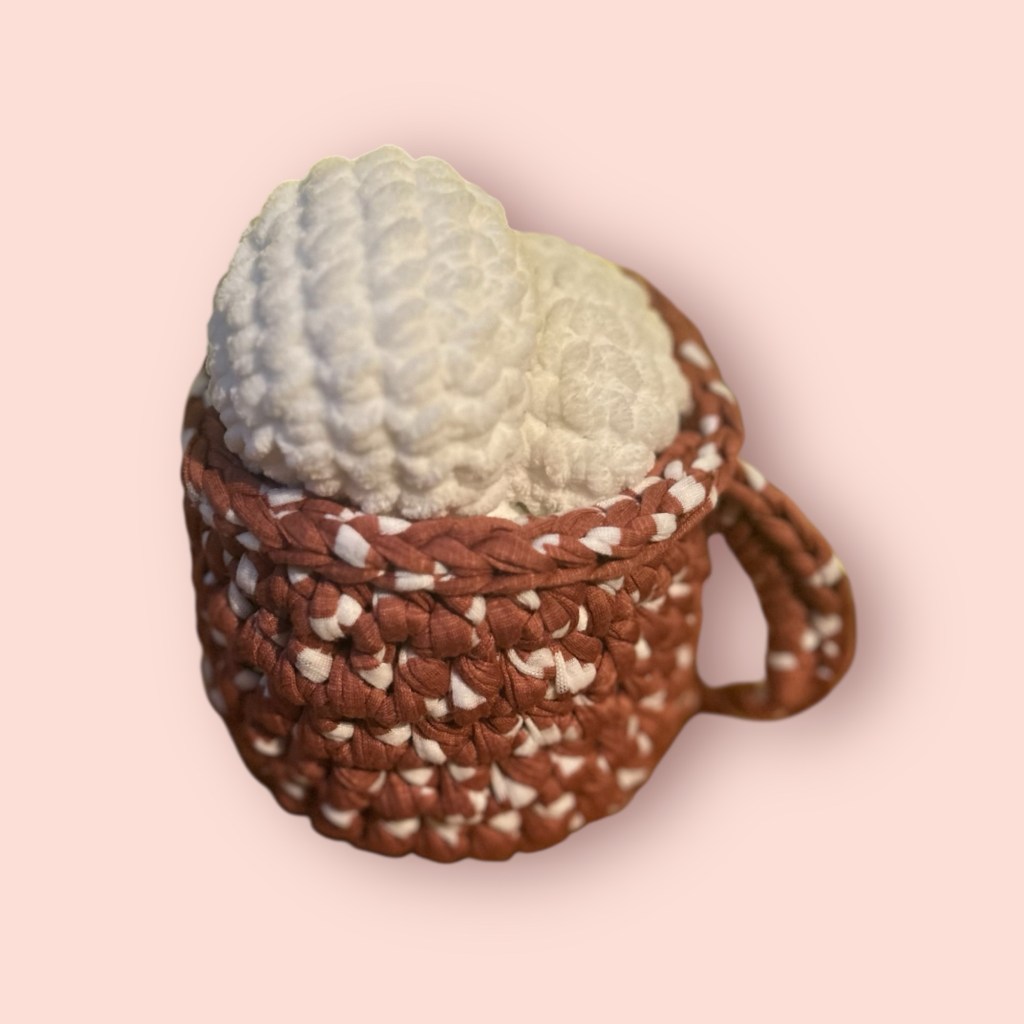
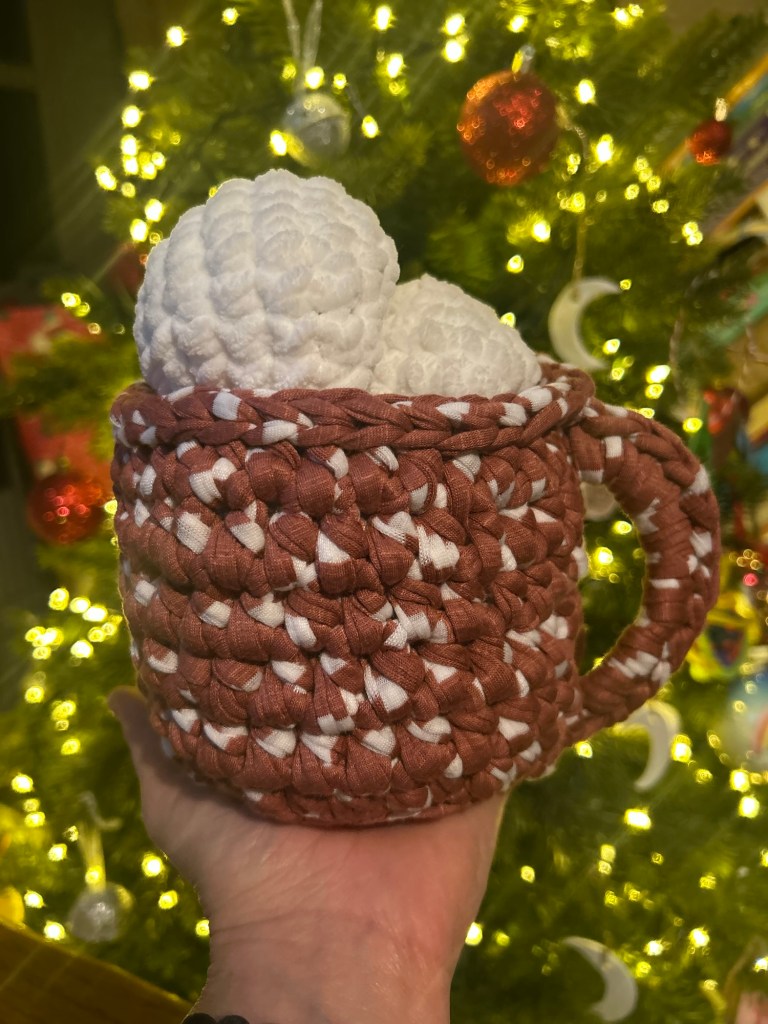
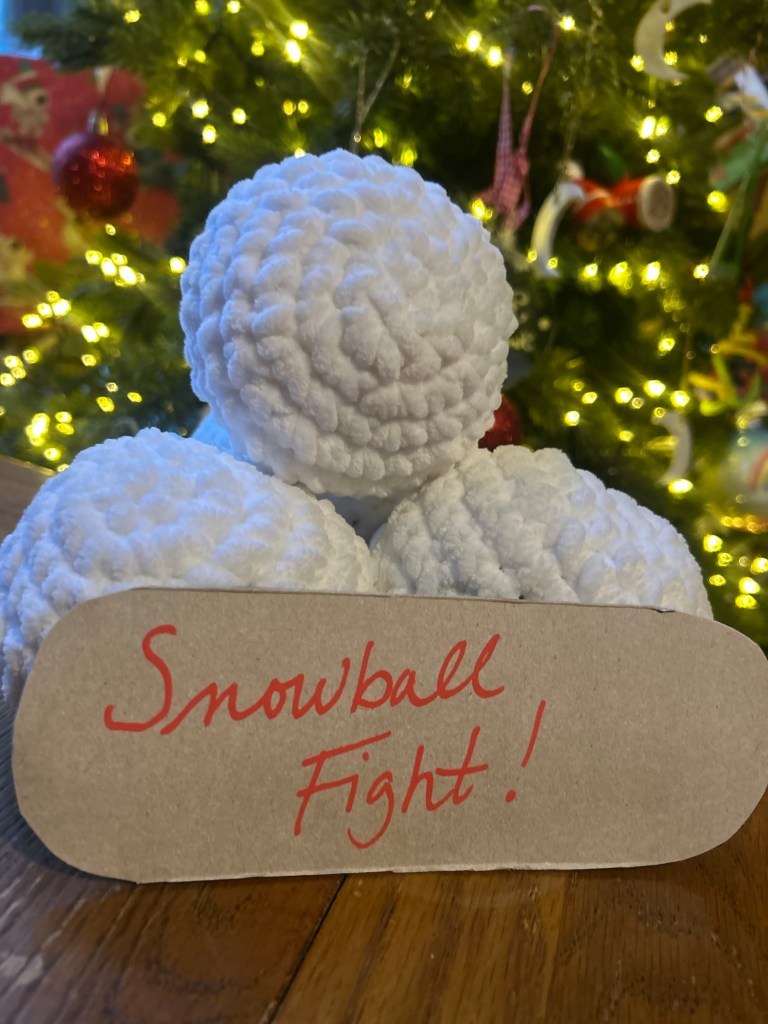
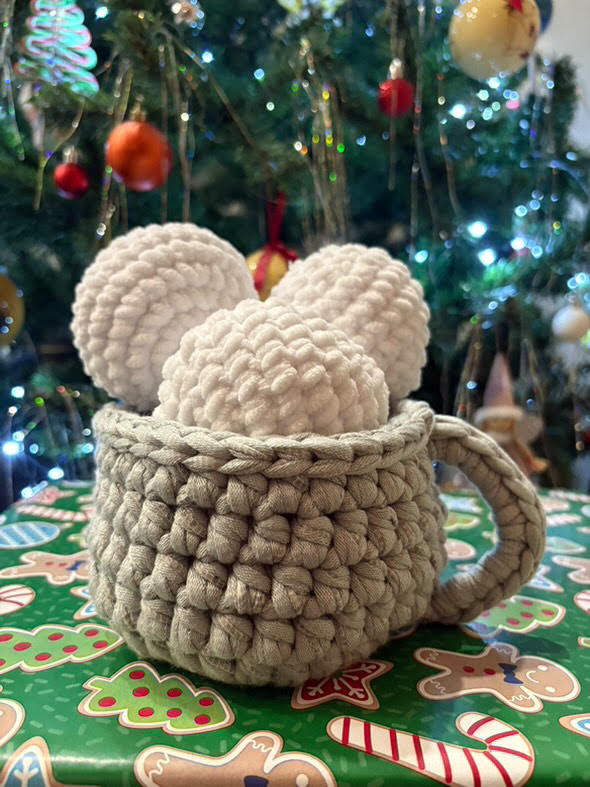
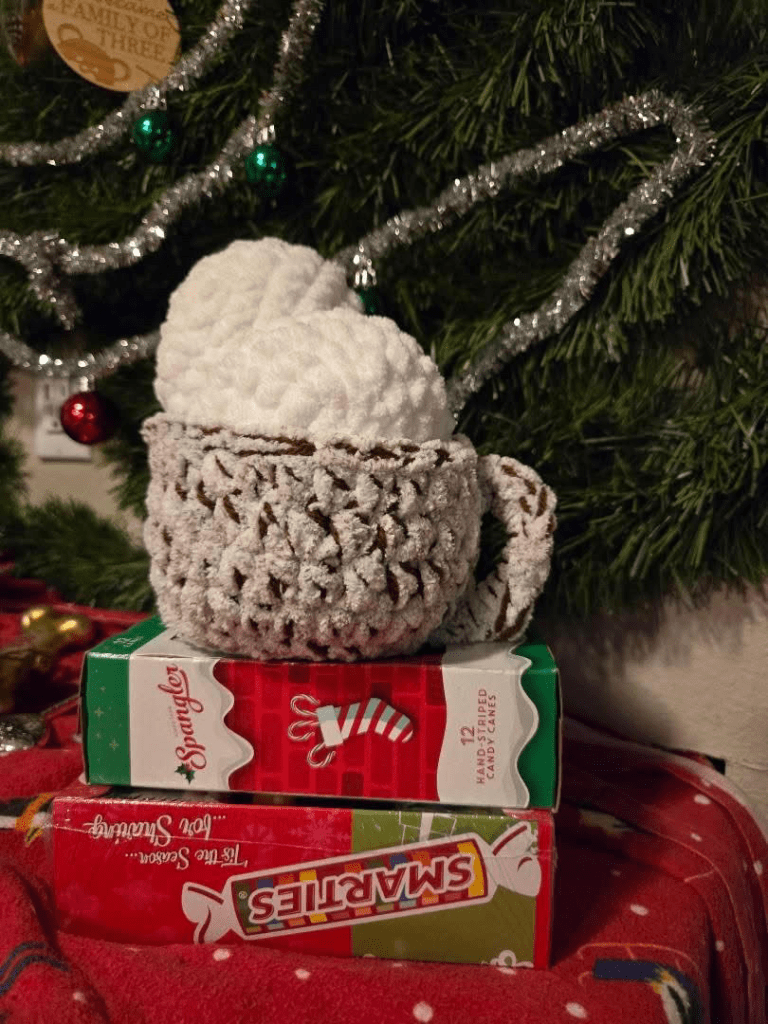
The time between Christmas and school starting back up is commonly known by parents as … “hell”, a space and time where small people speak a language called “I’m bored” and seek out taller, burnt-out people to entertain them. Do the parents a favor: gift their children this snowball fight in a mug. Not only is it sustainable (particularly if, like me, you use mostly recycled materials), it’s also loads of fun and, if there is more than one child, doesn’t need a lot of adult involvement (though supervision is obviously always recommended).
I had the idea to make “Snowball Fight” last week and it was an instant hit. My daughter now asks me to have a snowball fight with her multiple times a day and — at least at the time of publication — nothing has been hit, no snowballs have landed in my coffee, and no one has been hurt, but there have been peals of laughter like we haven’t had in a long time. It’s a constant giggle fest and burns off a lot of excess energy.
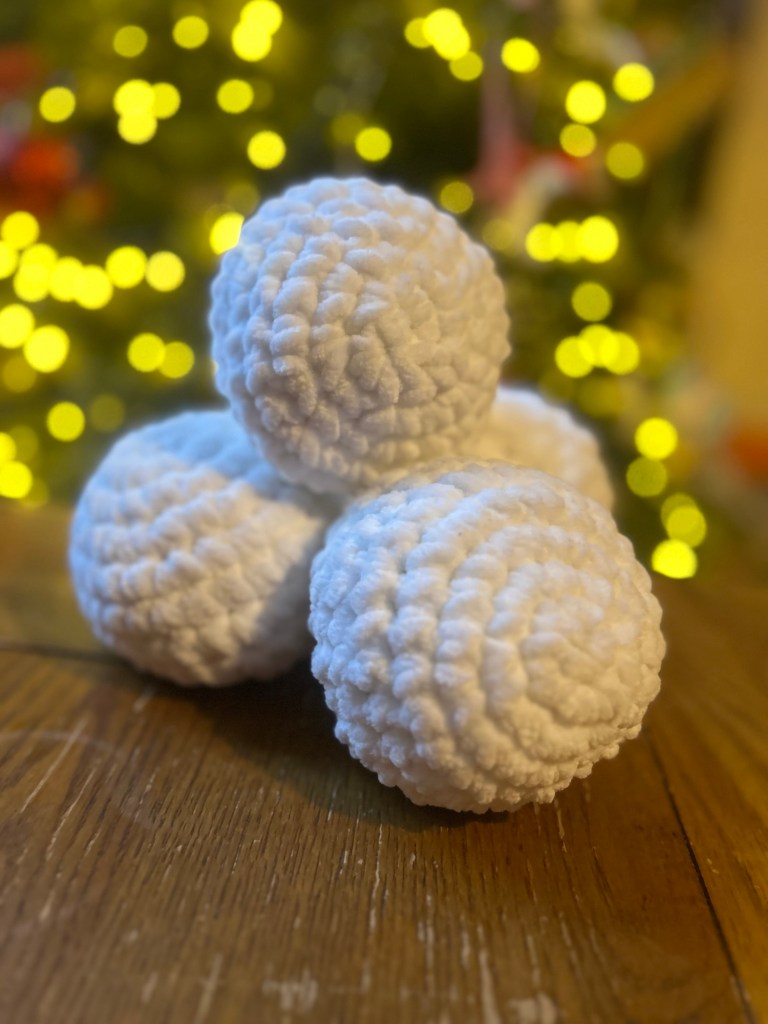
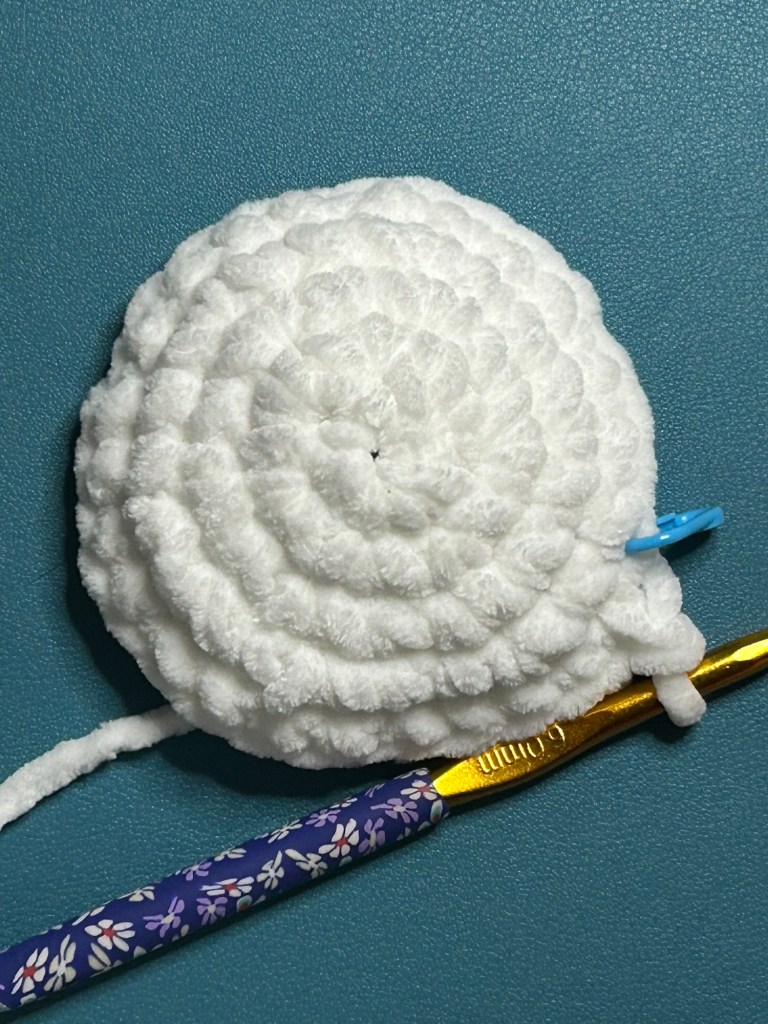
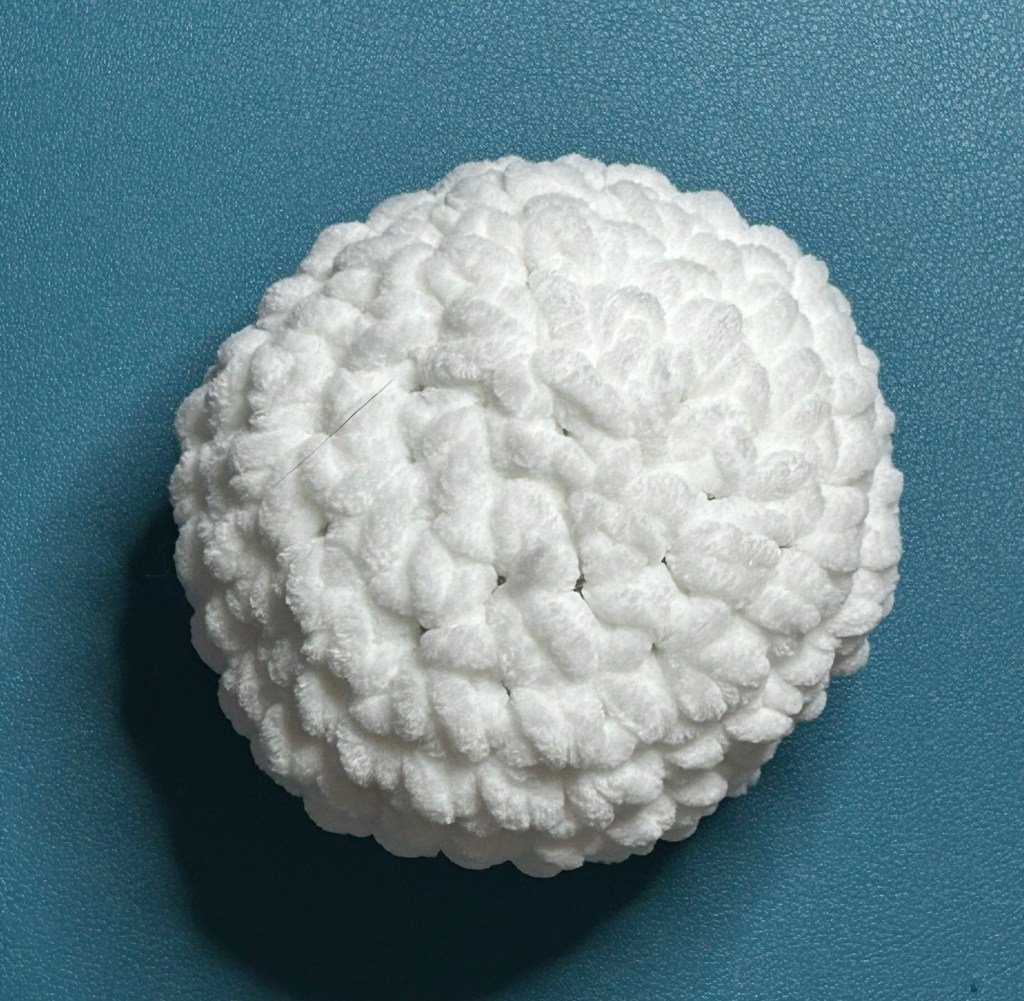
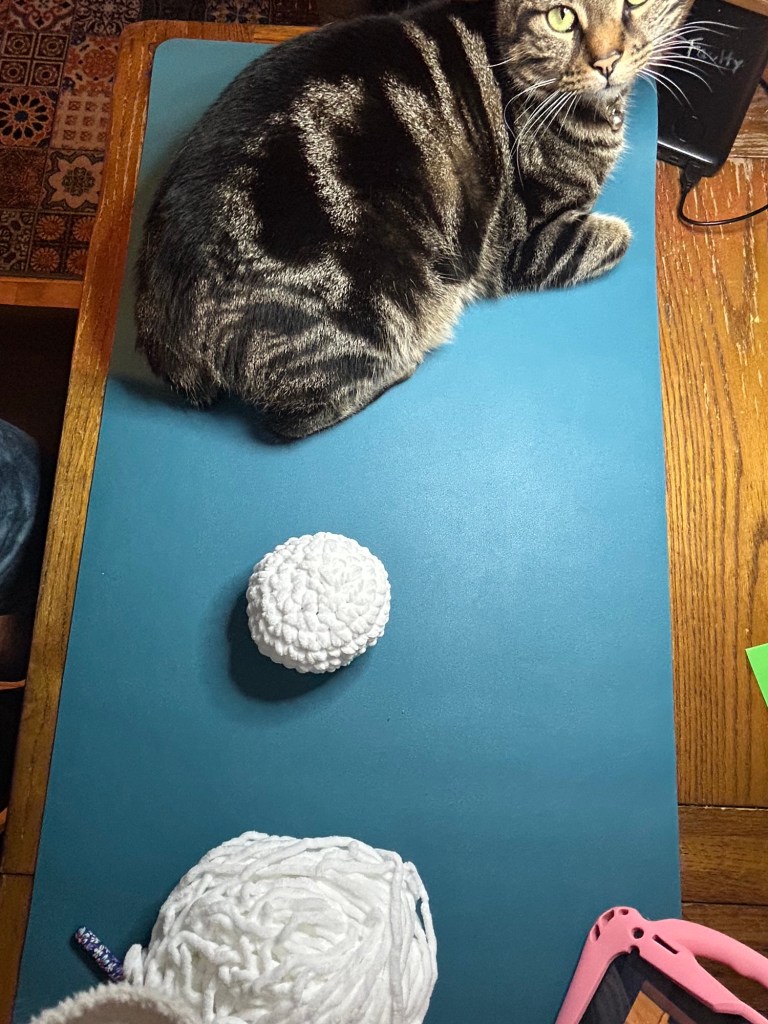
The trick with the snowballs is to use a soft fluffy yarn (I recommend chenille, but a velvet yarn would do) and to stuff them very very lightly. It’s ok — even preferable — for the snowballs to cave in and not be fully rounded out. This keeps them soft — my daughter has pelted these into my eyeglasses more times than I can count now without causing me or my glasses any pain or damage. It also keeps them from bouncing too much and creating a more uncontrollable chaos. We started with two and then I made two more the next day to make the throwing more continuous, but my daughter said she actually thought it was more fun with just two. So, a mug and one snowball per child (minimum of two) is plenty.
I used white chenille for the snowballs because I had a lot leftover from another project and they are true to concept. But they don’t *have* to be white — any colour, really, would do. In fact, yellow snowballs would turn the mug into a stein and could be a funny gift and game for a more grown up party as well.

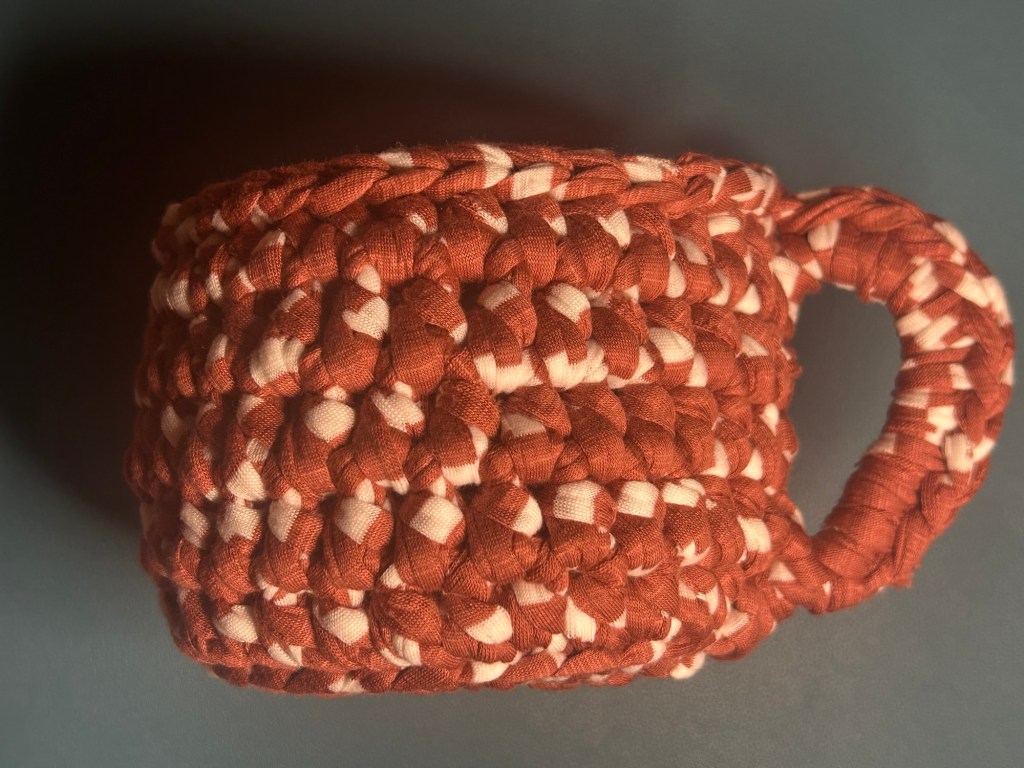
I used a recycled t-shirt yarn for the mug, but any super chunky material would do here. You could use ribbon yarn or even try a few strands of acrylic held together. If you are feeling particularly crafty and cute, you could even embroider a Kawaii style face onto the front of the mug!
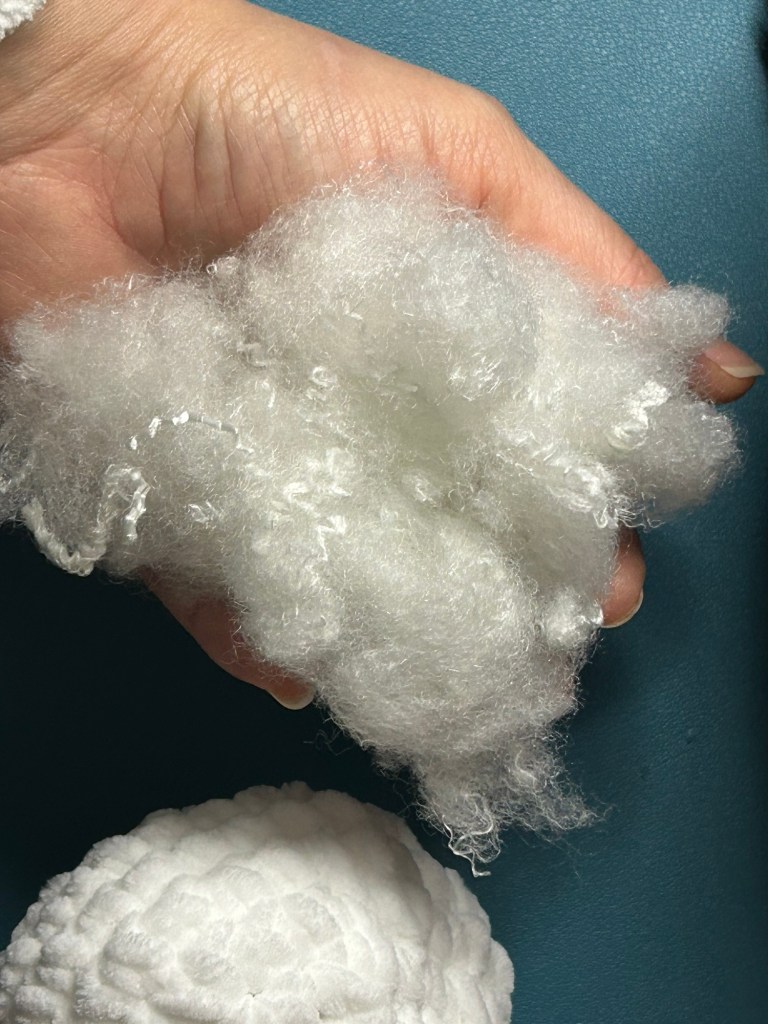
The one material I do think it’s worth sticking strictly to is the polyfill (I use a recycled polyester polyfill) because anything else could change the lightness or softness of the snowballs.
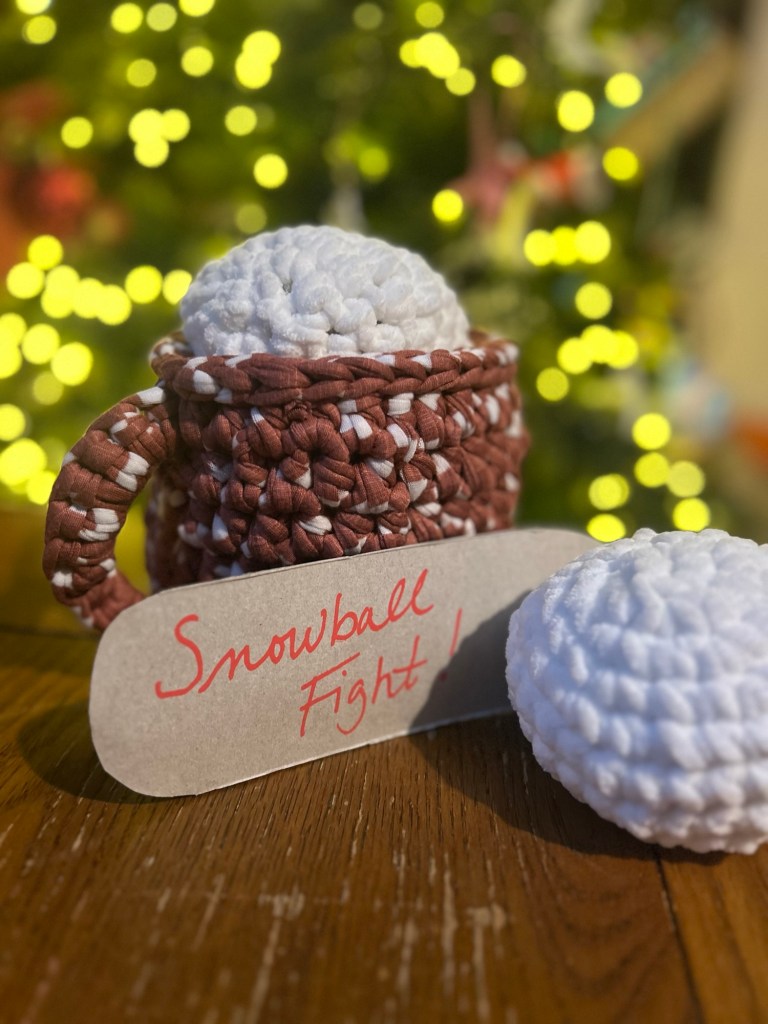
Last thing – if you give this as a gift, you might want to include a little note telling the kids what it is. They will probably figure it out anyway, but it isn’t instantly obvious. Include a little note that says “Snowball Fight!” or a little card with some game rules on it (The only rule to Snowball Fight is there is no Snowball Fight?). For added coziness, you could add a couple of envelopes of real hot chocolate and a couple of candy canes too!
This is my main gift for kids this season! I hope you make good use of it too!
To complete this project, you will need to know how to:
- Start a project in the round
- Increase (work two stitches in the same space)
- Decrease (work a stitch across two spaces)
- Create a flat circle
- Do a single crochet
- Do a half double crochet
- Join
- Work in the back loop only
- Chain
- Slip stitch
- Do a front post single crochet
- Finish off
- Weave in ends
Difficulty level: Beginner to Intermediate – pattern uses chain (ch), single crochet (sc), half double crochet (hdc), slip stitch (sl st), working hdc back loop only (hdcblo), increasing (inc), decreasing (dec), doing a front post single crochet (fpsc), and working in the round (rnd). Stitch count is included at the end of the line for each round.
Finished size:
Snowball: Roughly 11.5in/29cm around
Mug: 5in/12.5cm high, 16.5in/42cm around (handle adds another 2in/5cm), 5in/12.5cm across
Materials:
For Snowball:
- Chunky chenille or velvet yarn: I used Paintbox Chenille), .6 oz/20g, roughly 5.25 yds/5m per snowball
- Filling: I use Crafterra Recycled Polyester Craft Filling, 0.15 oz/4g (roughly a handful)
- Crochet hook size 6.0 mm.
- Stitch marker
- Yarn needle for closing snowball and sewing in ends
For Mug:
- T-shirt yarn: I used YarnArt Maccheroni 90% Recycled Cotton, 10% Polyester, 7oz/200g, roughly 46 yds/42 m. You can make the mug in any of the various colors they have available, or use a ribbon yarn or a few strands of worsted held together.
- 6.0 mm hook. This is a small hook for this size yarn, making it a stiff mug, but also hard on your hands and wrists. You can size up if you need to for comfort.
Gauge: Gauge is not important for the snowball. You want it to remain soft and loose — not too tight. For the mug, you should be at about 5in/12.5cm at the end of row 4, but there is space for an inch/few centimetres of difference here. With the size mug I made, I could squish four snowballs in, but it also would work fine for just two or three.
Abbreviations
- round (rnd)
- magic ring (mr)
- single crochet (sc)
- half double crochet (hdc)
- half double crochet back loop only (hdc blo)
- front post sc (fpsc)
- slip stitch (sl st)
- stitch (st)
- chain (ch)
- increase (inc)
- decrease (dec)
NOTES:
Pattern follows US terms.
Numbers at the end of each round are total st count.
Repeat stitches between parentheses/brackets.
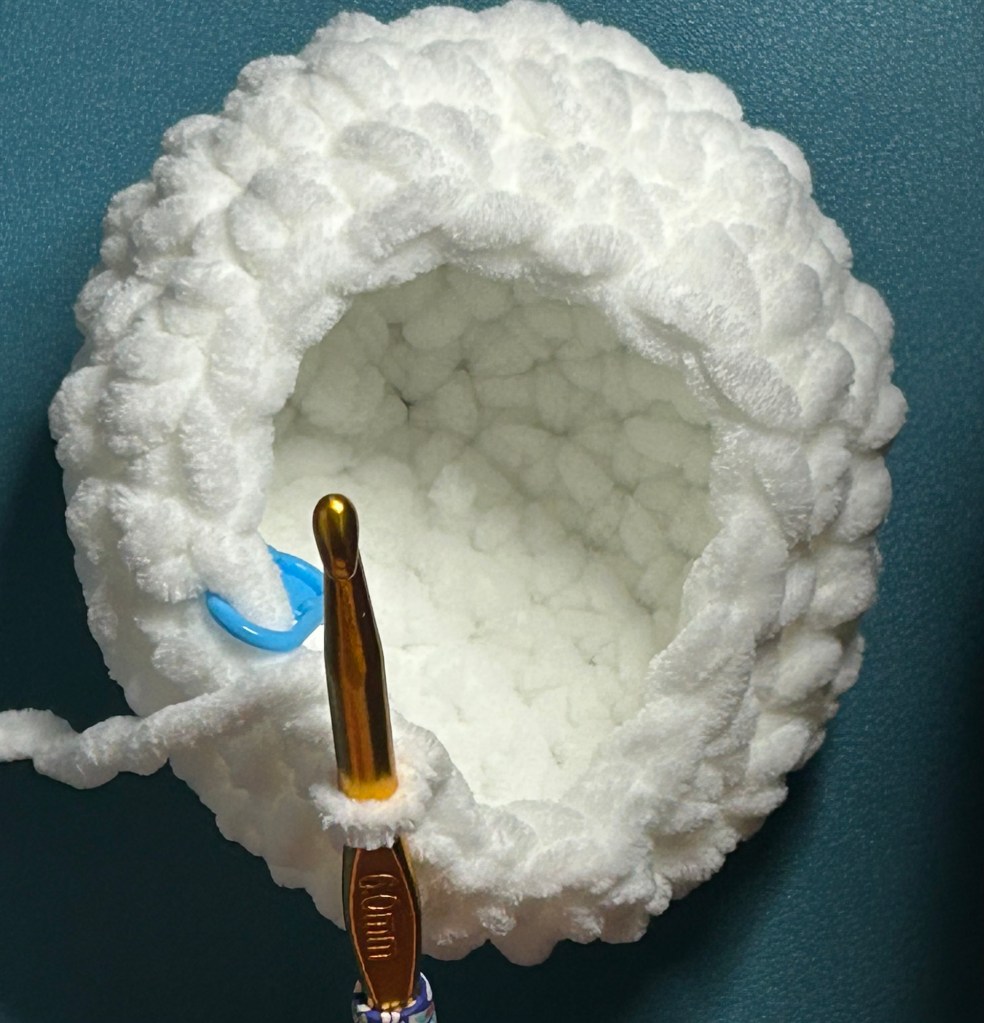
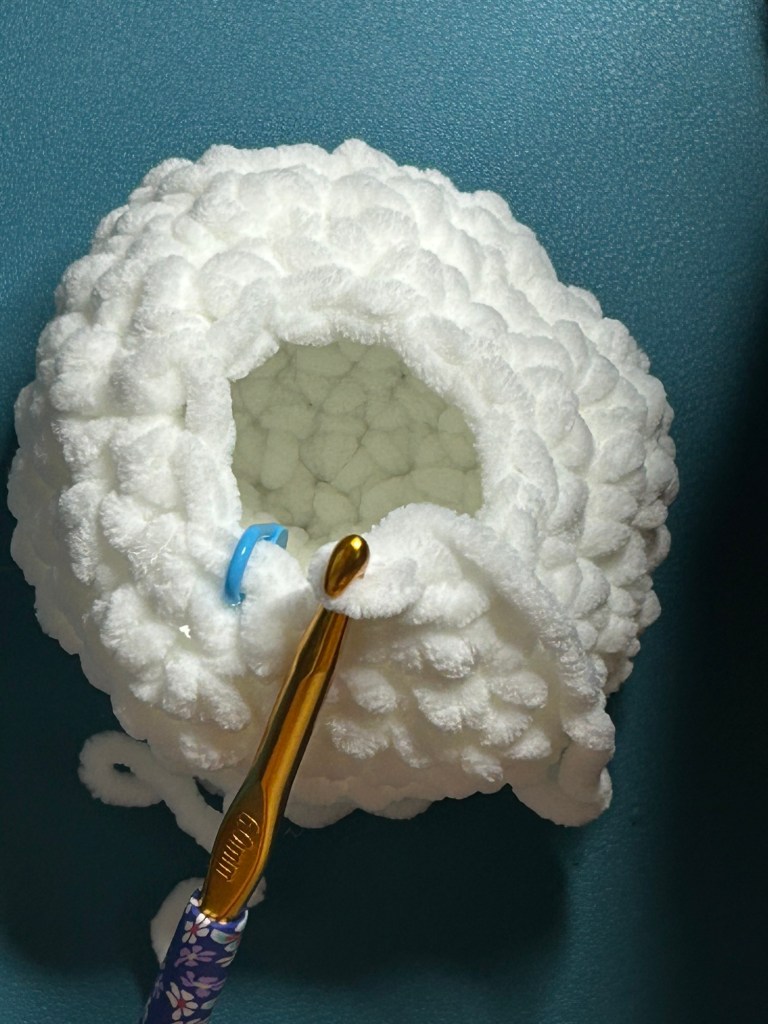
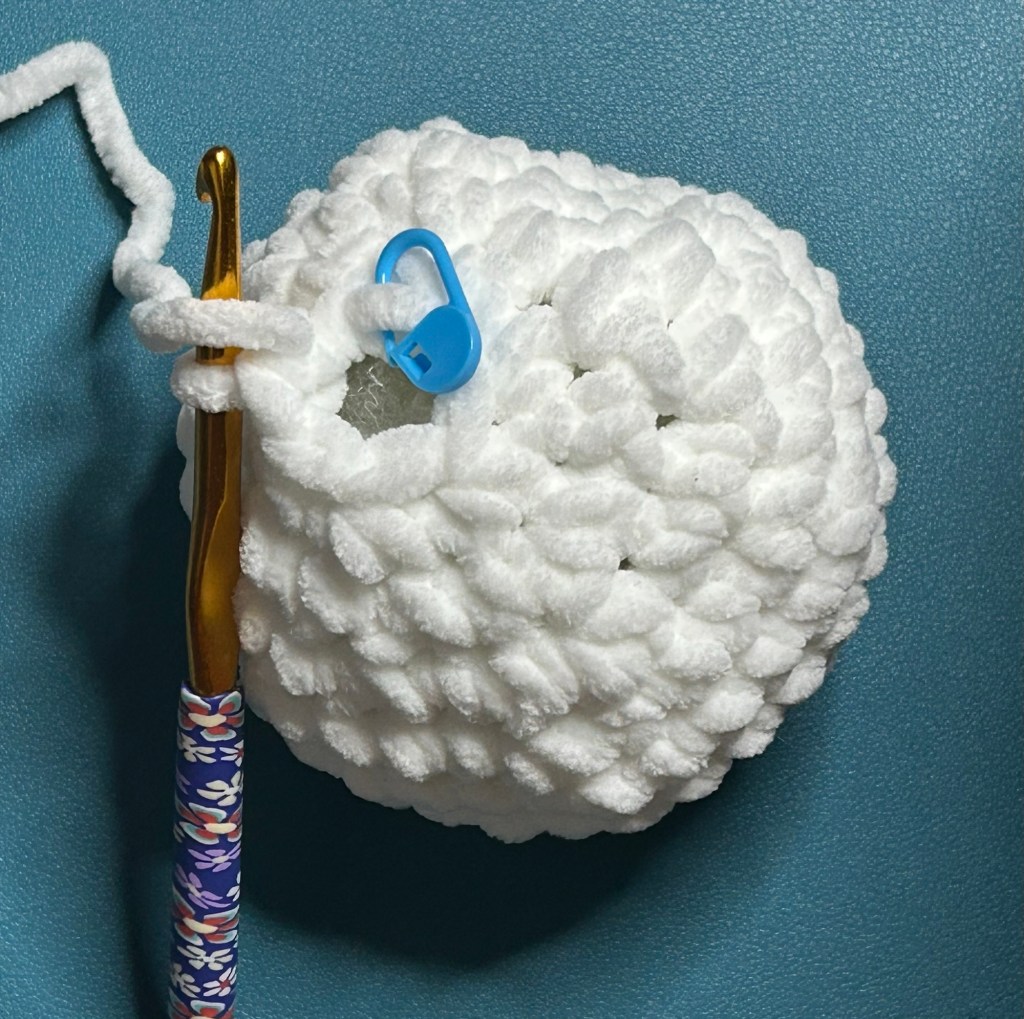
Snowball
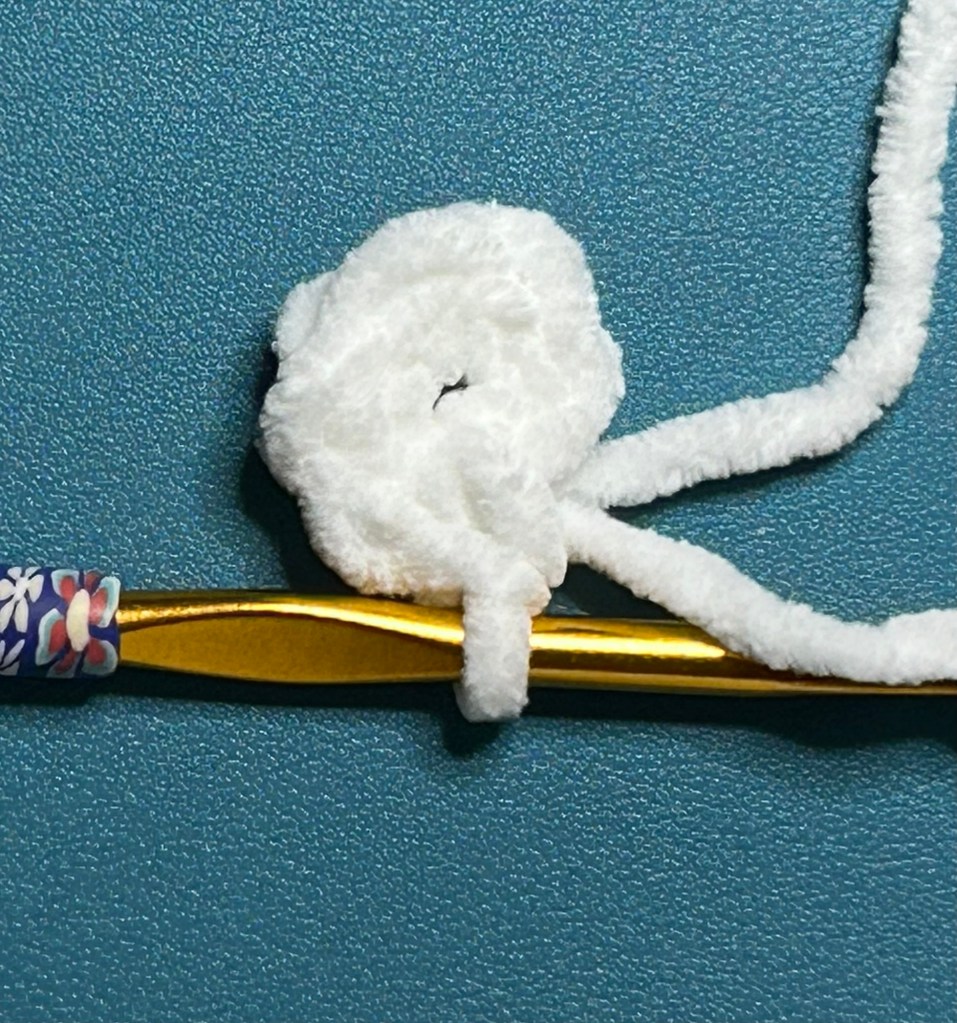
The snowball is worked in continuous rounds. You do not join at the end of the round, but instead, place a stitch marker in the first st of each rnd so that you know where one rnd ends and another begins. Move stitch marker up at the end of each round.
All rights reserved by Courtney J Campbell
Rnd 1: Ch 2, 6 sc in second ch from hook. 6 sc total.
All rights reserved by Courtney J Campbell
Rnd 2: inc in each st around, placing stitch marker in first st to mark beginning of rnd in this and all subsequent rounds. 12 sc.
All rights reserved by Courtney J Campbell
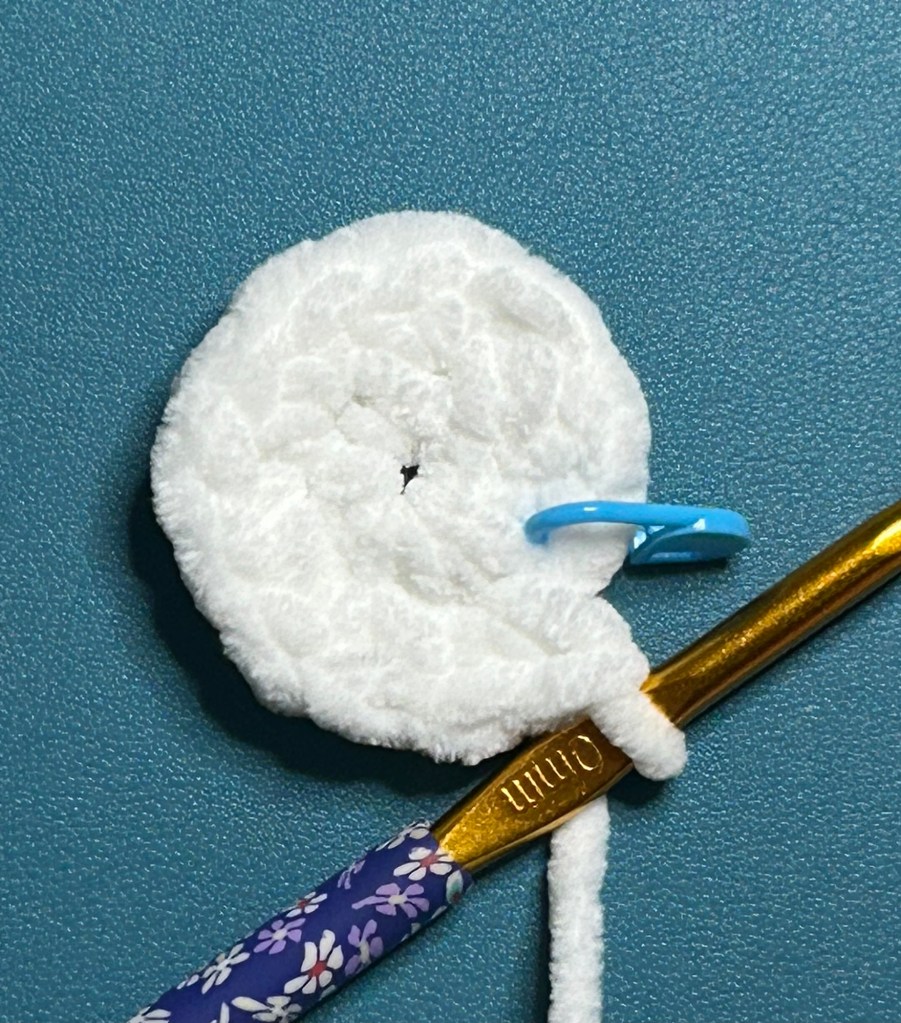
Rnd 3: Repeat (inc in first st, 1 sc in next), around. 18 sc.
All rights reserved by Courtney J Campbell
Rnd 4: Repeat (1 sc, inc, 1sc) around. 24 sc.
All rights reserved by Courtney J Campbell
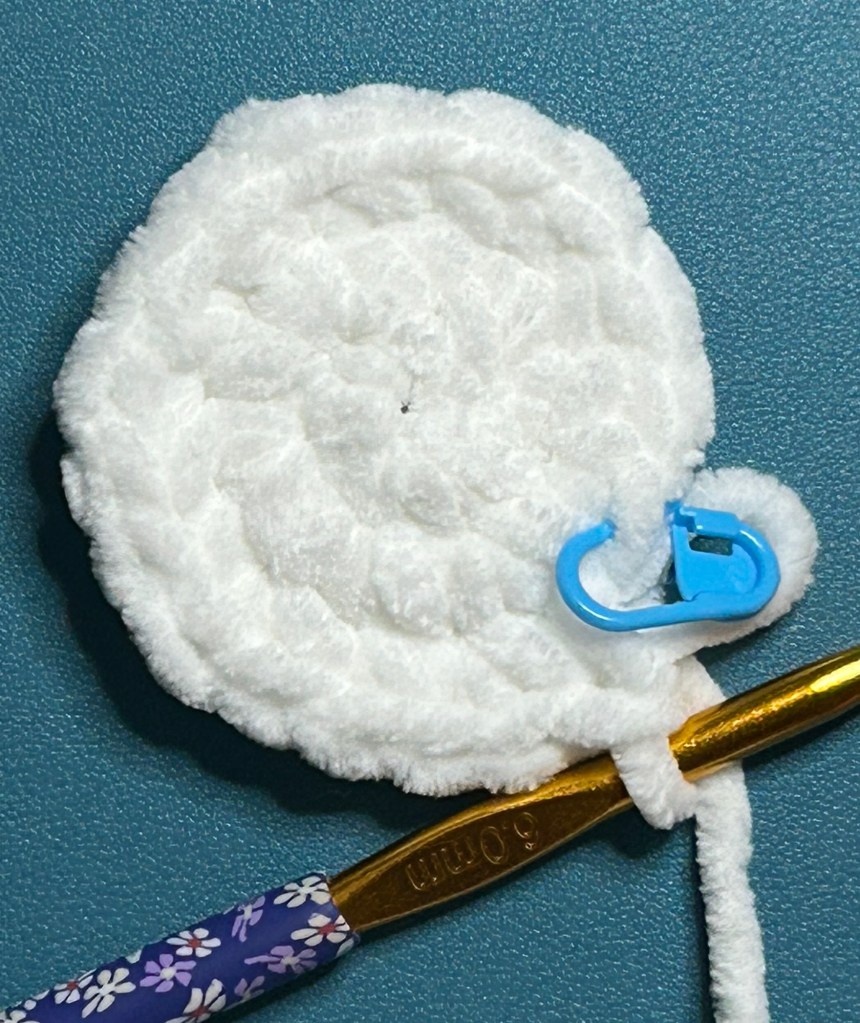
Rnd 5: Repeat (3sc over next 3 sts, inc in next), around. 30 sc.
All rights reserved by Courtney J Campbell
All rights reserved by Courtney J Campbell
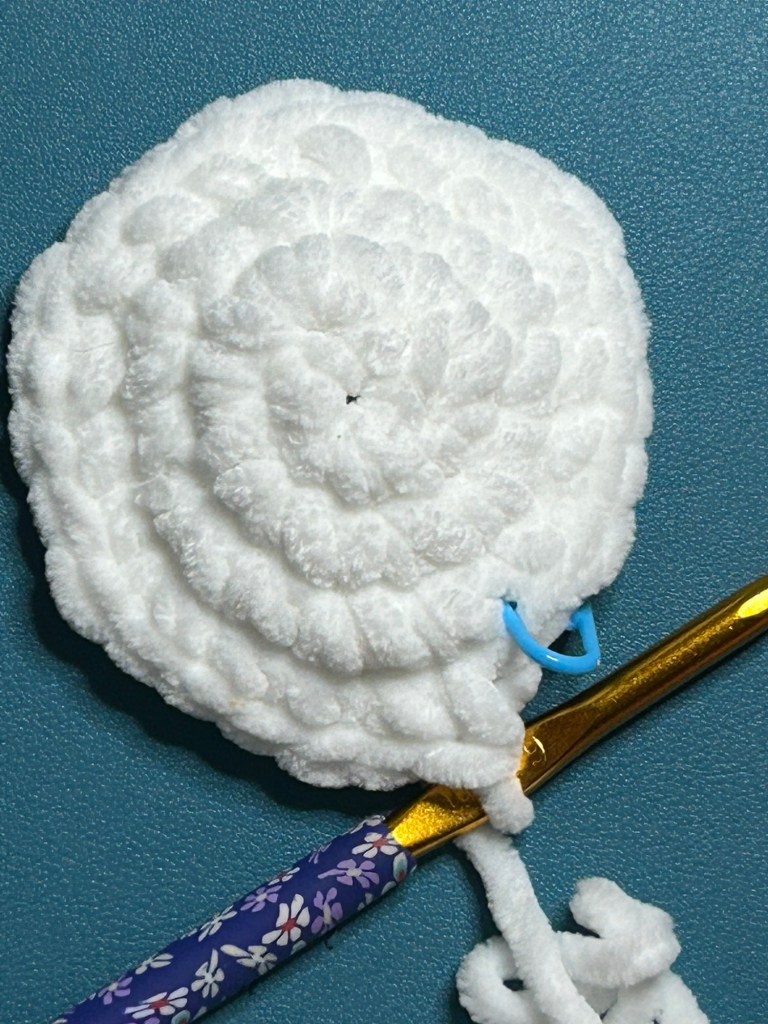
Rnd 6 & 7: sc in each st around. 30sc.
All rights reserved by Courtney J Campbell
Rnd 8: Repeat (3sc over next 3 sts, dec), around. 24 sc.
All rights reserved by Courtney J Campbell
Rnd 9: Repeat (sc, dec, sc), around. 18 sc.
All rights reserved by Courtney J Campbell
Rnd 10: Repeat (dec, sc), around. 12 sc.
All rights reserved by Courtney J Campbell
All rights reserved by Courtney J Campbell
All rights reserved by Courtney J Campbell
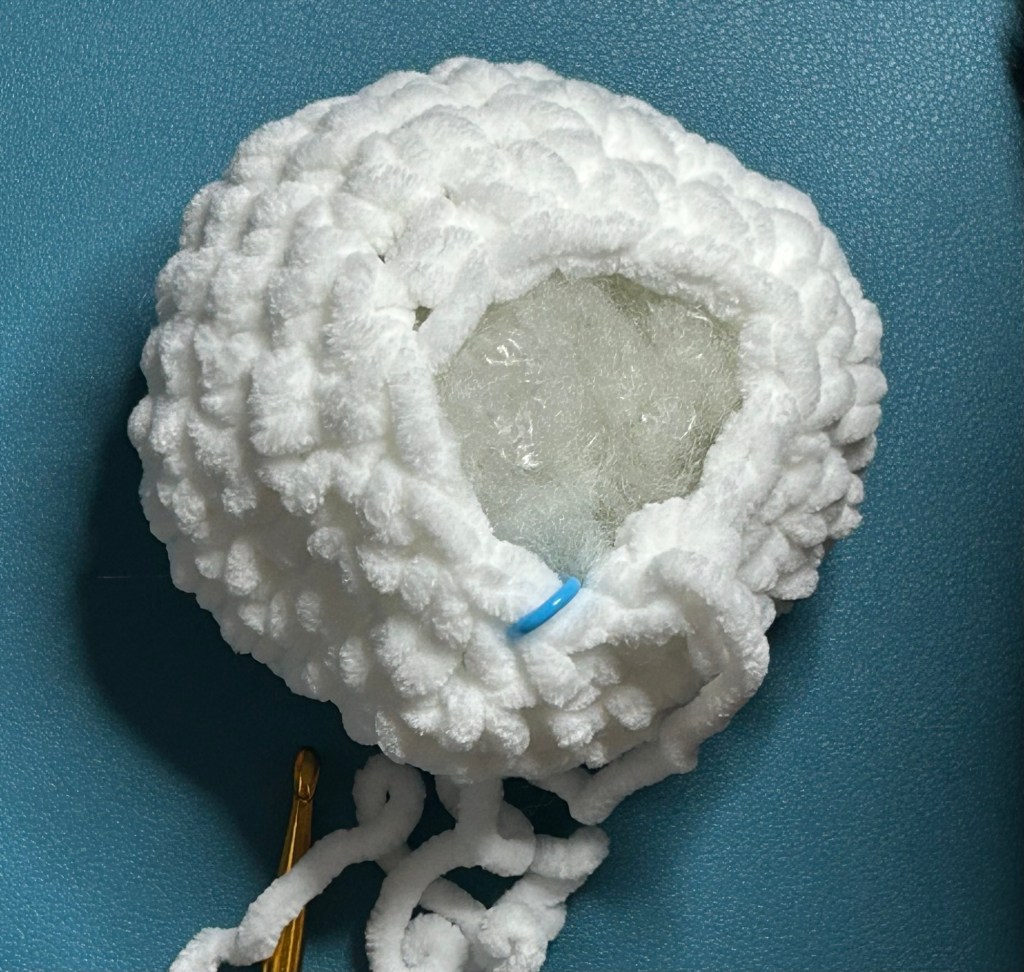
Stuff lightly with polyfill. Do not over fill — you want to snowball to be very soft so it doesn’t hurt, even if it hit in the face and for it to hit more like a splat than a bounce.
All rights reserved by Courtney J Campbell
Rnd 11: Dec in each st around. 6sc.
All rights reserved by Courtney J Campbell
Finish, leaving a tail long enough to sew through remaining stitches to close the hole. Sew in ends.
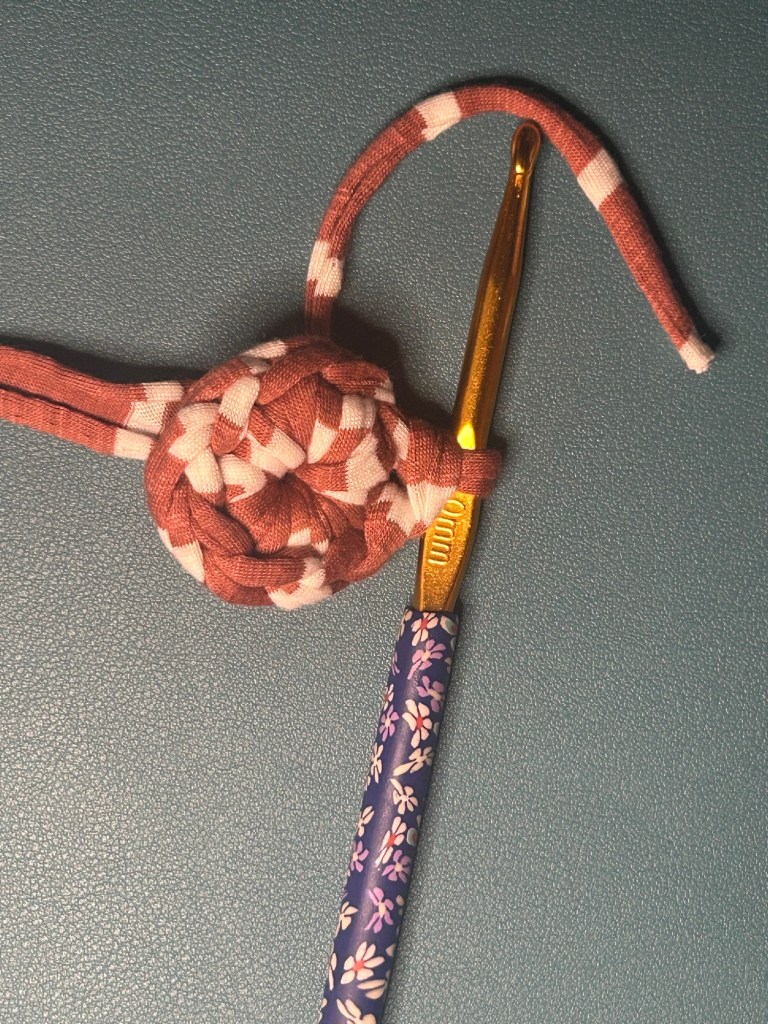
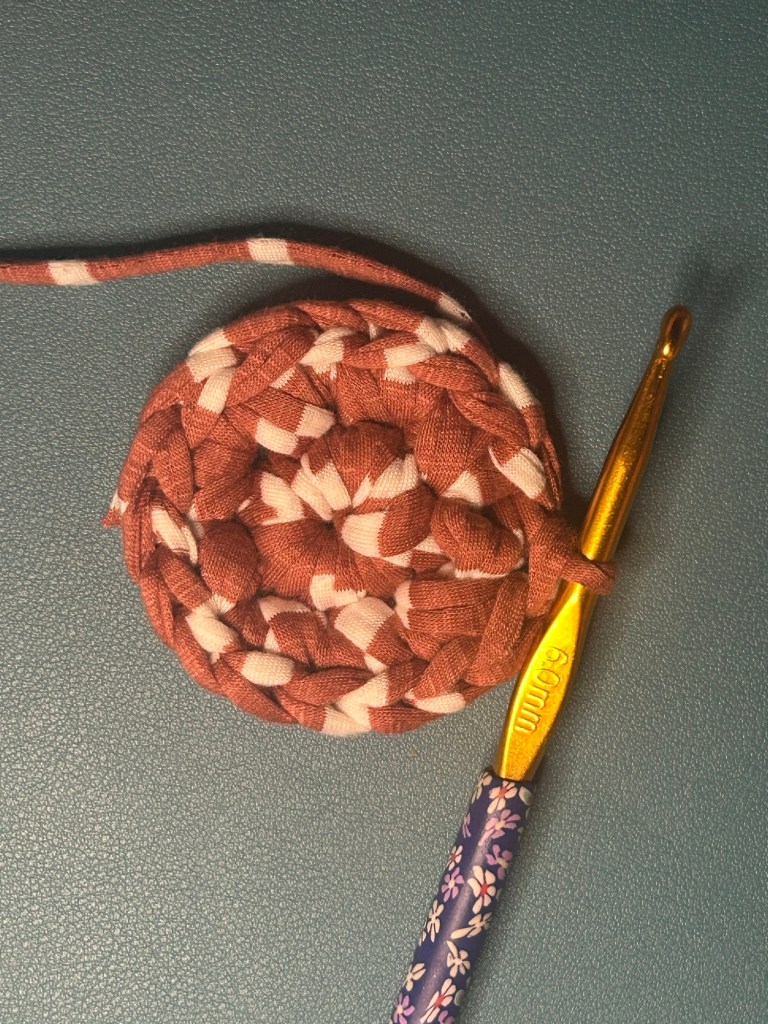
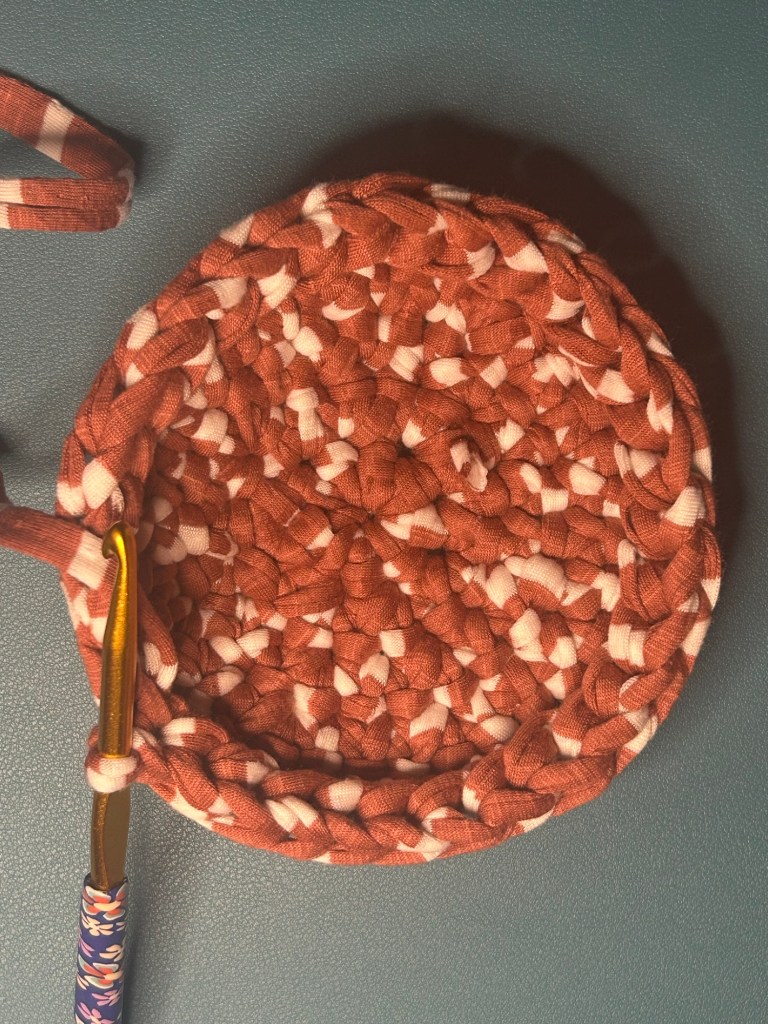
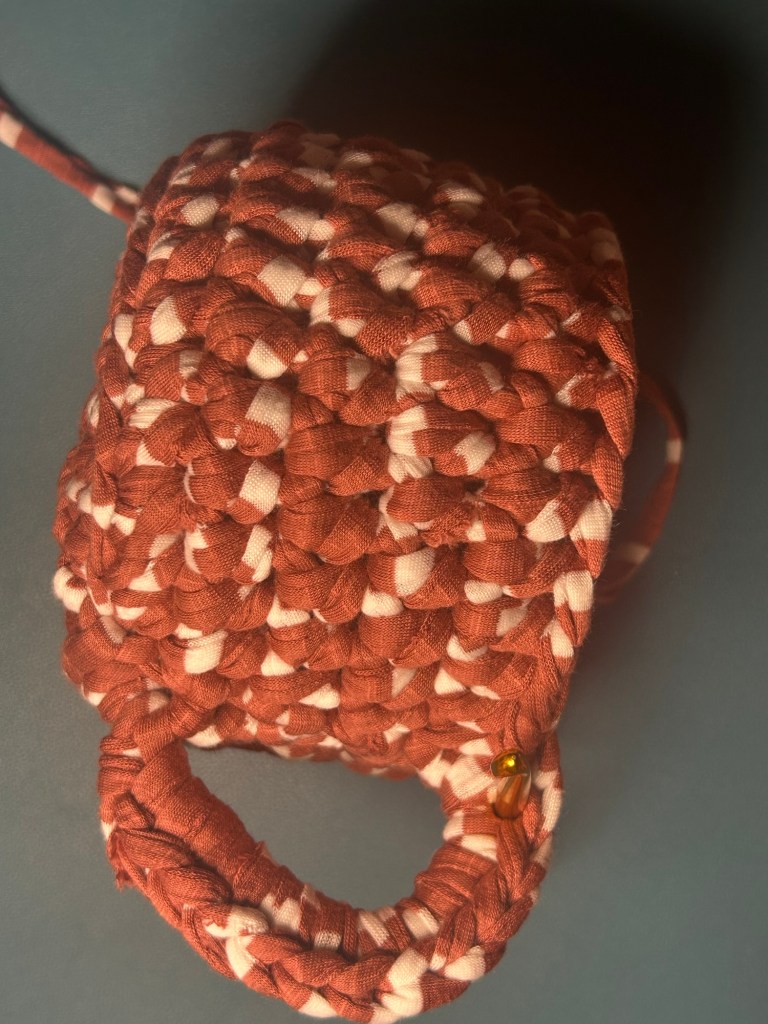
Mug
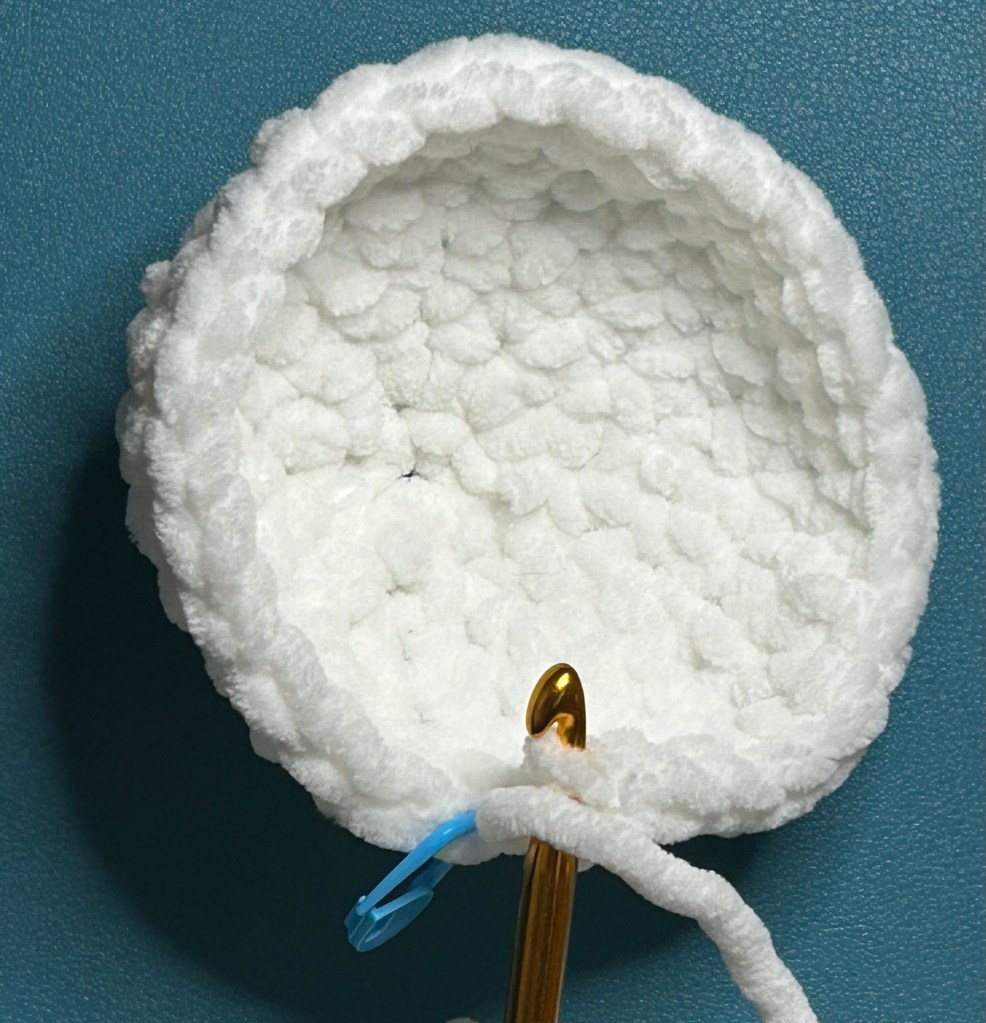
Unlike the snowball, the mug is worked in joined rnds. At the end of each round, join through the first sc or hdc of the round. Starting ch 1 counts neither as a sc nor a hdc. Work your first sc or hdc of each row in your first st.
All rights reserved by Courtney J Campbell
Rnd 1: 8 sc in mr, sl st to join. 8 sc, total.
All rights reserved by Courtney J Campbell
Rnd 2: Ch 1, inc in each st around. Join. 16 sc.
All rights reserved by Courtney J Campbell
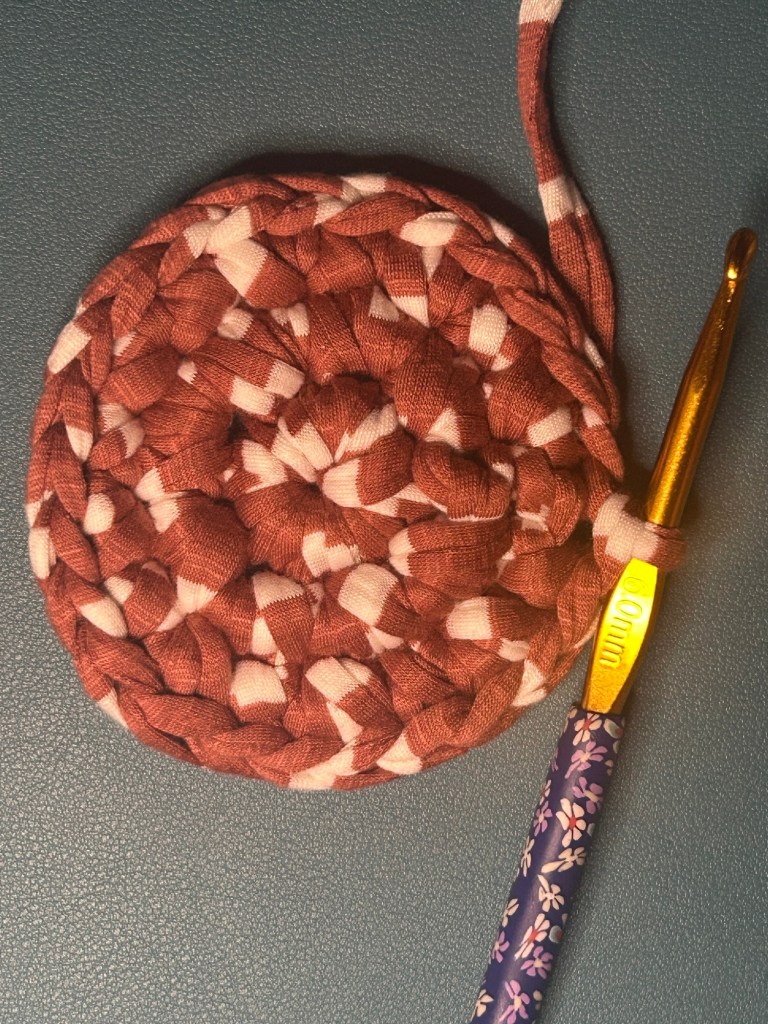
Rnd 3: Ch 1, repeat (inc in first st, sc in next st) around. Join. 24 sc.
All rights reserved by Courtney J Campbell
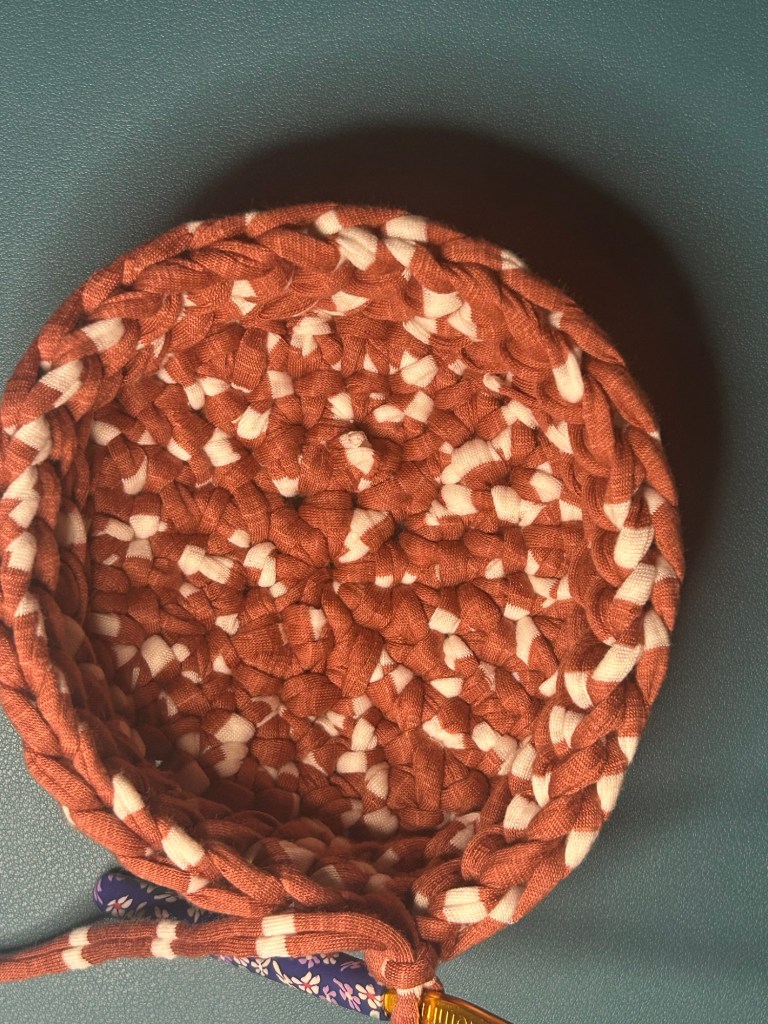
Rnd 4: Ch 1, repeat (sc in first st, inc in next st, sc in next st) around. Join. 32 sc.
All rights reserved by Courtney J Campbell
All rights reserved by Courtney J Campbell
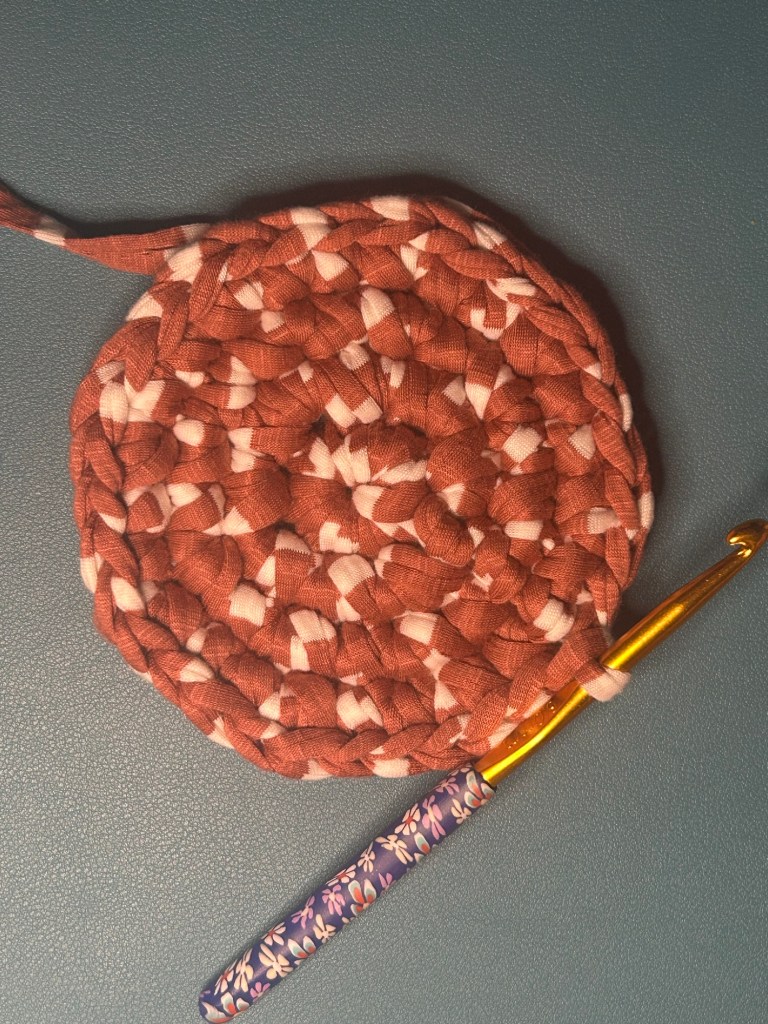
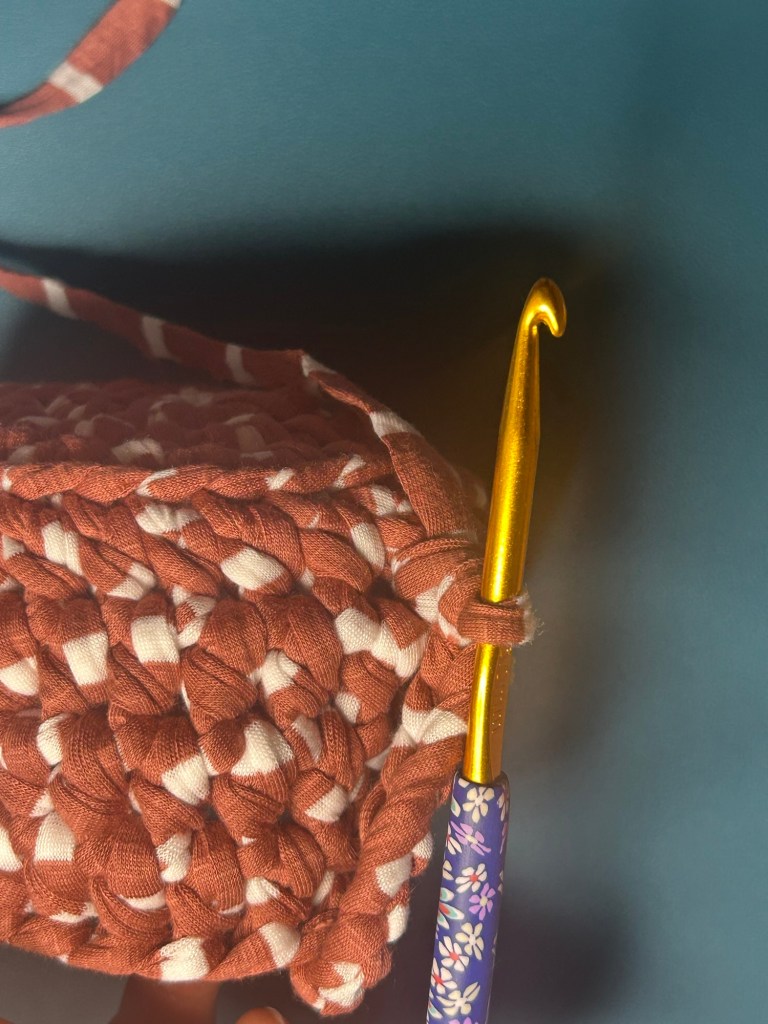
Rnd 5: Ch 1, hdc blo in each st around. Join. 32 hdc blo.
All rights reserved by Courtney J Campbell
All rights reserved by Courtney J Campbell
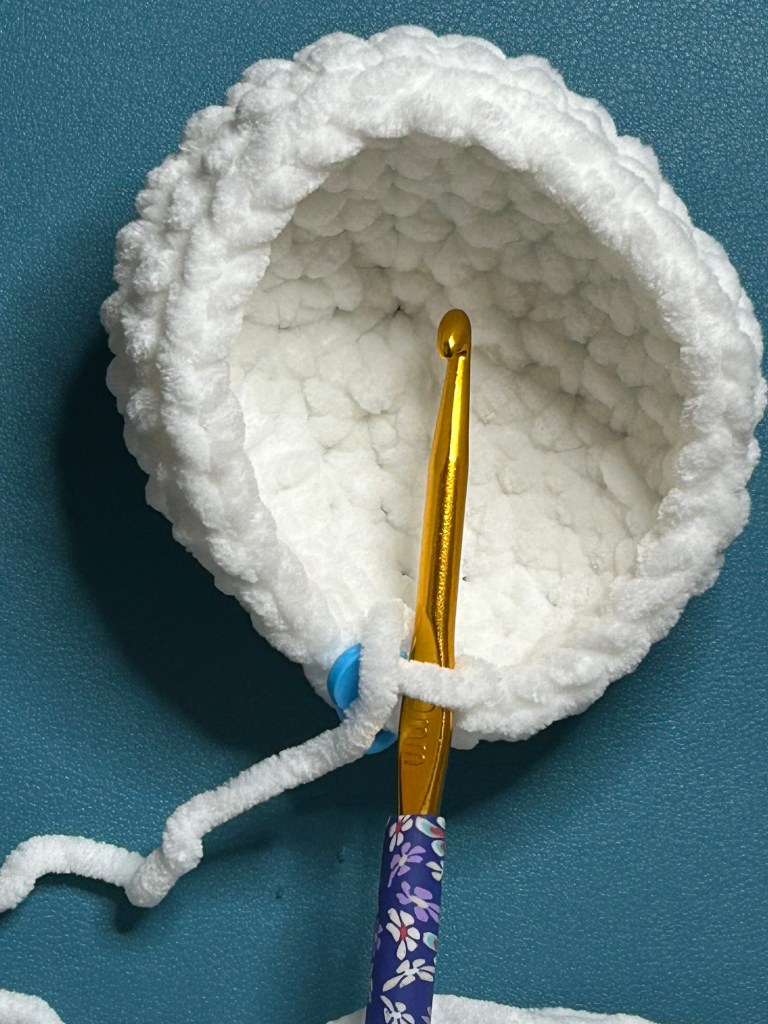
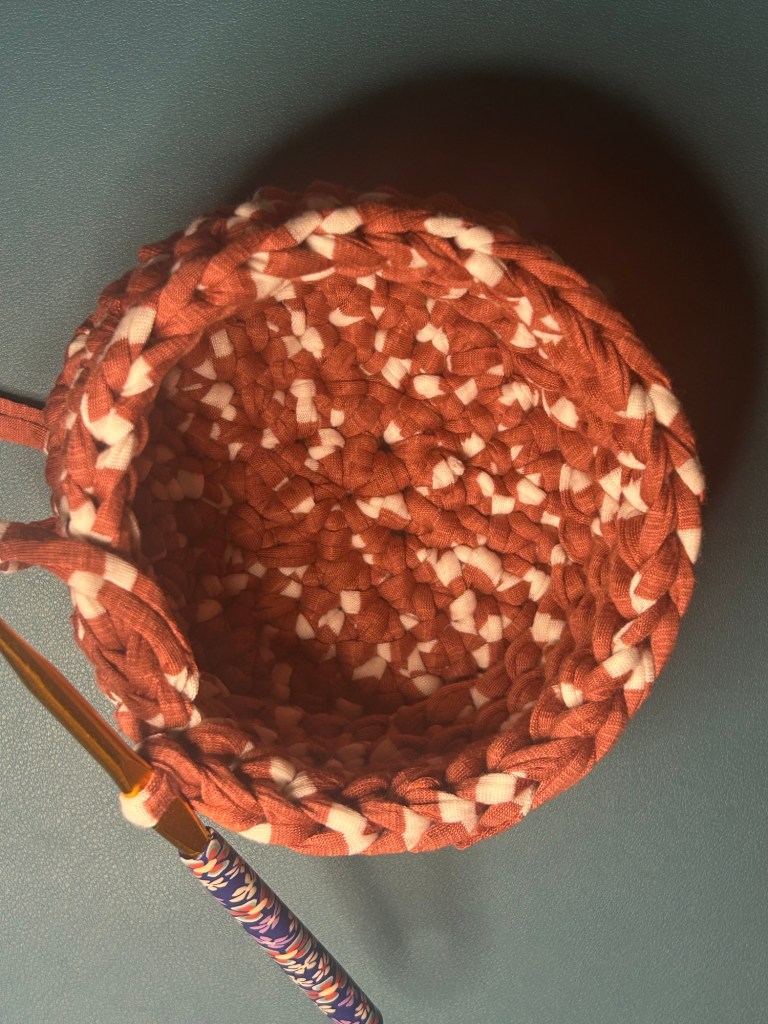
Rnds 6-8: Ch 1, hdc in each st. Join. 32 hdc.
All rights reserved by Courtney J Campbell
All rights reserved by Courtney J Campbell
All rights reserved by Courtney J Campbell
All rights reserved by Courtney J Campbell
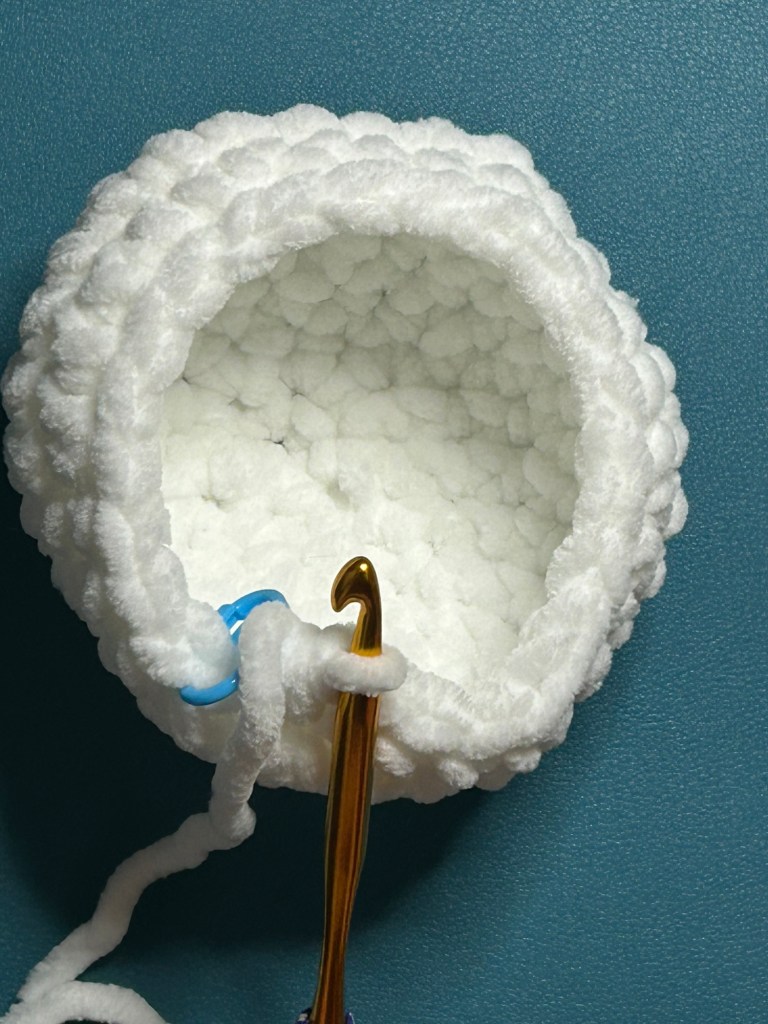
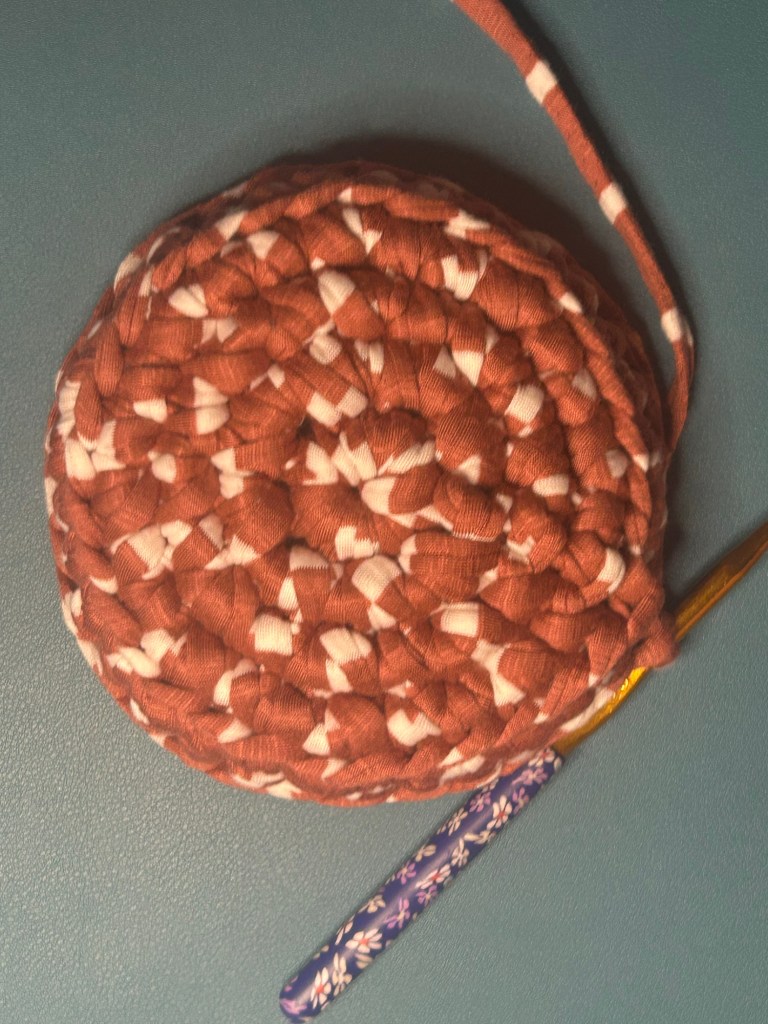
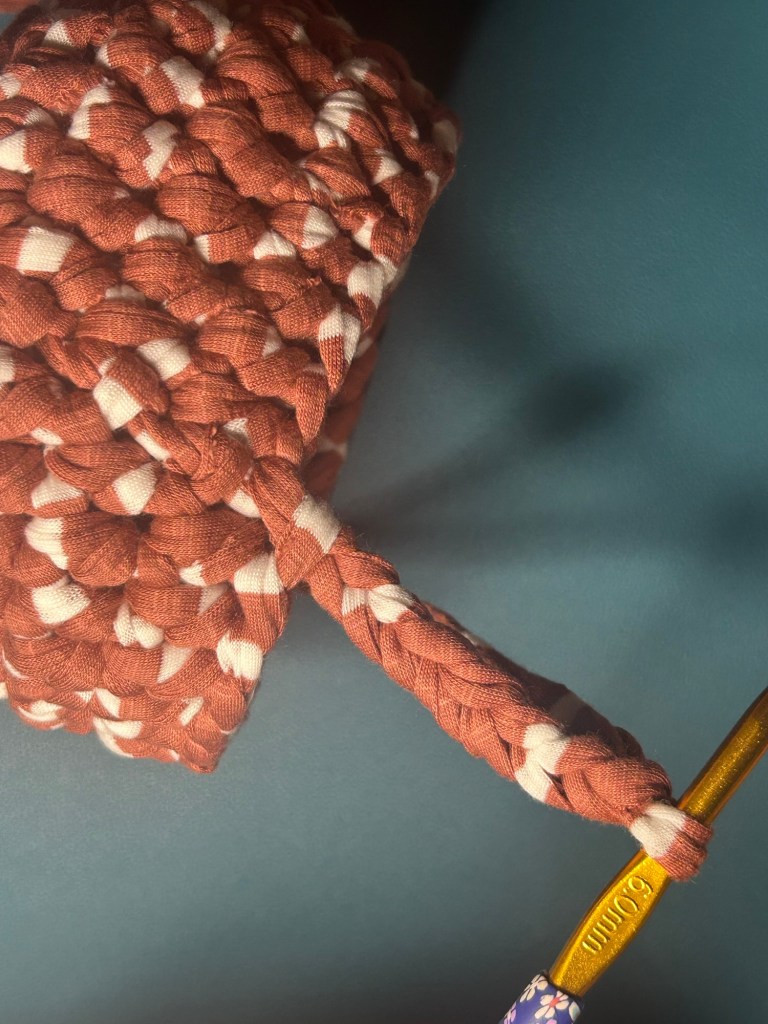
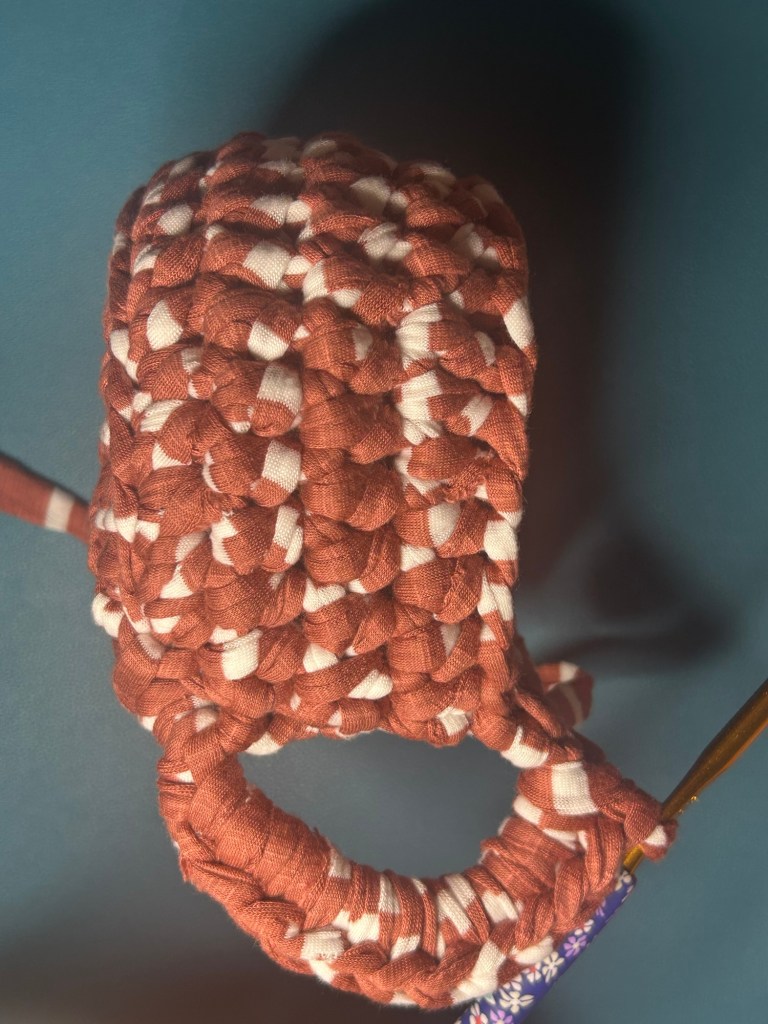
Handle: After joining rnd 8, ch 8 (or however many chs gives you a chain that reaches from the top of the mug to the bottom). Push hook through and around back of first st of rnd 5. Work a fpsc. Ch 1. Work 12 sc around the chain you made, working from bottom of the handle back up to top.
All rights reserved by Courtney J Campbell
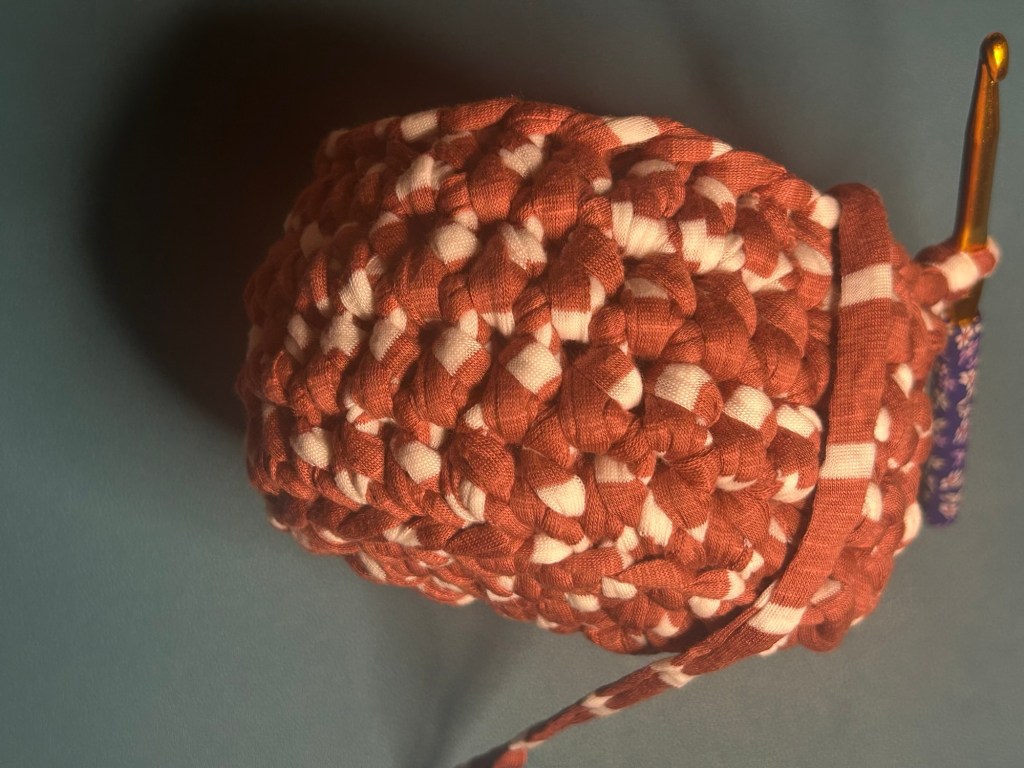
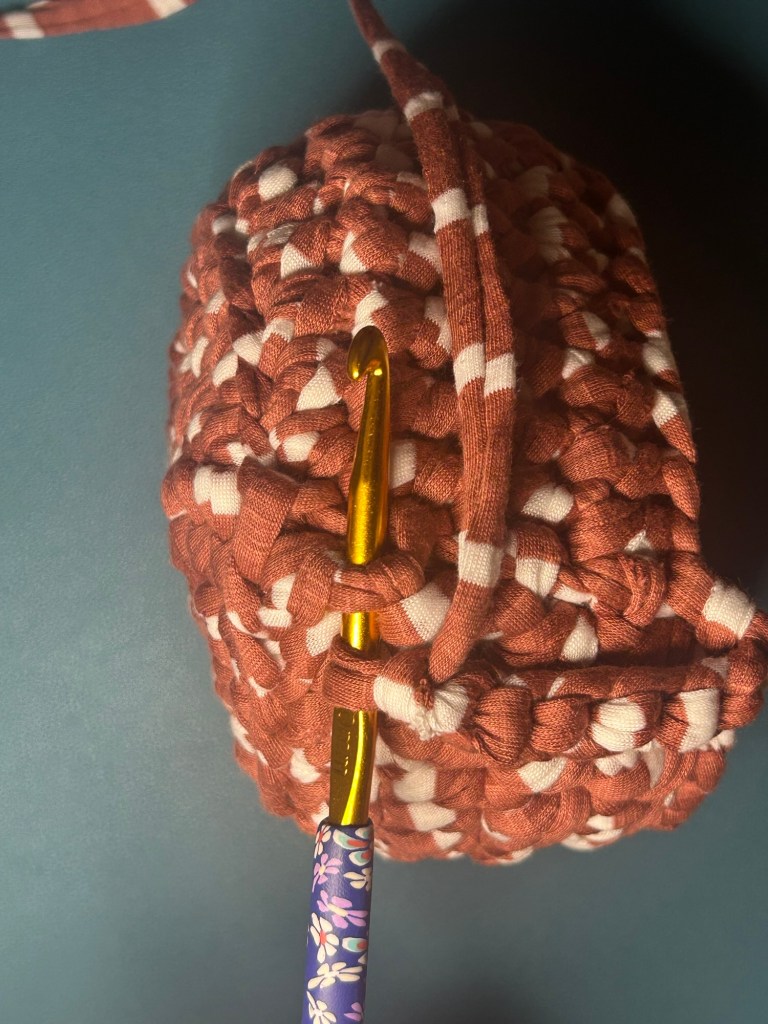
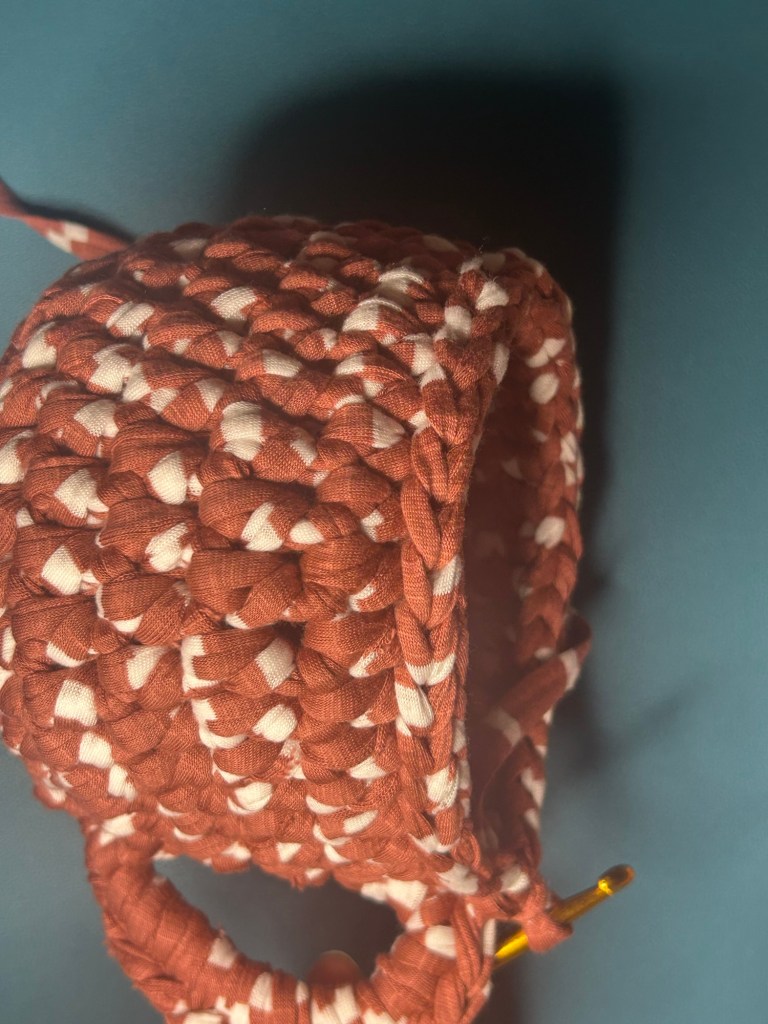
Rnd 9: At top of handle, Ch 1, hdc in each st around. The top of the handle will lean initially, but will correct itself once the round is joined. Join to top of mug handle. 32 hdc.
All rights reserved by Courtney J Campbell
Rnd 10: Sl st around. 32 sl st.
All rights reserved by Courtney J Campbell
Finish off, weave in ends.
Now, hand mug with snowballs in it to child and duck!
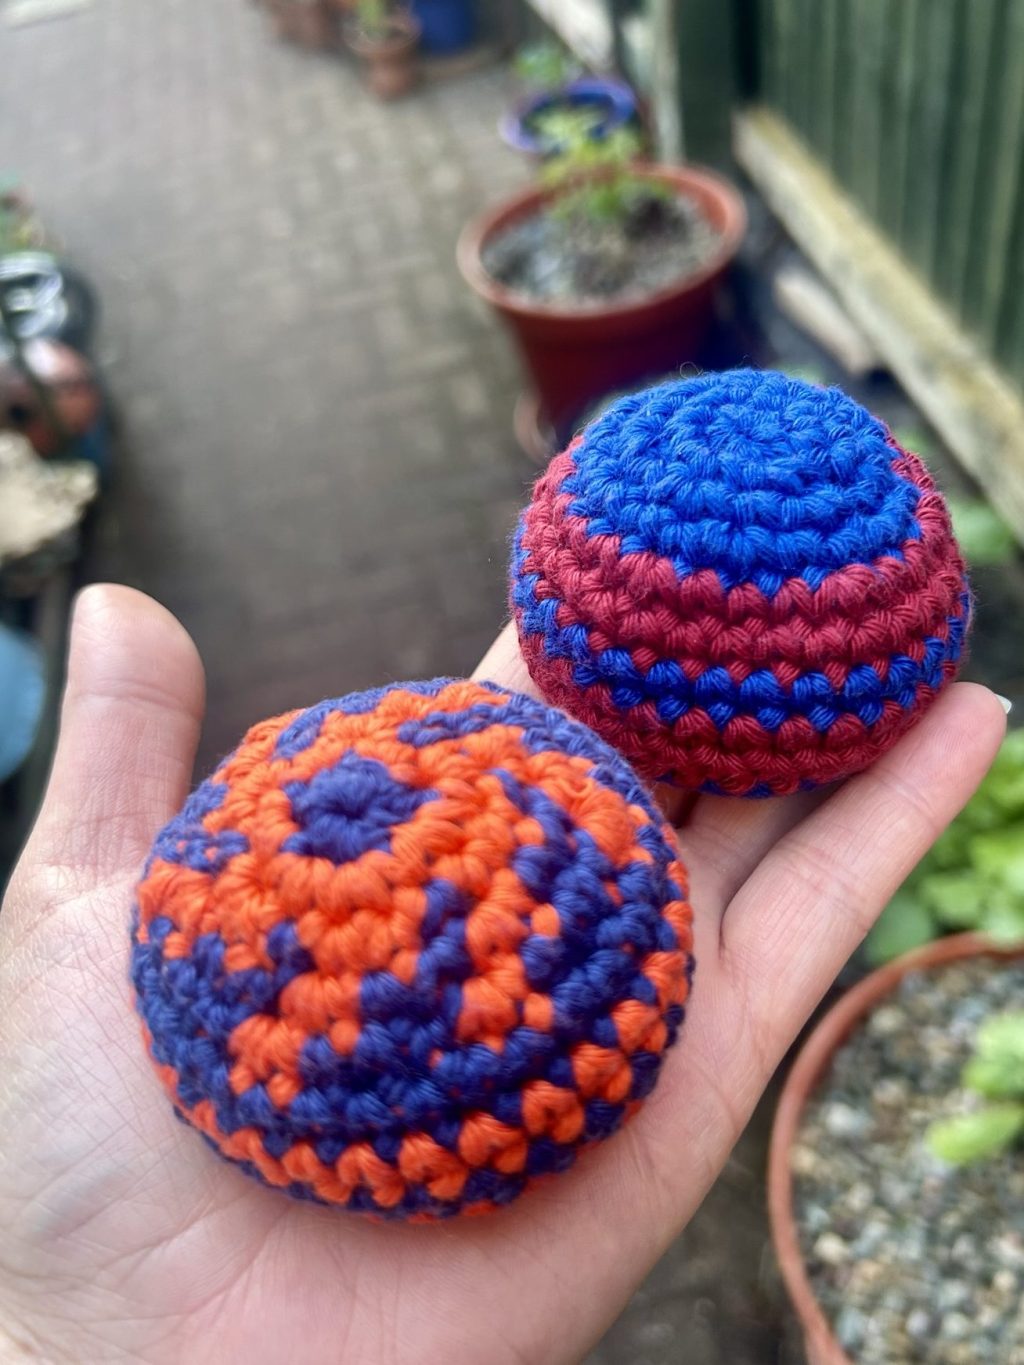
Thank you to the amazing crocheters who tested this pattern for me and provided valuable feedback and images. See how lovely their projects turned out:
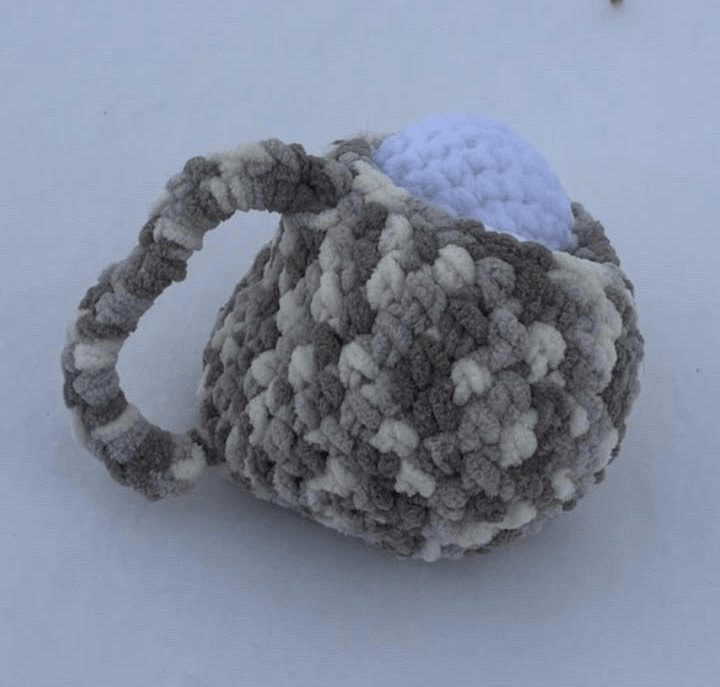
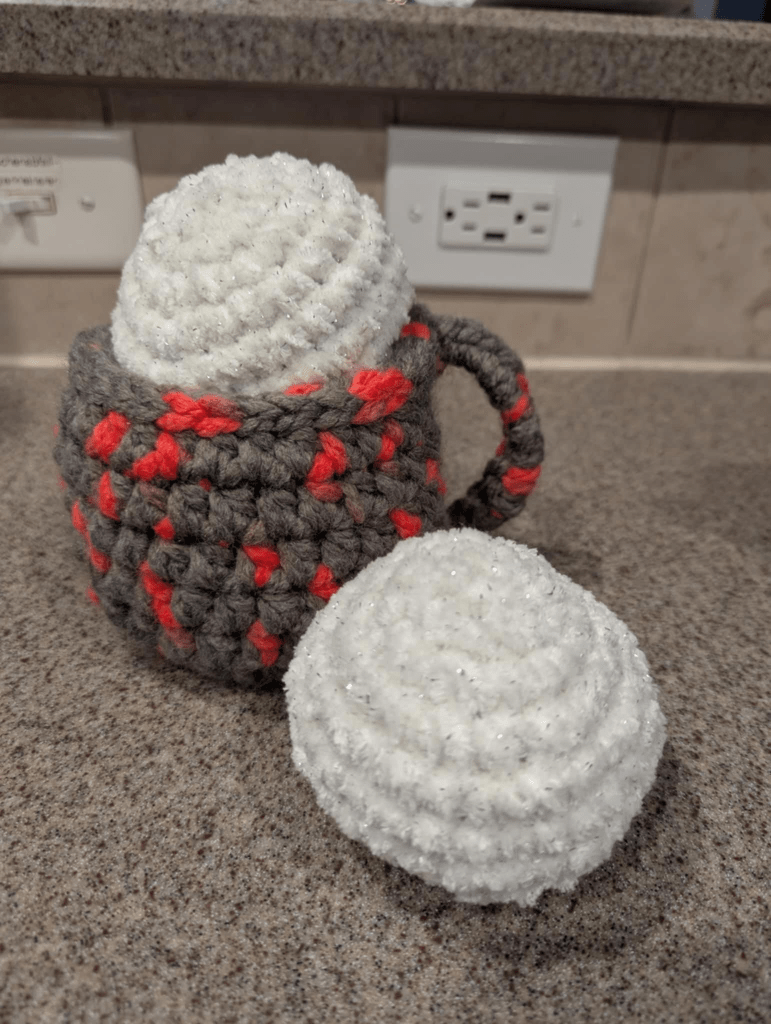
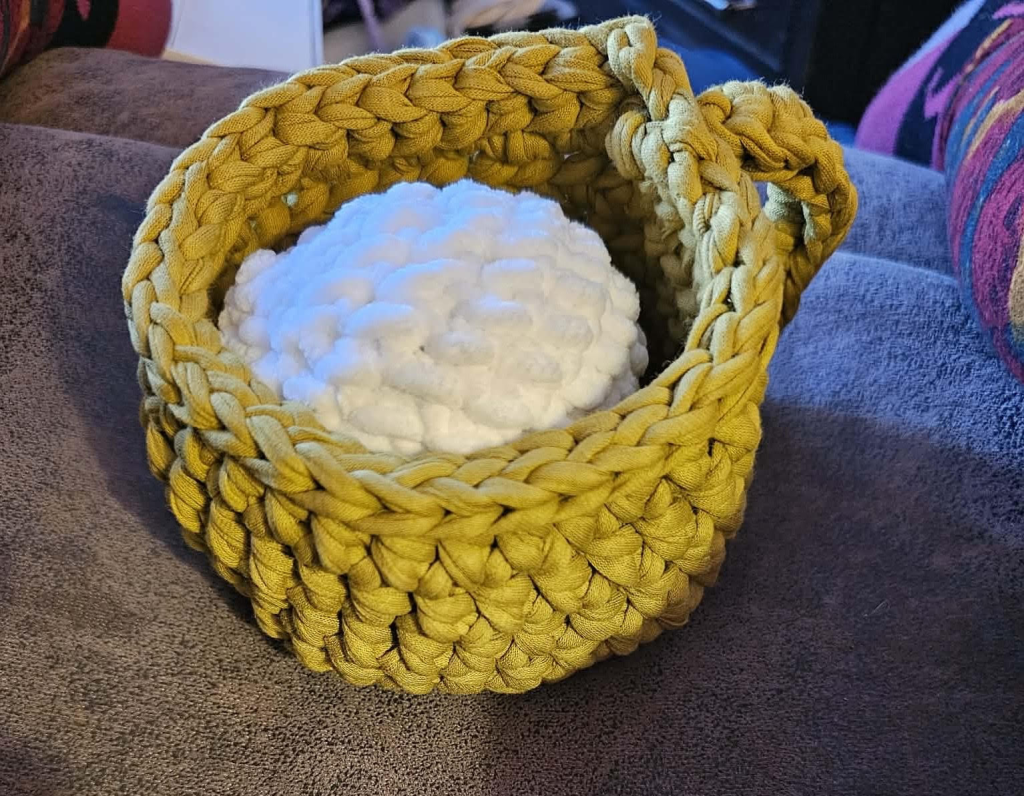
And thank *you* for visiting my site! Please consider creating a project on Ravelry for your snowball fight and like, subscribe, and share an image of your snowball fight here in the comments!
All rights reserved by Courtney J Campbell

Leave a comment