The Champ Wine Bottle Tote Pattern (and make a pencil/makeup brush holder and coaster along the way)
Disclosure: This post may contain affiliate links, meaning I get a commission if you decide to make a purchase through my links, at no cost to you.
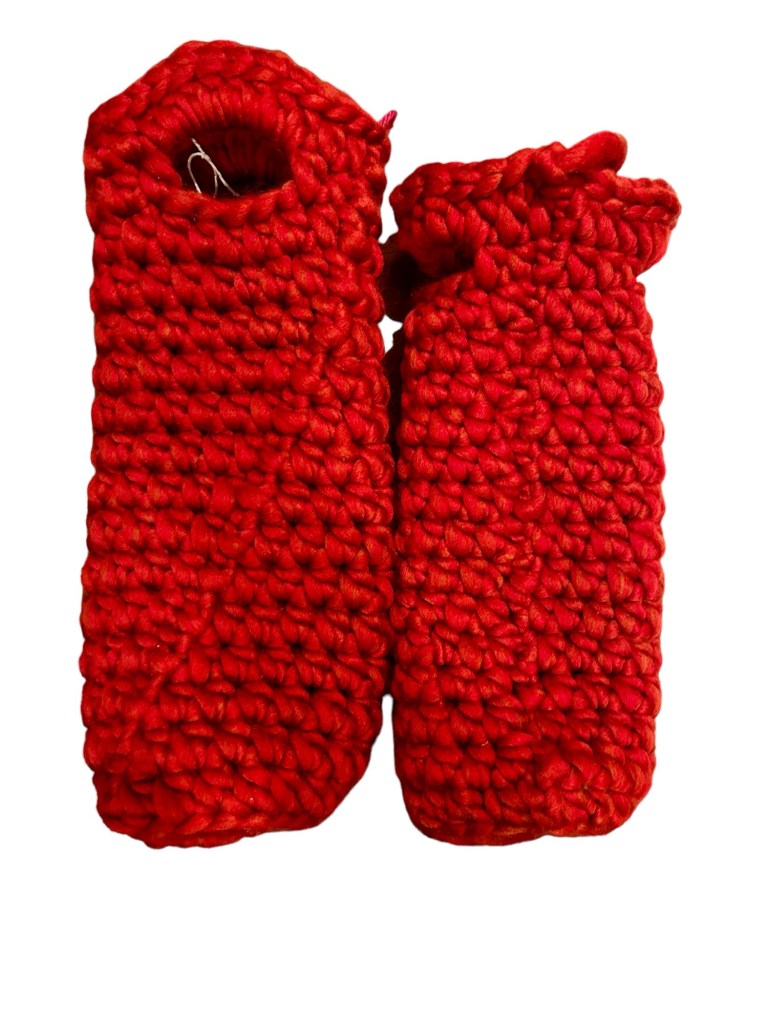
Have you been invited to a dinner party and you don’t know what to bring? This wine bottle tote pattern is worked in the round, easy to follow, and based on single and half double crochets. It is designed for super chunky yarns, but can also be made with three or four strands of DK or Worsted Weight (Aran) held together, or, even, cord. It works up quickly — you can have a tote in just an hour or so — and, like you and I, it is beautiful and elegant, yet strong enough to hold a bottle of wine.
If you would prefer an ad free experience, you can purchase the pattern for £2.50 on my Etsy or Ravelry pages.
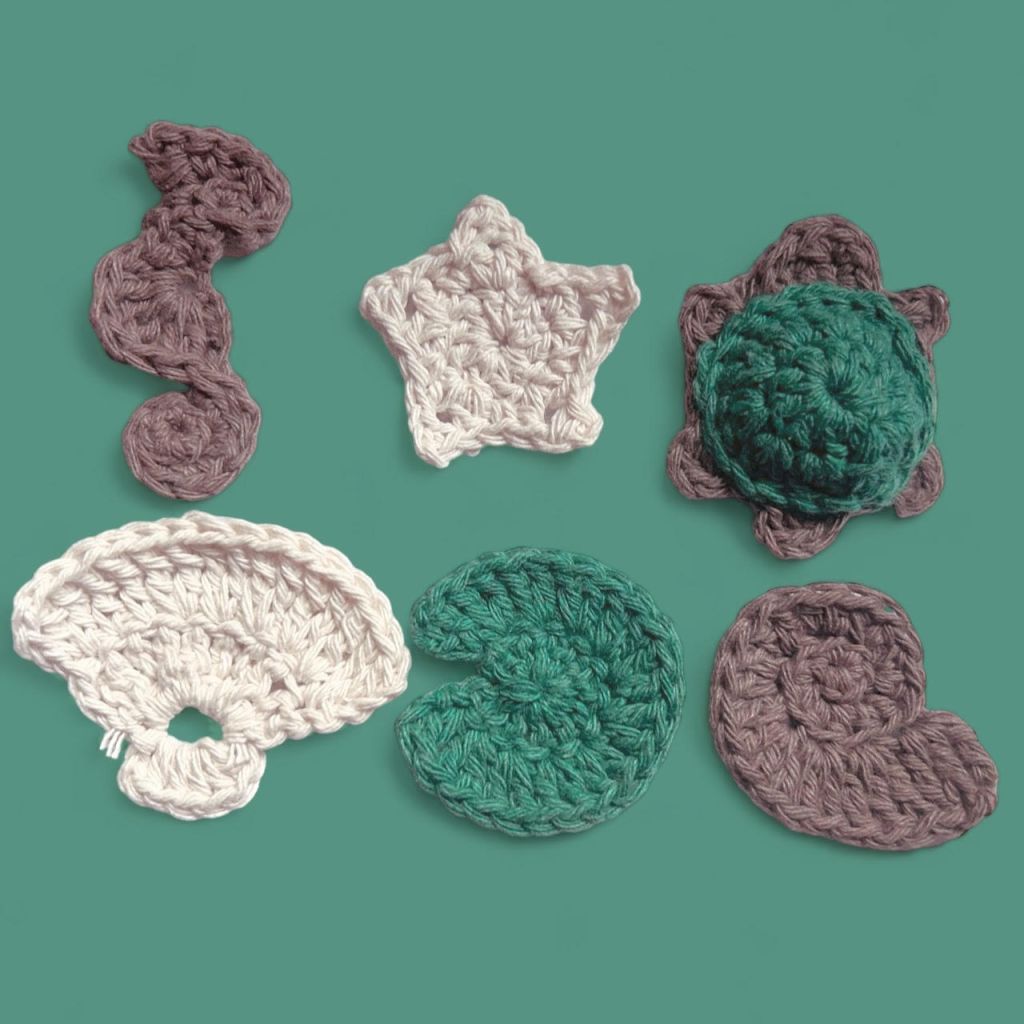
For many years, the only items I crocheted were blankets, like the one featured here in my welcome post. In 2001, when I moved to South America, I no longer gained comfort from the weight of a heavy blanket and wanted smaller, more portable projects. I started making purses and bags.
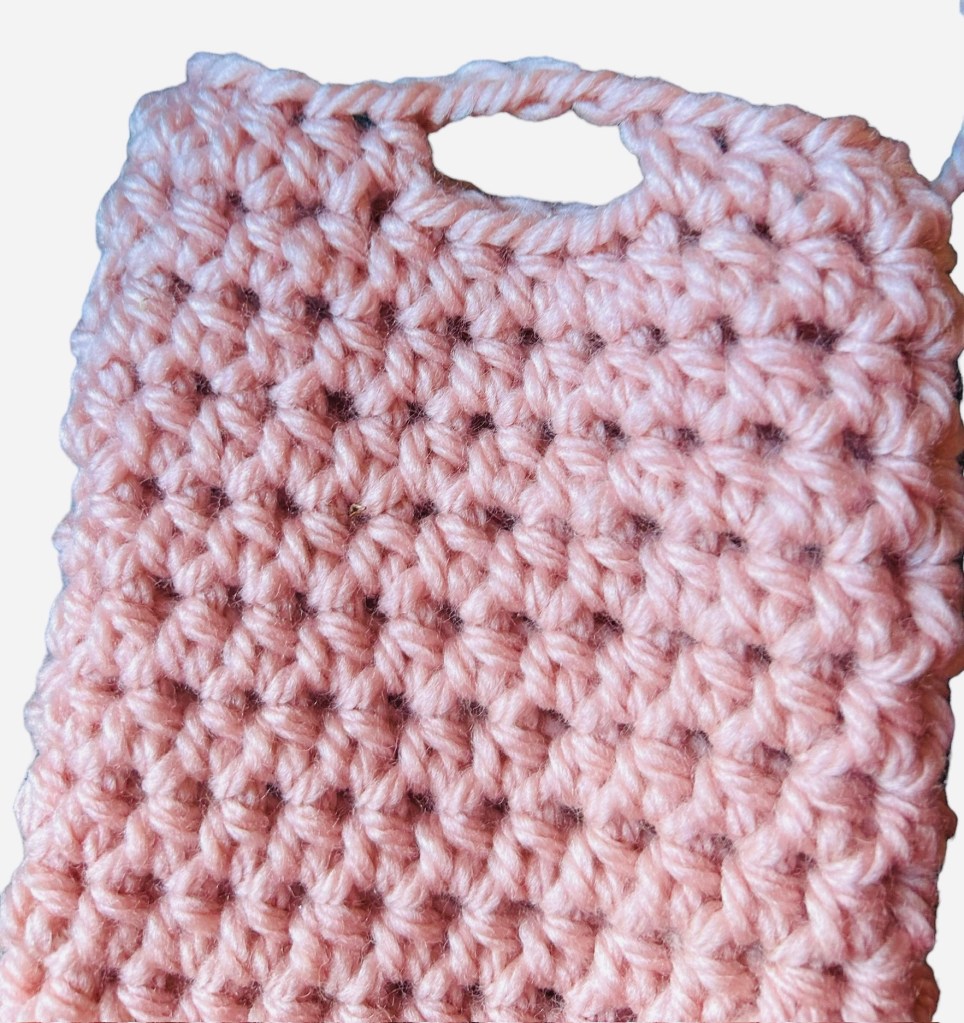
There are many ways to make bags, but the easiest, most straightforward method is to work the bag in the round and then either crochet or attach straps. This tote, however, is modelled on baskets, rather than bags. In this case, instead of straps, we work in hardier handles.
While created for wine bottles, I’ve also used mine to carry a bottle of whiskey, gifted to a friend, making use also as a re-usable, sustainable gift bag.
To complete this project, you will need to know how to:
- Start a project in the round
- Create a flat circle
- Do a single crochet
- Do a half double crochet
- Join
- Work in the back loop only
- Chain
- Slip stitch
- Finish off
- Weave in ends
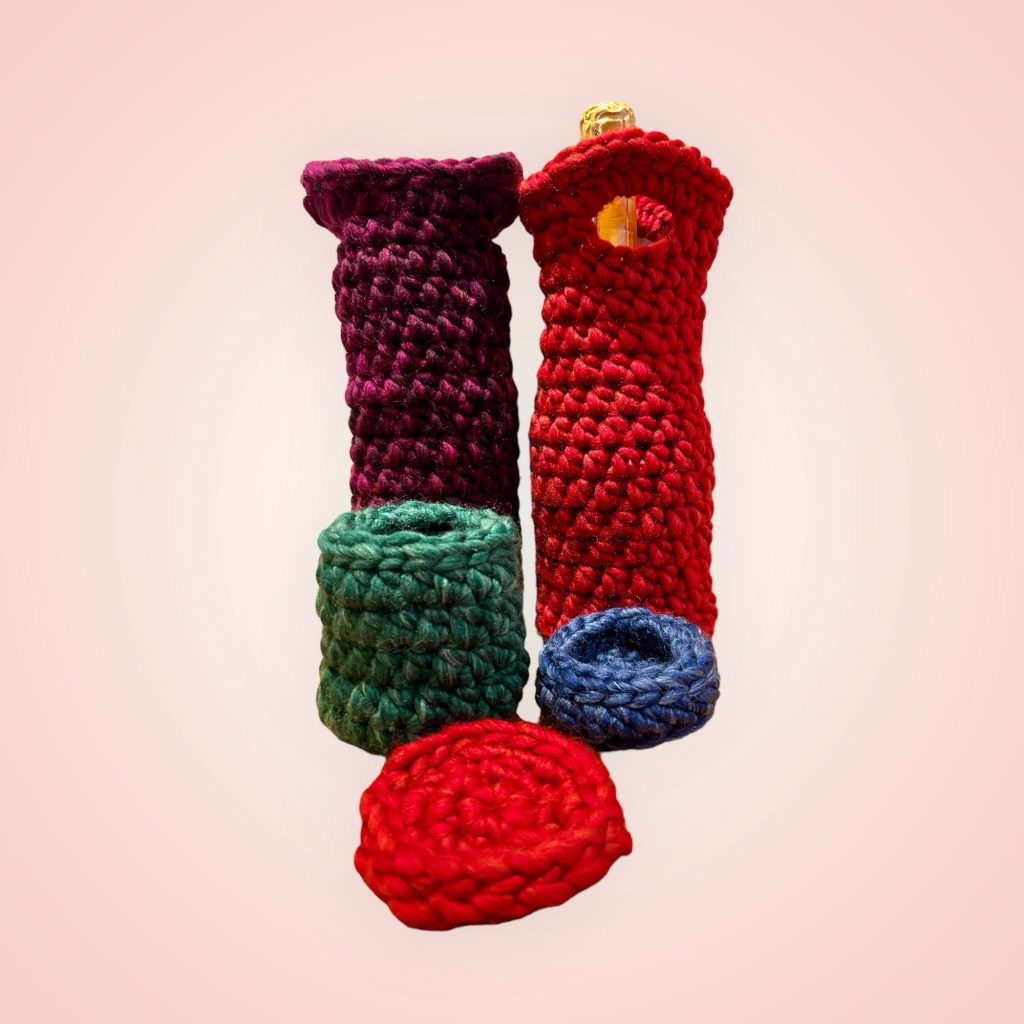
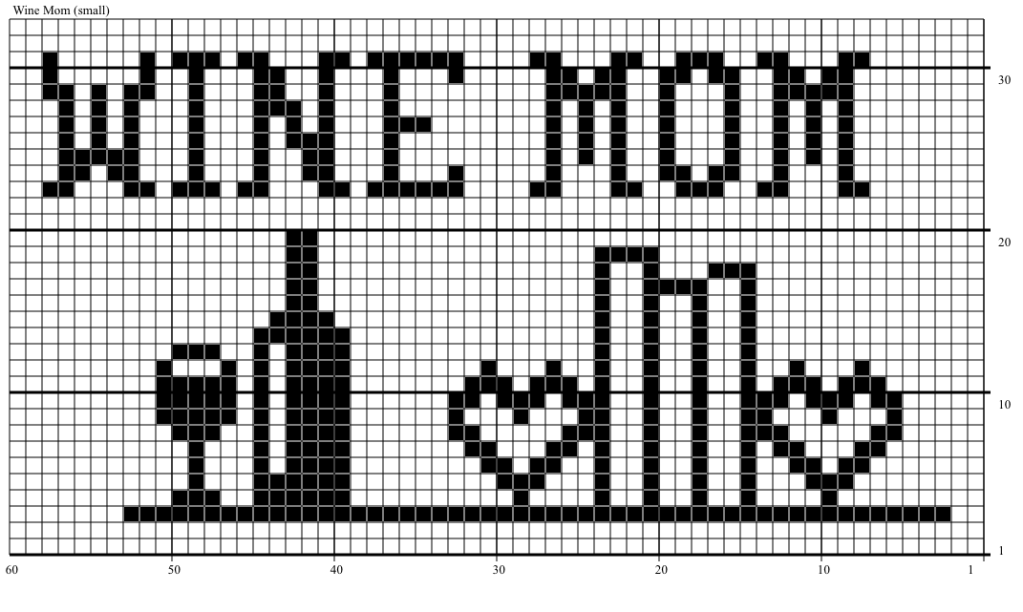
This reusable wine bottle carrier gives a special touch to your dinner party contribution, Valentine’s Day, anniversary, picnic, or any celebration. You can customize it with hanging hearts or glued/sewn on appliqués for a special touch. At the end, I also explain how you can make a pencil holder or set of coasters.

As yarn thickness can vary within the “super chunky/bulky” range, there are two options for you to follow, based on gauge. You have to measure after round 3 to determine which option to follow!
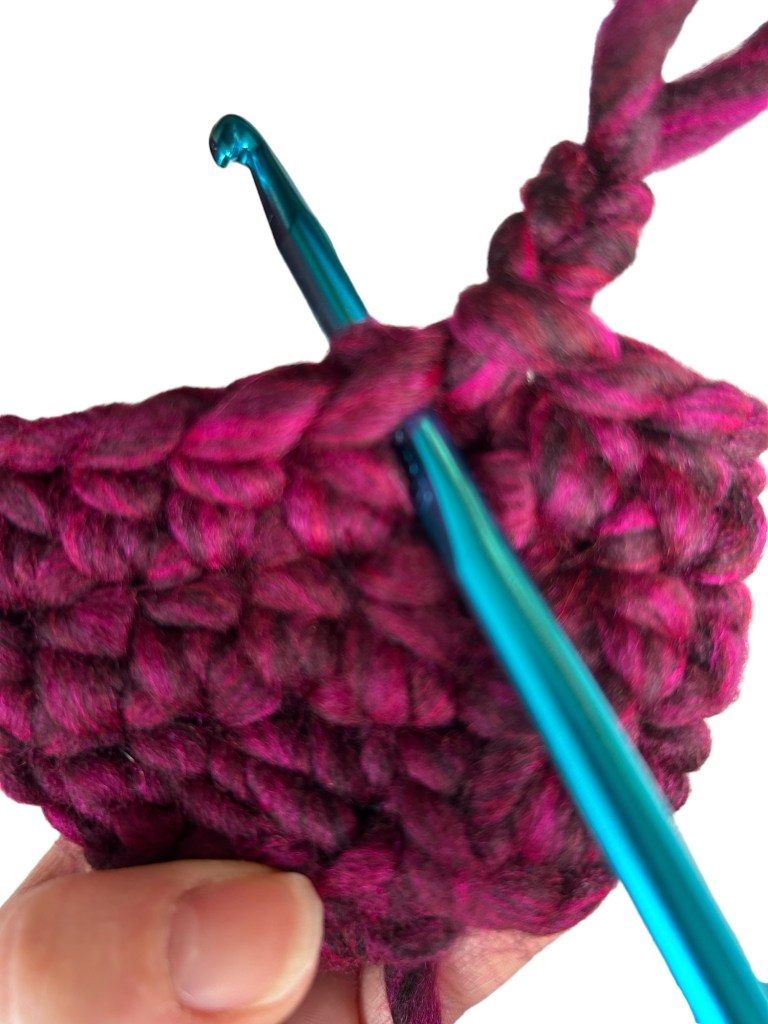
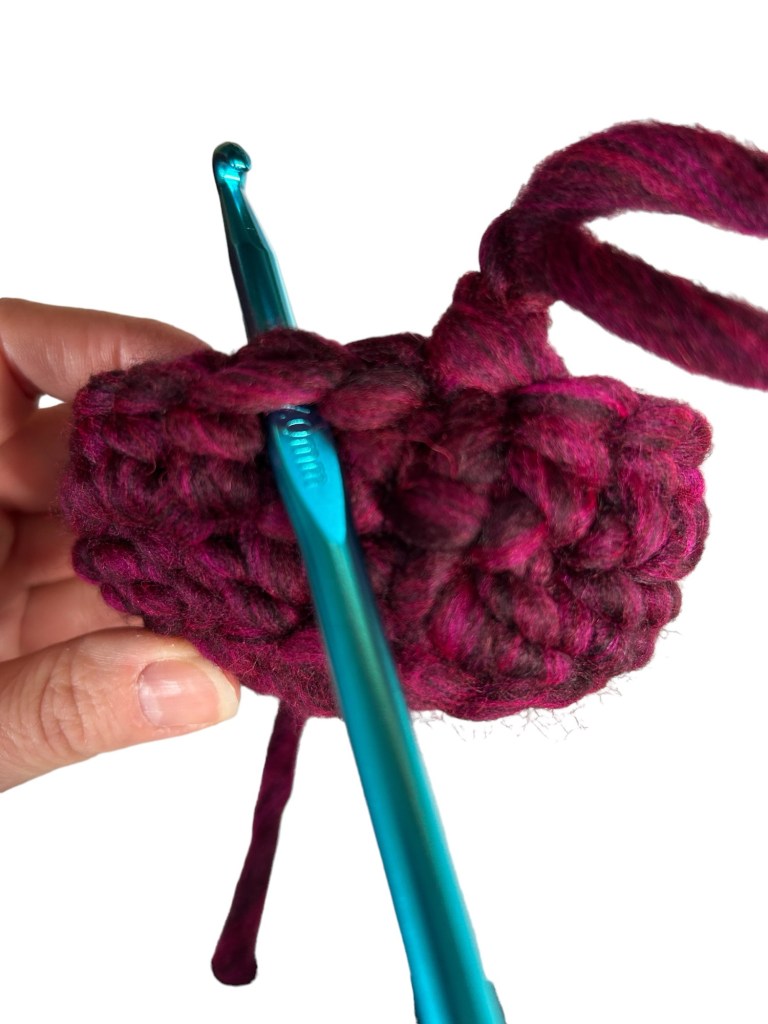
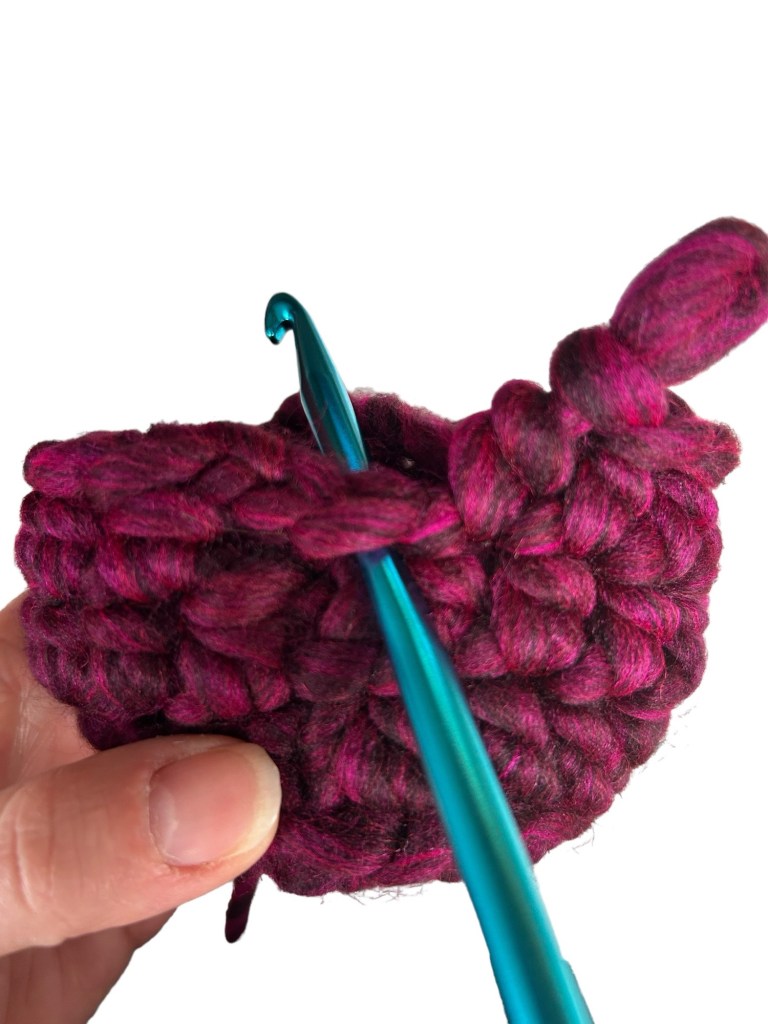
There is an image tutorial embedded in this page (or at the end of the paid pdf) for you to visualize the process of making these items. If you don’t need the tutorial, you can save ink by only printing this instructions page of the pdf.
Difficulty level: Beginner to Intermediate – pattern uses chain (ch), single crochet (sc), half double crochet (hdc), slip stitch (sl st), working hdc back loop only (hdcblo), and working in the round (rnd). Stitch count is included for each round.
Finished size:
Wine carrier: 11.5in/29cm high, 4in/10cm across
Coaster: 3.75in/9.5cm across
Pencil holder: 4in/10cm high, 4in/10cm across
Trinket holder: 2in/5cm high, 4in/10cm across
Materials:
Super bulky (super chunky) yarn: about 115 grams/4.05 ounces and 57.5 metres/62.9 yards for option 1. 90 grams/3.17 ounces and 72 metres/78.74 yards for option 2.
Crochet hook size 7.0 mm, or size needed to obtain gauge.
Gauge: Option 1 (I used Hobbii Udon): 8 stitches and 5 hdc rows in 4 inches. Option 2 (I used Stylecraft Life Super Chunky): 9 stitches and 6 hdc rows in 4 inches. You should reach 3 inches/7.6 centimetres across in 4 rows for option 1 or 5 rows for option 2.
Pattern follows US terms.
Instructions
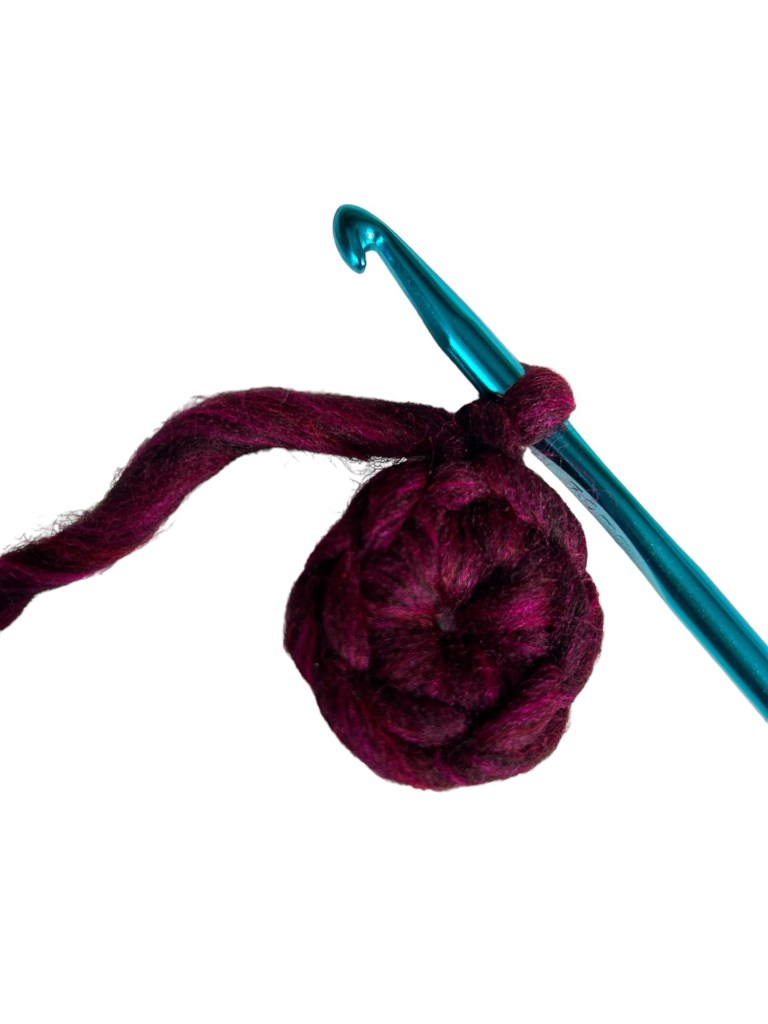
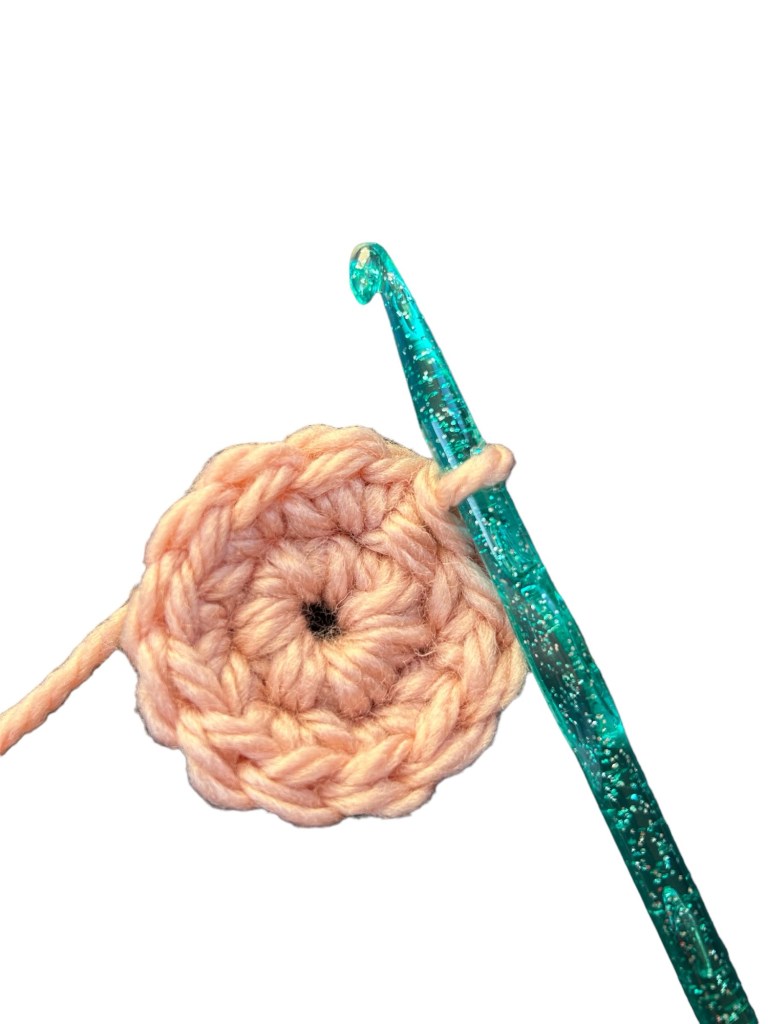
Starting: Start either from a magic circle or joining a chain of three. If starting from a chain: chain 3, join to first chain.
Rnd 1: Ch 1 (does not count as first sc), work 6 sc in center of joined chain or in magic circle, join with sl st to first sc: total 6 sc.
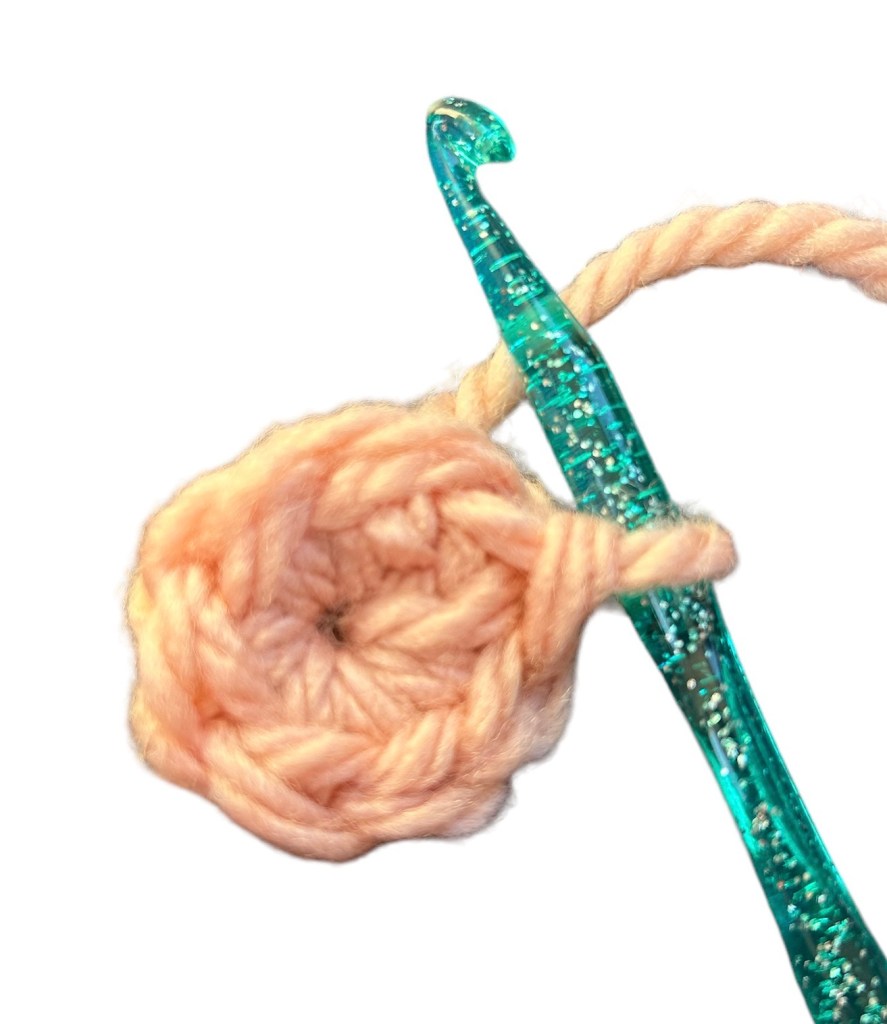
Rnd 2: Ch 1, 2 sc in each stitch around, join: 12 sc.
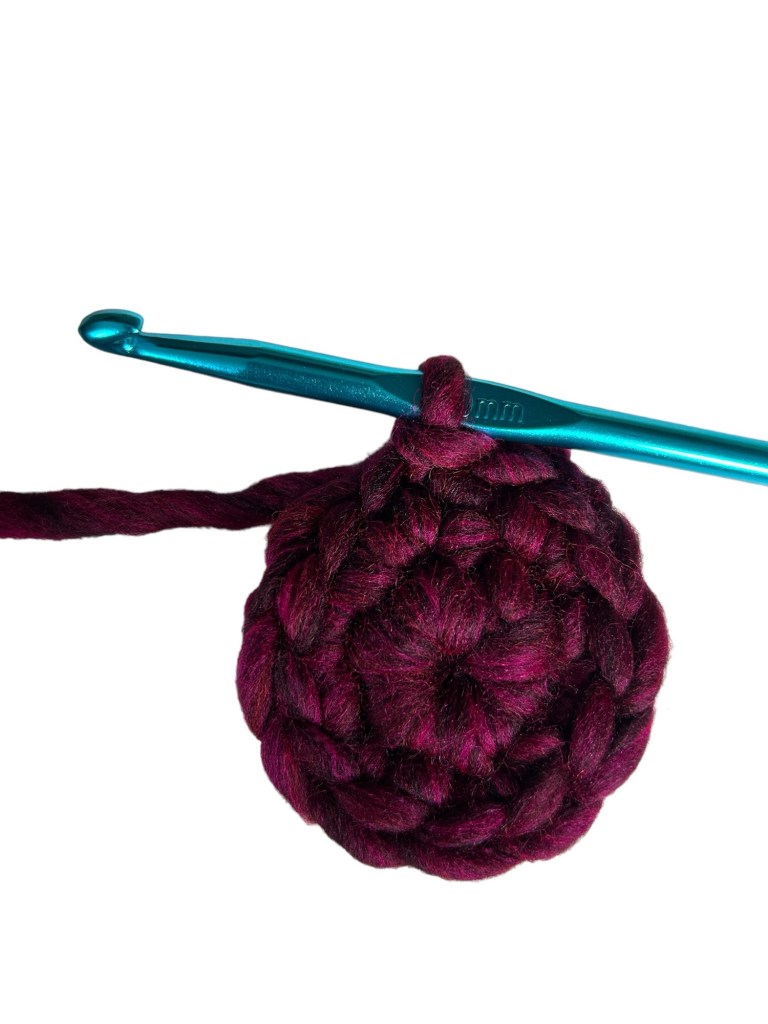
Rnd 3: Ch 1, then repeat: (2 sc in next two stitches, 1 sc in next stitch) four times: 20 sc.

STOP HERE TO MEASURE. If you have reached 3 inches/7.6 centimetres here, go to Option 1. If you have not, go to Option 2.
Option 1:
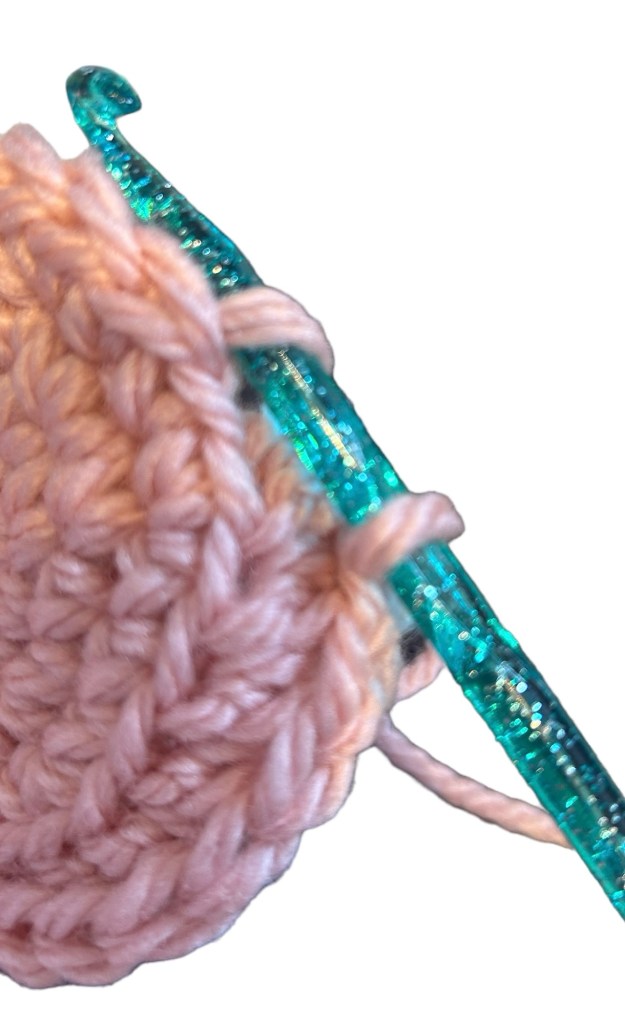
Rnd 4: Ch 2 (counts as first hdc here and throughout). Hdcblo in next stitch and each stitch around. 20 hdcblo. Join to top of starting chain.
Rnd 5: Ch 2, hdc (through both loops) around. Join to top of starting chain: 20 hdc.
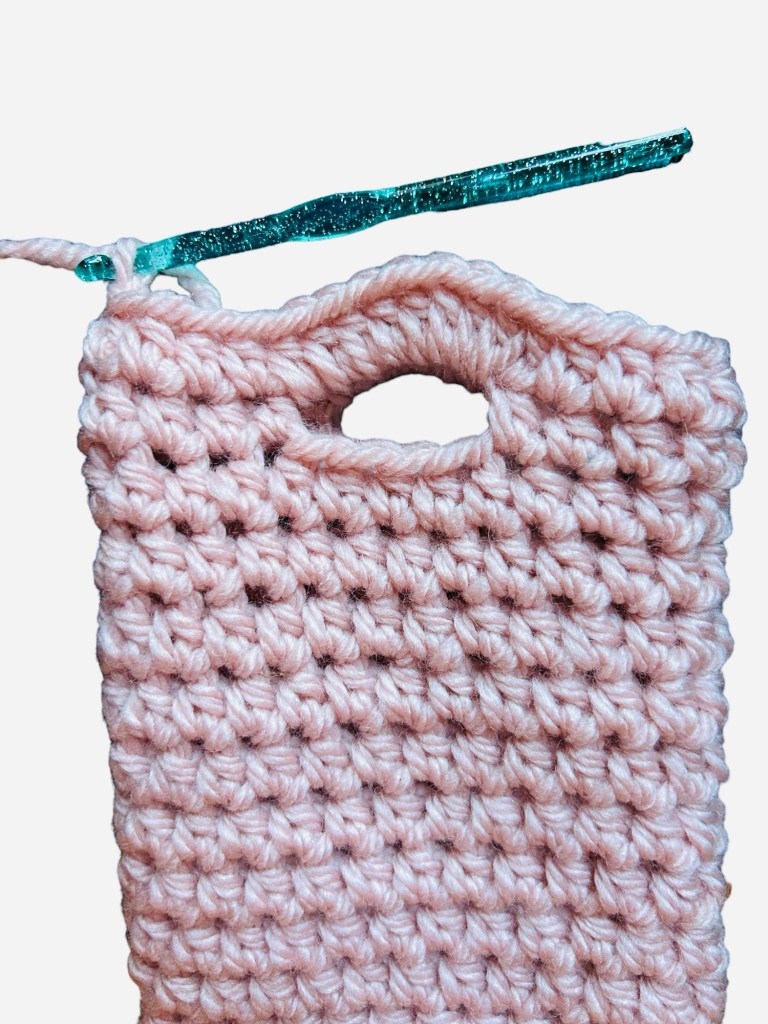
** Note: Projects worked in the round will have a vertical line at the join that looks like a seam. If you follow the same pattern around, that seam will be diagonal or spiral upward. If you would like for it to be straight, alternate where you start and end your round, starting in the chain closest to the hook and ending further from the beginning of the round in one round and, in the next, starting in the next stitch and ending closer to the beginning of the round.**

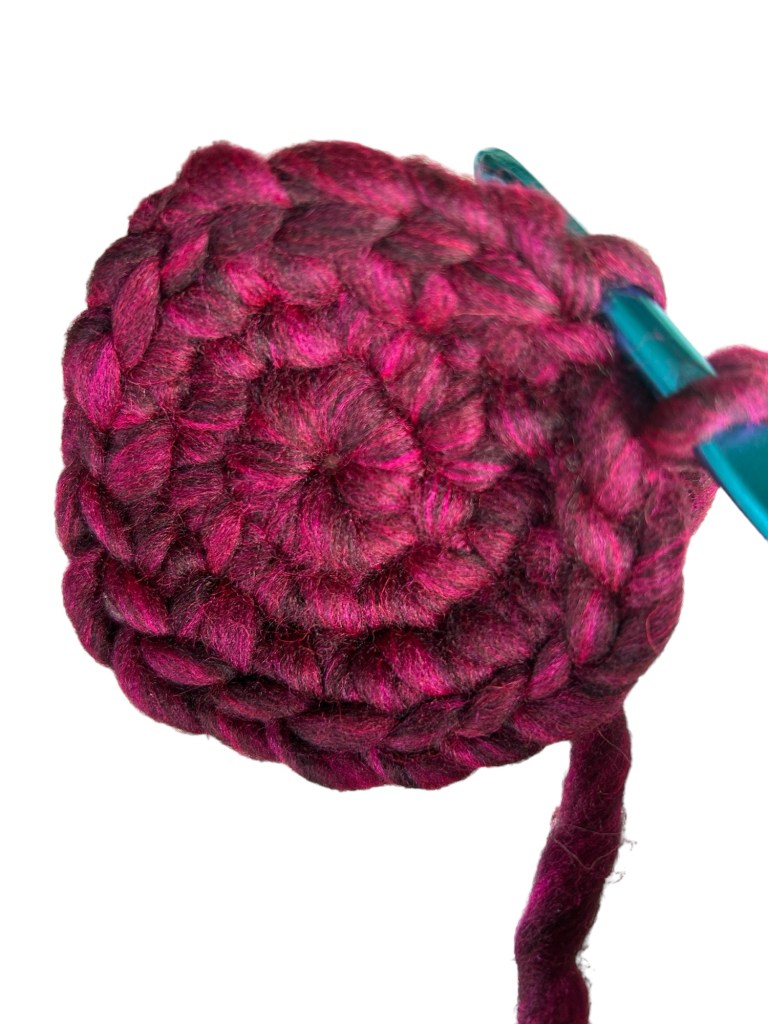
Rnds 6 to around 18: Repeat rnd 5 until the piece measures 10in/25.4 cm from the first round of hdc through back loop: 20 hdc per rnd.
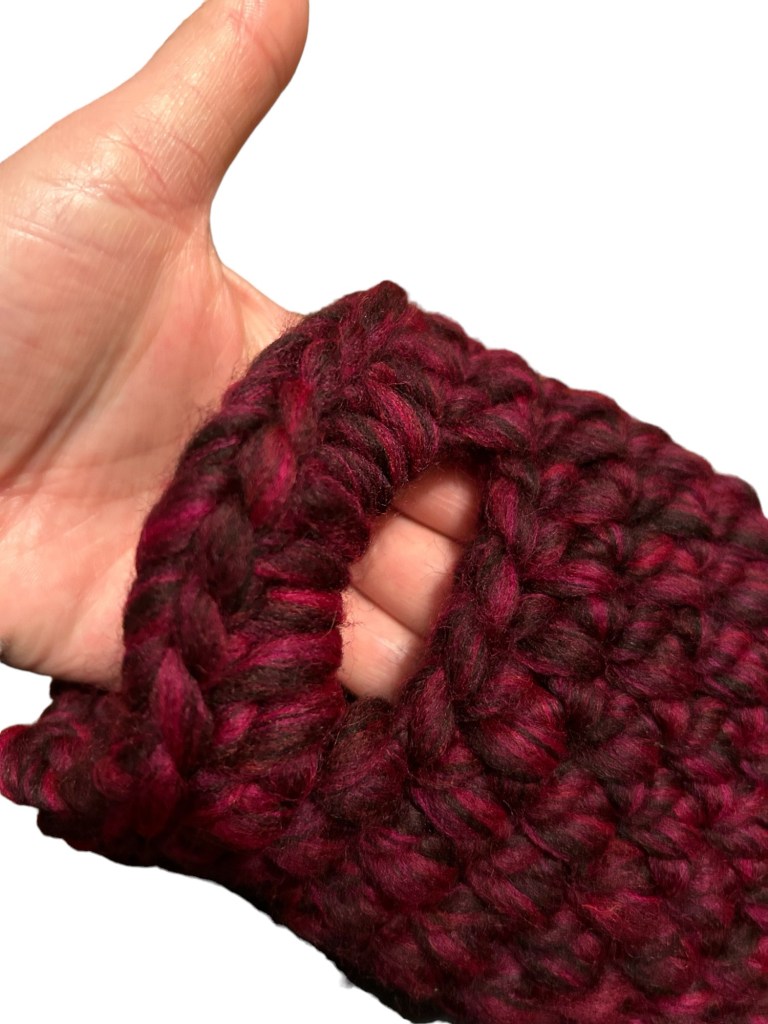
Handle rnd 1: Ch 2, hdc in next 2 stitches, ch 4, skip next 4 stitches, hdc in next stitch and in next 5 stitches, ch 4, skip next 4 stitches, hdc in next 3 stitches, join to top of starting chain: 12 hdc, 8 ch.
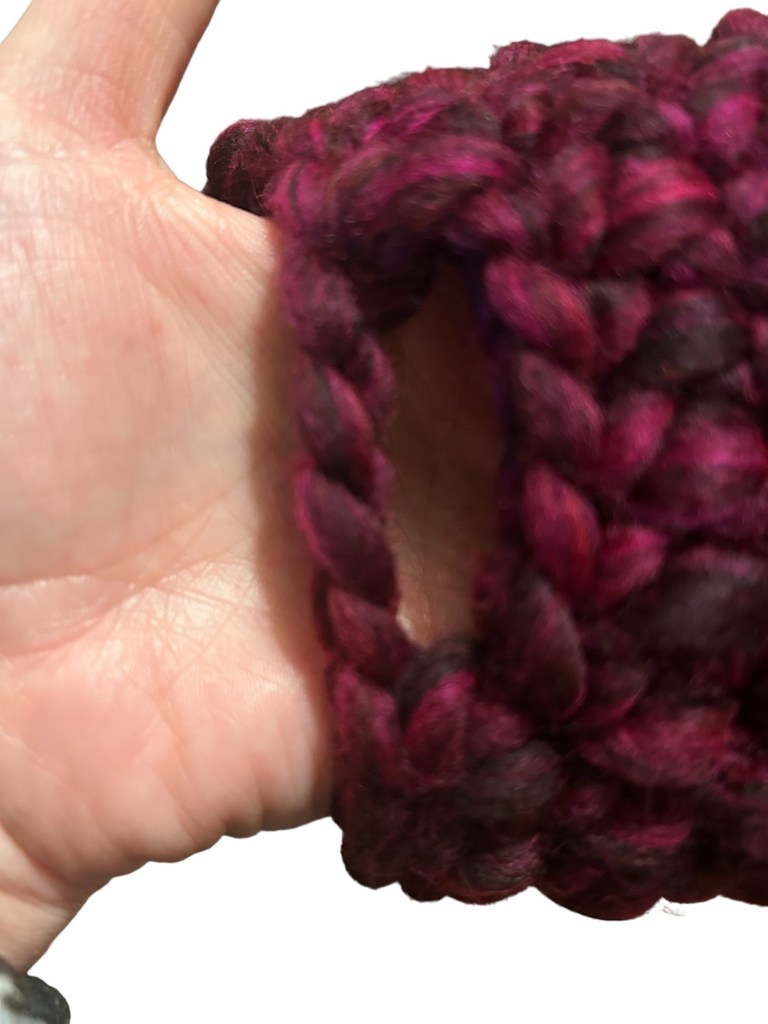
Handle rnd 2: Ch 2, hdc in next 2 stitches, 8 hdc in ch4 space, hdc in next 6 stitches, 8 hdc in ch4 space, hdc in next 3 stitches, join to top of starting chain: 28 hdc.
Final rnd: Ss around, join: 28 sl st.
Fasten off and weave in ends.
Option 2
Rnd 4: Ch1, 1 sc in first stitch, then repeat (1 sc in next stitch, 2 sc in next stitch, 1 sc in next stich) six times, 1 sc in same stitch as initial ch1: 26 sc. Join.
Rnd 5: Ch 2 (counts as first hdc here and throughout). Hdcblo in next stitch and each stitch around. Join to top of starting ch. 26 hdcblo.
Rnd 6: Ch 2, hdc (through both loops) around, join to top of starting ch: 26 hdc.
** Note: Projects worked in the round will have a vertical line at the join that looks like a seam. If you follow the same pattern around, that seam will be diagonal or spiral upward. If you would like for it to be straight, alternate where you start and end your round, starting in the chain closest to the hook and ending further from the beginning of the round in one round and, in the next, starting in the next stitch and ending closer to the beginning of the round.**
Rnds 7 to around 22: Repeat rnd 6 until the piece measures 10in/25.4 cm from the first round of hdc through back loop: 26 hdc per rnd.
Handle rnd 1: Ch 2, hdc in next 4 stitches, ch 4, skip next 4 stitches, hdc in next stitch and in next 8 stitches, ch 4, skip next 4 stitches, hdc in next 4 stitches, join to top of starting ch: 18 hdc, 8 ch.
Handle rnd 2: Ch 2, hdc in next 4 stitches, 8 hdc in ch4 space, hdc in next 9 stitches, 8 hdc in ch4 space, hdc in next 4 stitches, join to top of starting ch: 34 hdc.
Final rnd: Ss around, join: 34 sl st.
Fasten off and weave in ends.
Variations
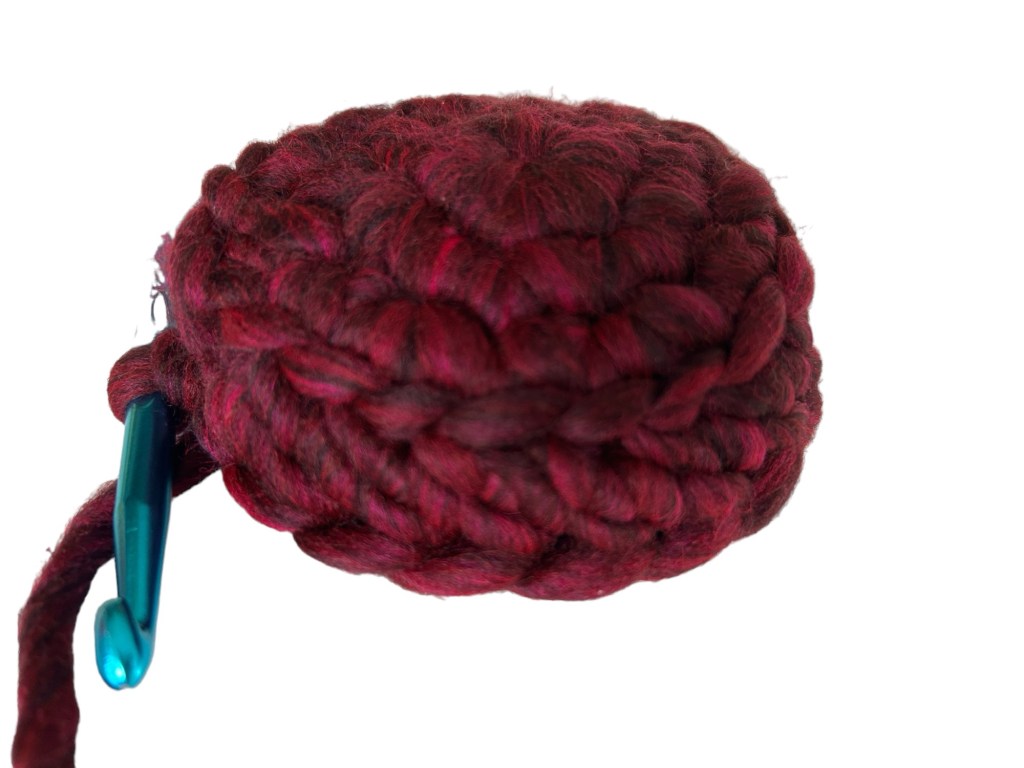
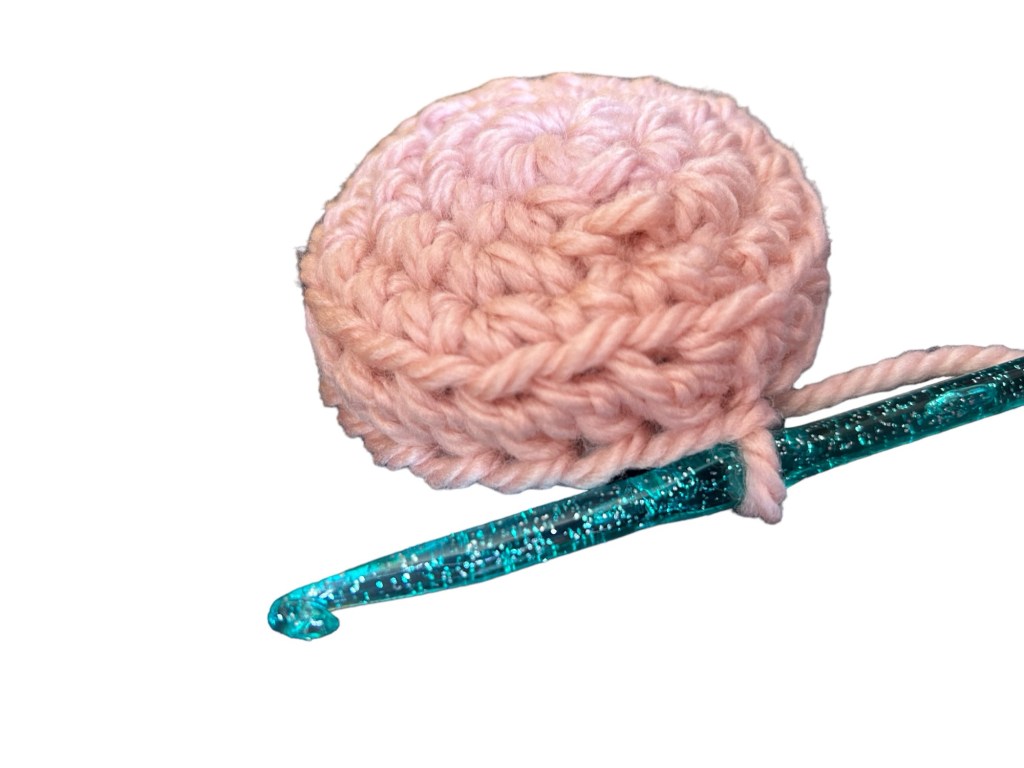
For a coaster: if you stop at the end of row 3 in option 1 or row 4 in option 2, you have a coaster! In this case, join and skip to “Final rnd.”

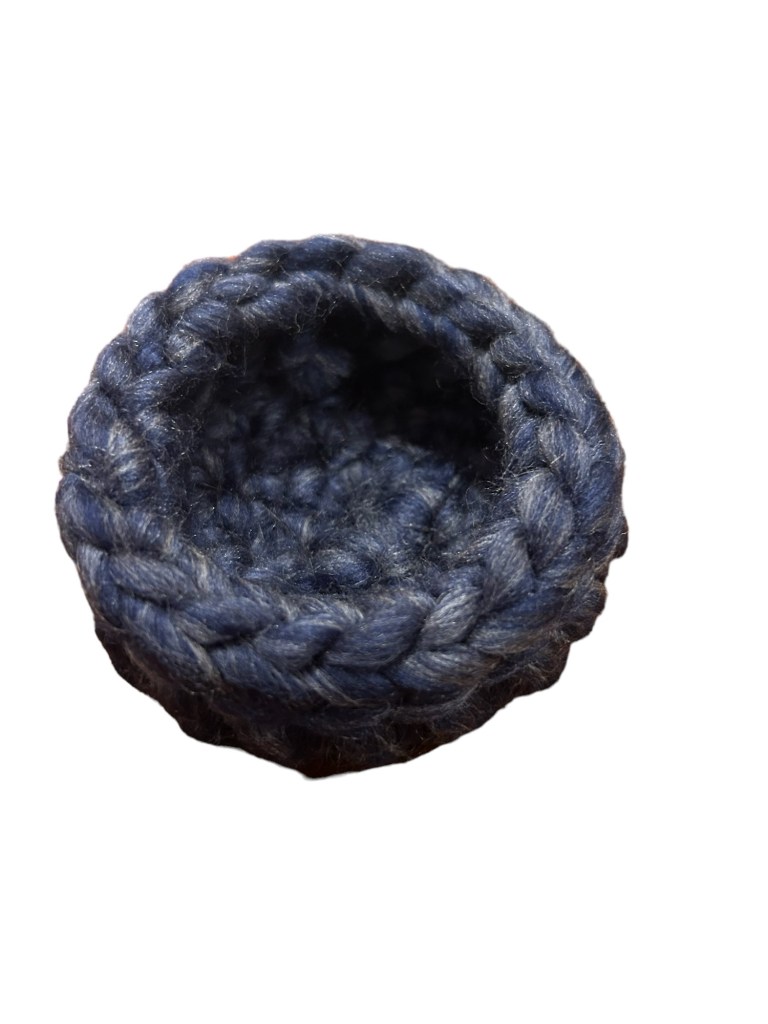
For a trinkets/coins tray: If you stop after reaching about 1 inch/2.5 cm high, you have a trinkets/coin tray! In this case, join and go to “Final rnd.”
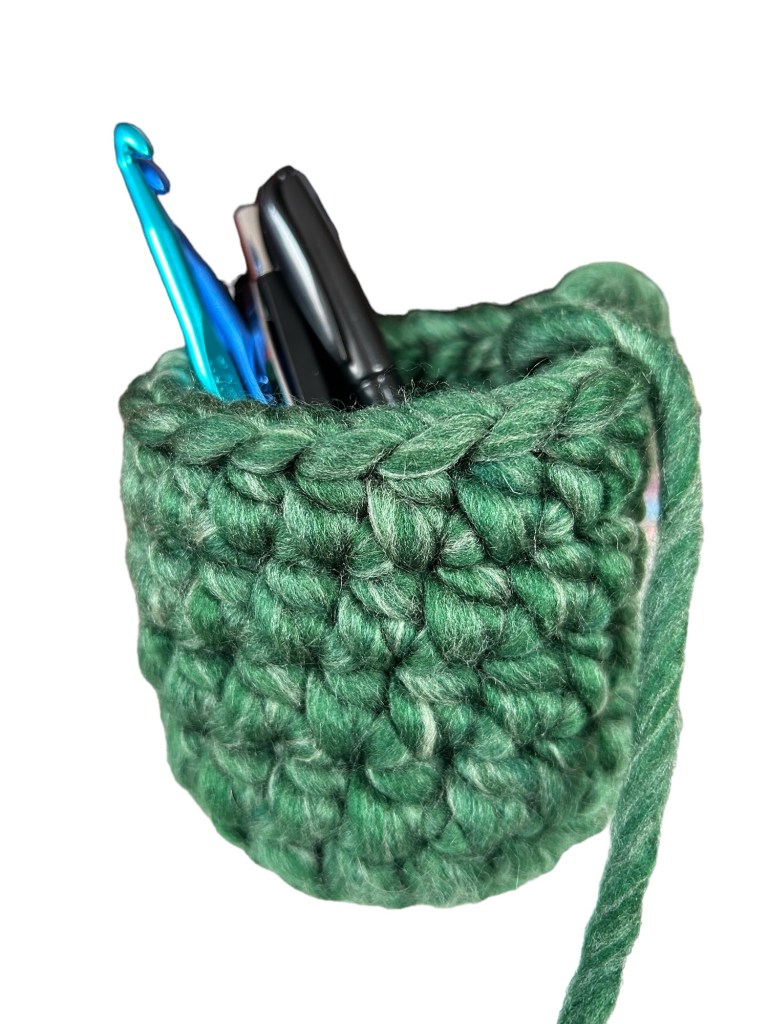
For a pencil or make-up brush holder: If you stop after reaching about 4-5 inches/10-12 cm high, you have a pencil holder! In this case, join and skip to “Final rnd.”
I’d love to see your wine tote! Please post a pic of your image below or share on social media, tagging me or using the hashtag #TheChampWineTote .

Leave a comment