buy now, ad free, for £2.

There’s nothing like the crisp smell of snow in the air! For just a moment, we’re struck with the promise of snowball fights and hot chocolate, snowmen, ice skates, and catching snowflakes in our open mouths.
The crisp early winter days also remind me of making paper snowflakes as a child and stringing them together to hang for everyone to see. This winter I wanted to do something similar, but with crochet. I wanted to make something that looks fragile, but isn’t; that looks detailed, but doesn’t require a lot of skill; that looks fine, but doesn’t require thread.
So, on my way out the door for a little trip, I grabbed the only white cotton yarn I had on hand, Hobbii Rainbow Cotton 8/8, which is the equivalent of a DK weight. But all the patterns I could find for this weight of yarn came out too big, not dainty enough for what I was looking for, and a bit heavy to hang as bunting.
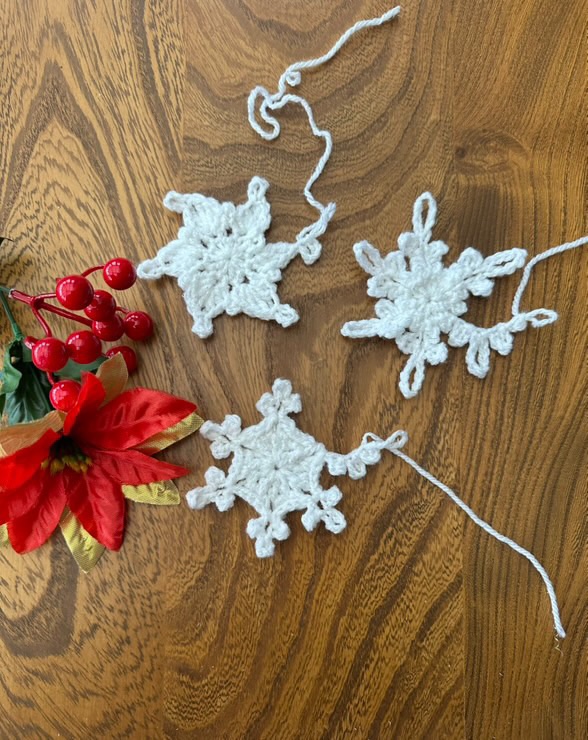
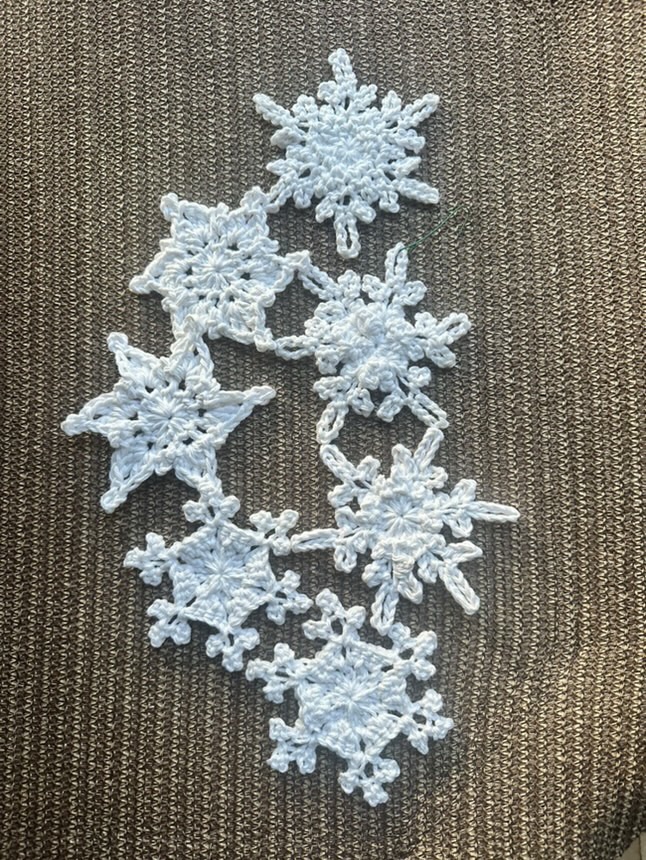
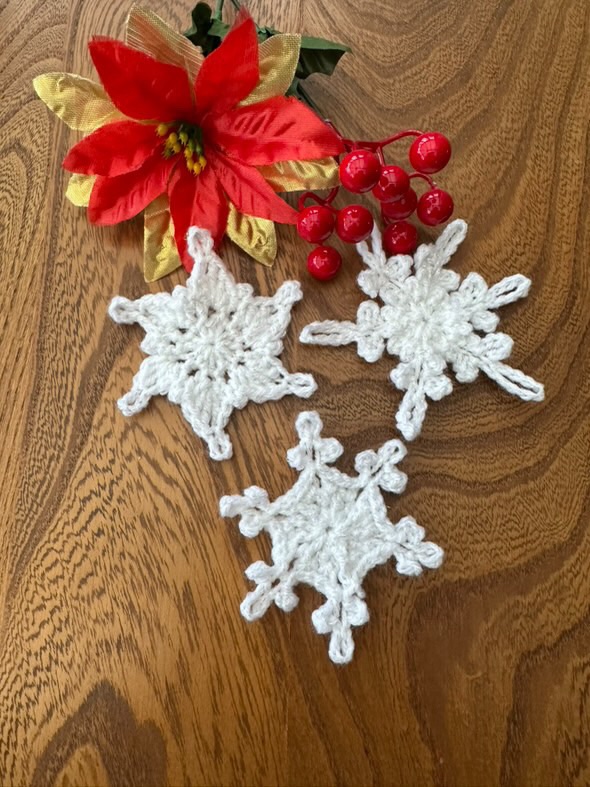
And so, I was nudged to come up with my own patterns. The following three snowflakes are worked in the round and each use a variation of picot stitch to form the points. They differ in shape and slightly in size, but even if you were to make the same one a dozen times, you’ll be reminded that no two snowflakes look alike — especially when handmade!
This pattern is also available for £2 as a downloadable pdf on my Ravelry (buy now) and Etsy pages.
Disclosure: This post contains affiliate links, meaning I might get a commission if you decide to make a purchase through my links, at no cost to you.
Difficulty level: Beginner to Intermediate. You will need to know how to:
- Work in the round (rnd)
- Make a magic ring (mr)
- Single crochet (sc)
- Double crochet (dc)
- Treble/triple crochet (tr)
- Slip stitch (sl st)
- Block final product
- Knowledge of how to create a picot stitch is helpful, but you can learn that as you go through this pattern.
Materials:
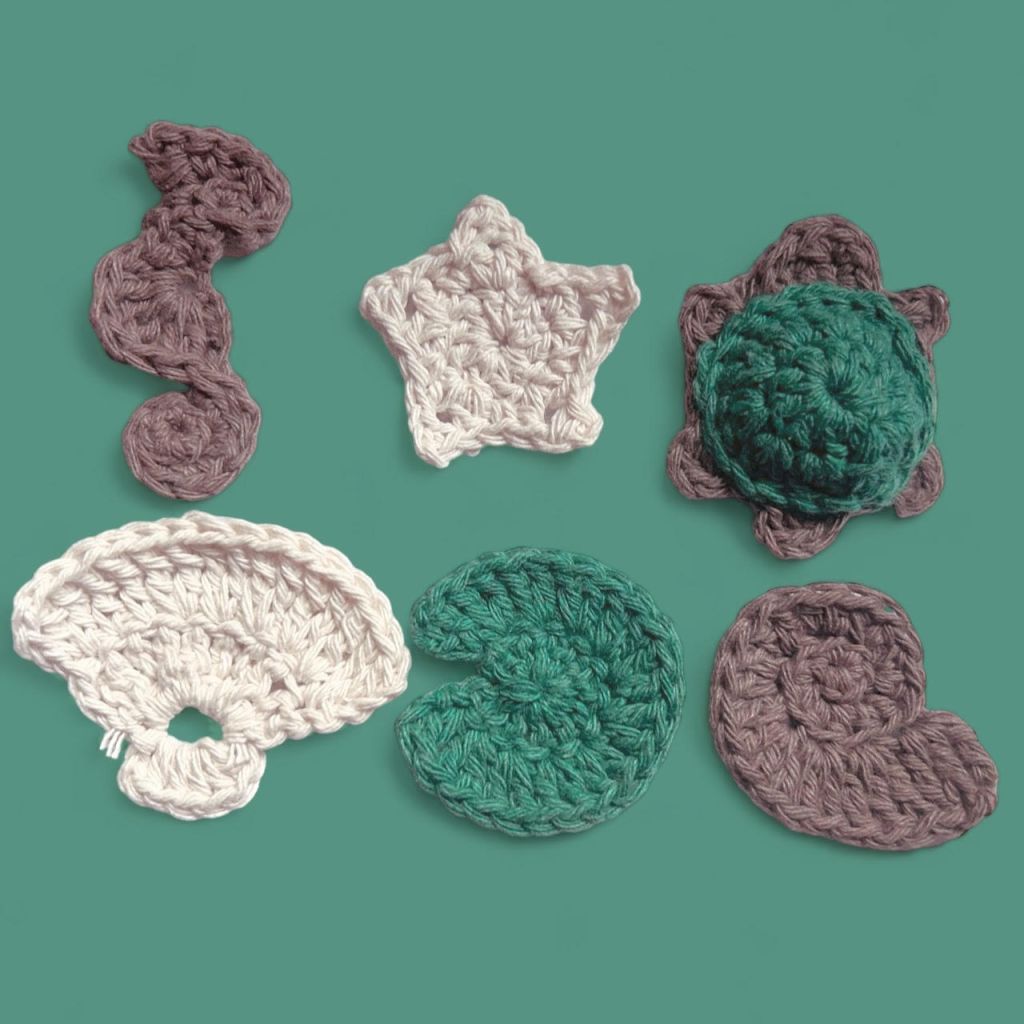
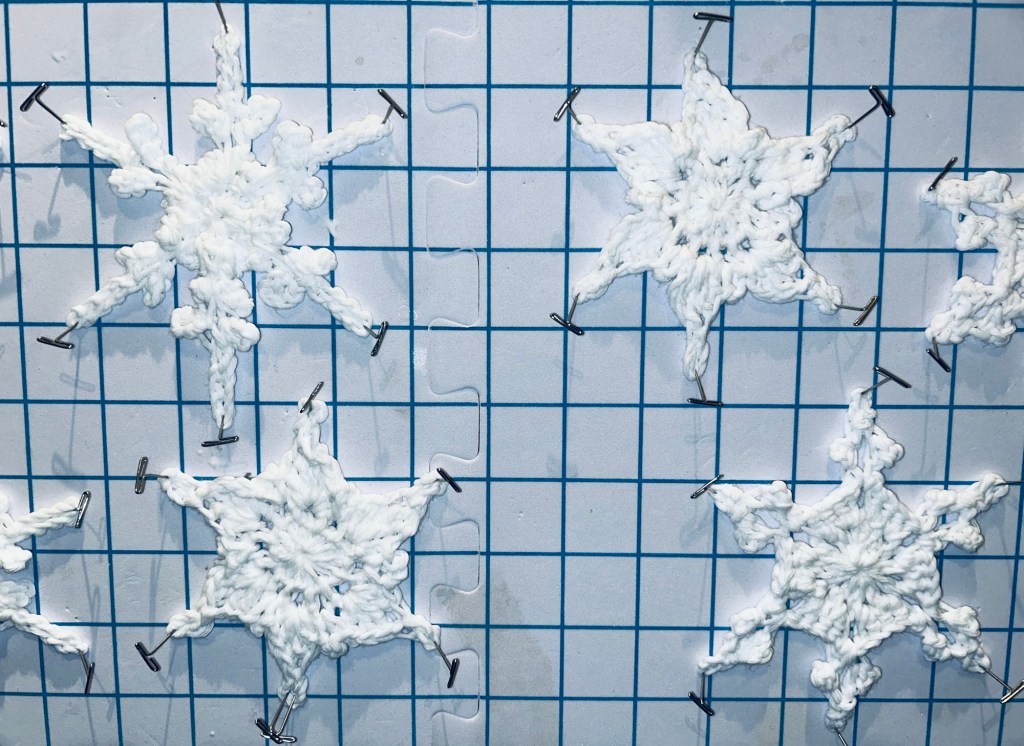
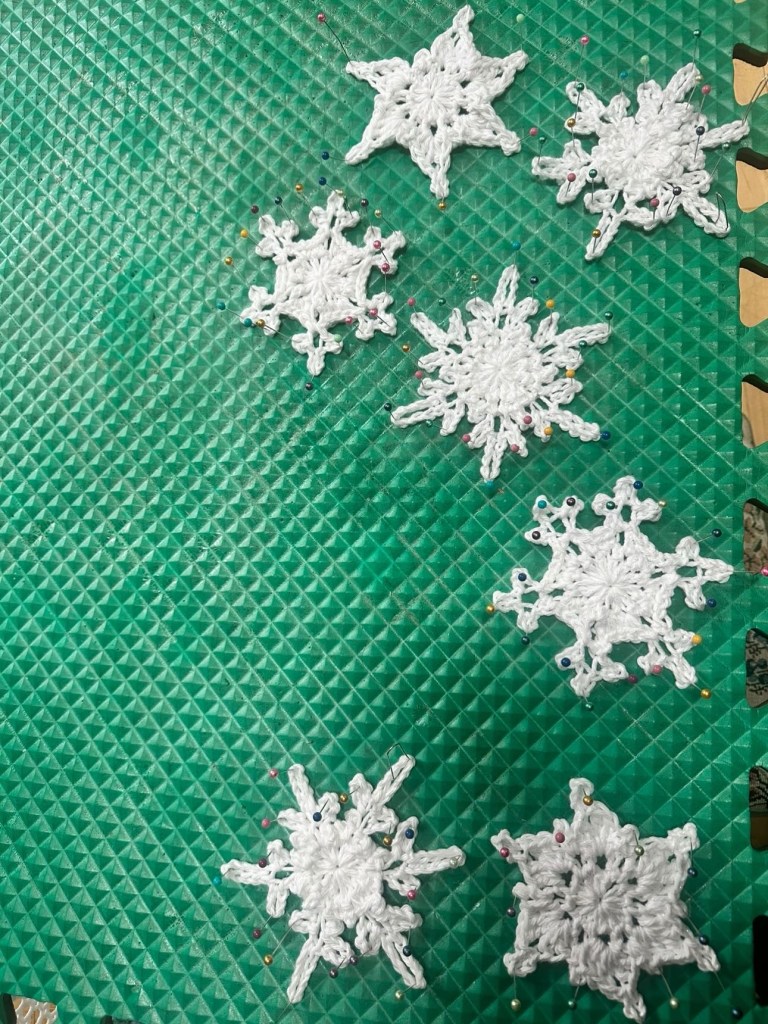
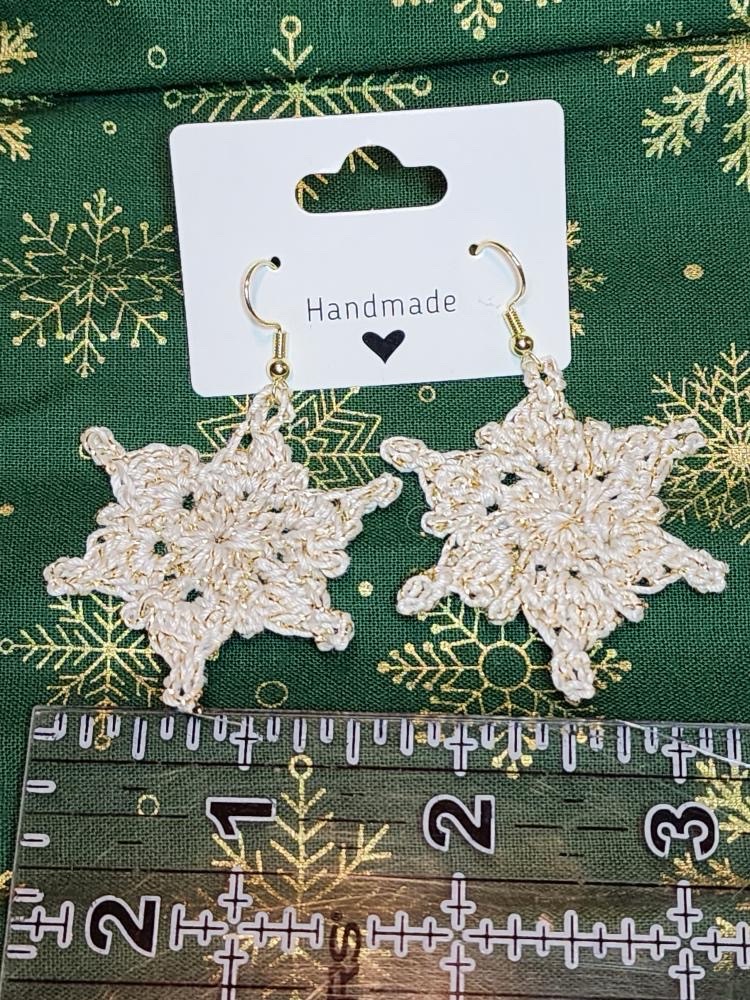
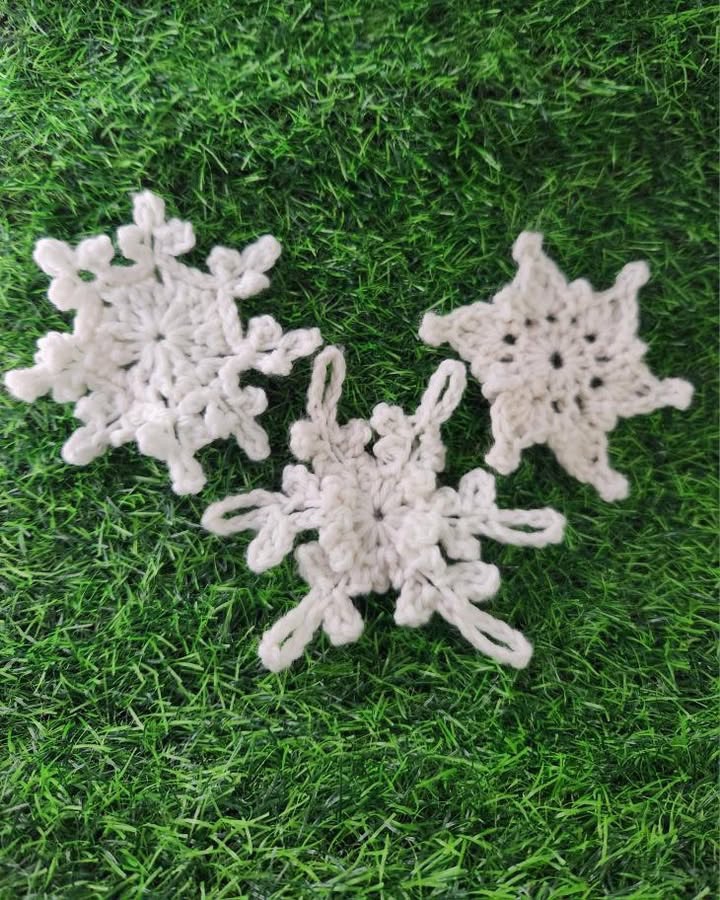
- DK weight cotton yarn. I used Hobbii Rainbow cotton 8/8 in white. Each snowflake uses 5 g (roughly .18 oz) / 7.5 m (roughly 8.2 yards) of yarn. You can use chunkier or finer yarn (see the tester pics below) and will end up with bigger or smaller snowflakes.
- 3.5 mm crochet hook (I used these Coopay hooks for mine — they are very comfortable, but I’m wondering if the numbers might fade over time, so, though slightly more expensive, I recommend Clover)
- Fabric stiffener of your choosing. I wanted mine to be very stiff, so I used Aleene’s Fabric Stiffener and Draping Liquid, which has a similar stiffness to using glue.
- Blocking mats or other blocking surface
- Blocking pins
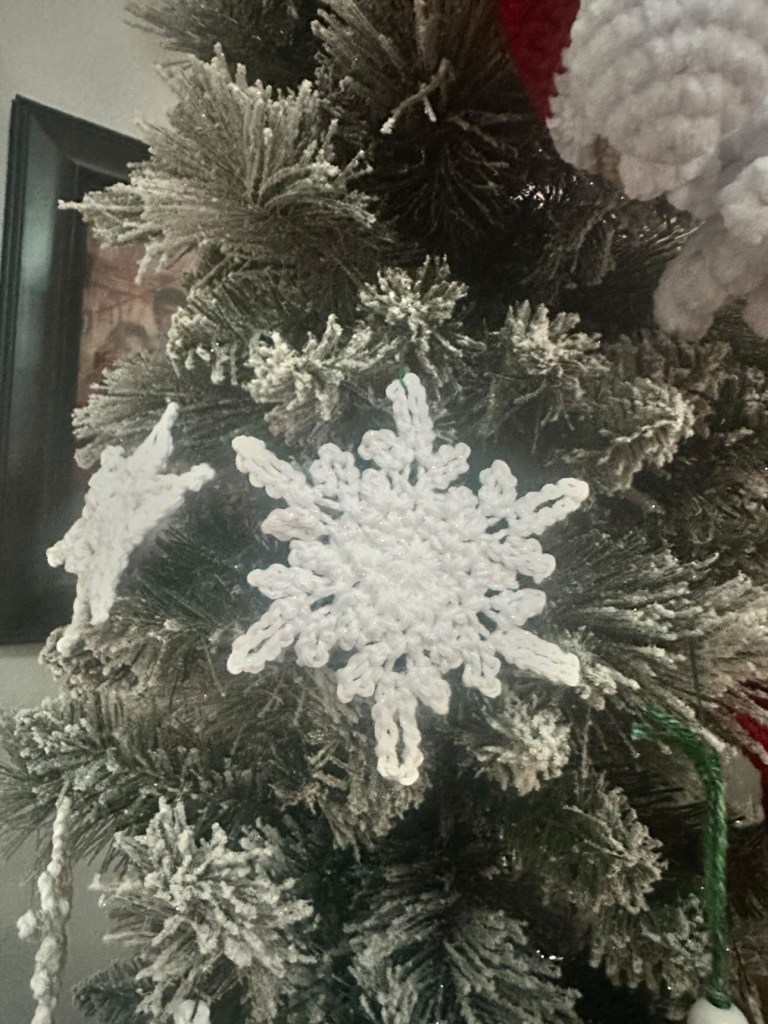
Finished size: Each snowflake is between 10 and 12cm (4-4.75 in) across, when worked in DK cotton.
Gauge: You do not need to do a gauge swatch for this pattern, but I recommend using a smaller hook than what is suggested by the label to help make the snowflake a bit stiffer before blocking.
Pattern follows US terms.
Abbreviations
- round (rnd)
- magic ring (mr)
- single crochet (sc)
- double crochet (dc)
- treble/triple crochet (tr)
- slip stitch (sl st)
- space (sp)
- chain (ch)
- picot (p)
Special stitches
**Note: The way to form the picot stitches changes in each snowflake pattern, so please pay attention to the explanation at the beginning of each.**
- p3 = picot made into a chain 3
- p4 = picot made into a chain 4 — please note that this is the only picot in this pattern that uses a sc instead of a sl st
- p5 = picot made into a chain 5
- p6 = picot made into a chain 6
- p9 = picot made into a chain 9
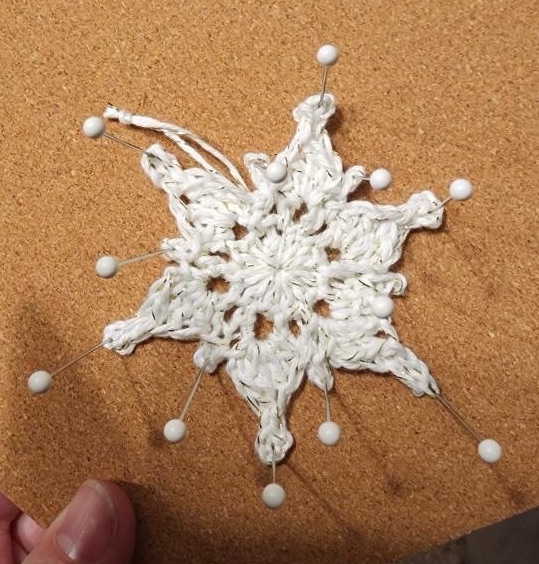
It is normal for all of these snowflakes to look a bit floppy before blocking. When you block and pull on the points, they will take better shape.
Total st count per row is included in parentheses at the end of each round.
Instructions
Snowflake 1
In this pattern:
- p5 = ch 5, then sl st into fifth ch from hook.
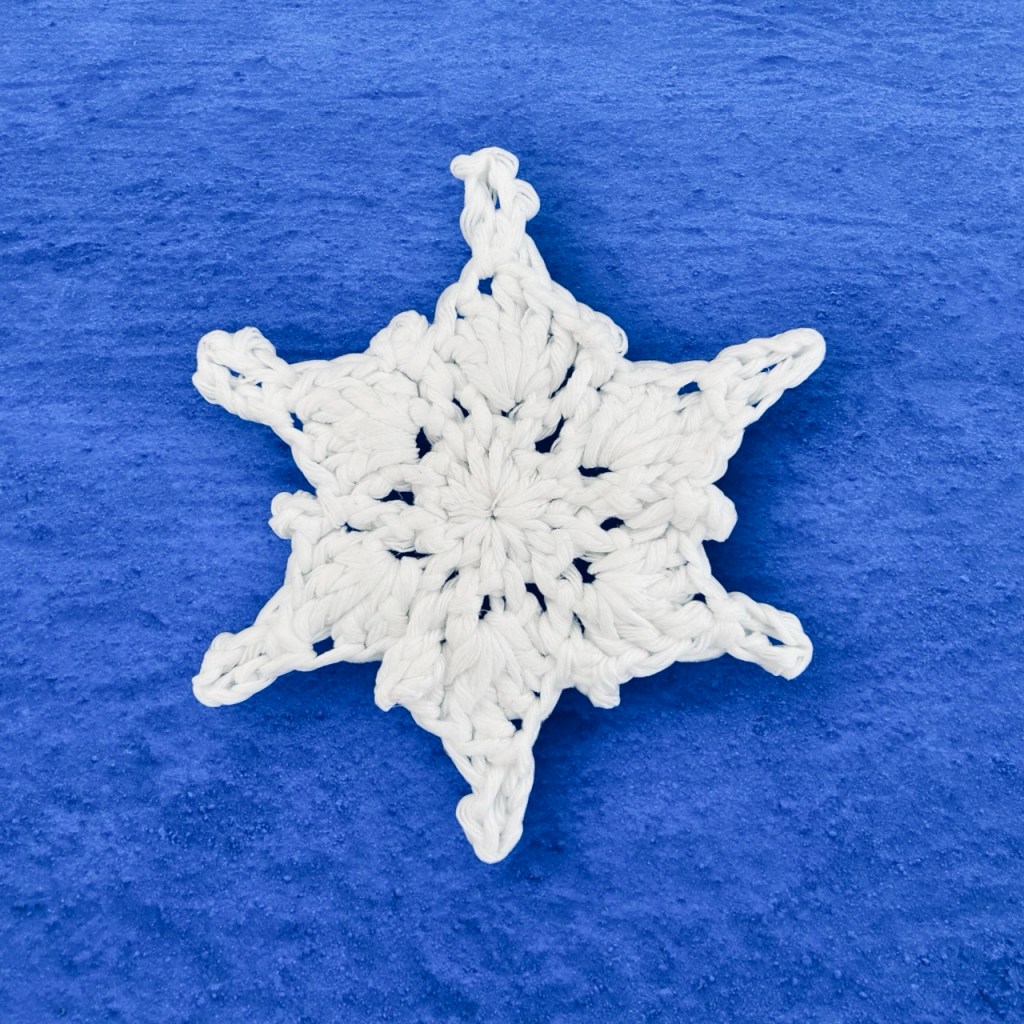
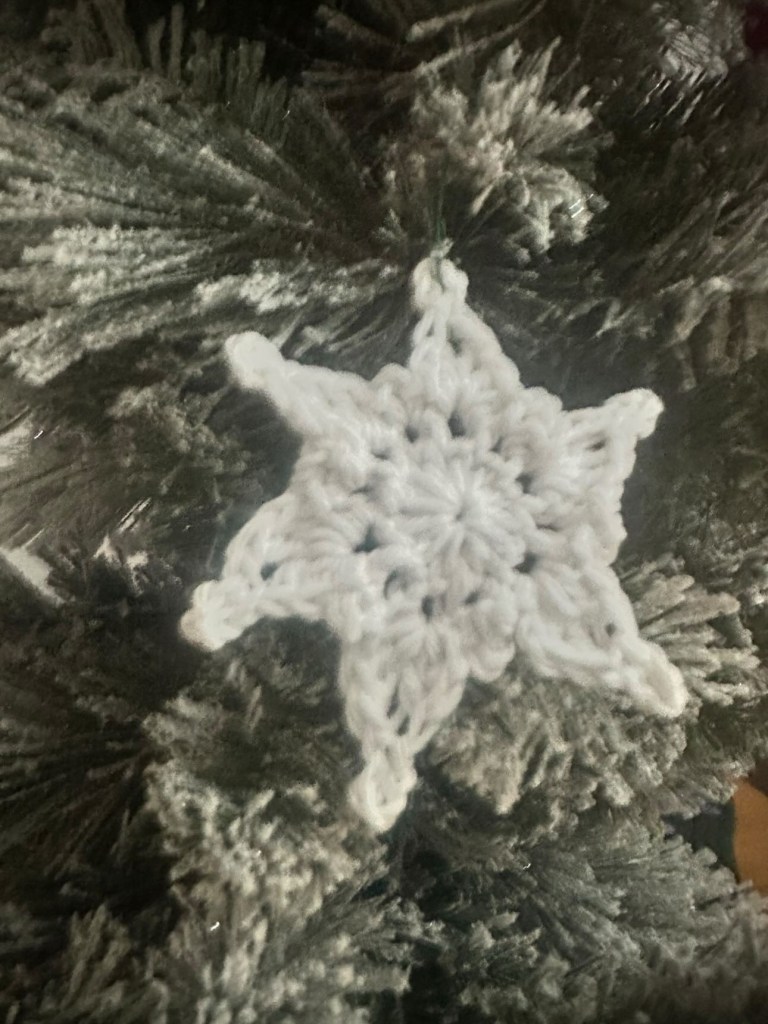
There are two options below. If you want your snowflake to look as above, follow the instructions for rnd 1-3 as stated. If you would rather the points stand out a bit more independently, instead of carrying on with round 3 below, move to the “option.”
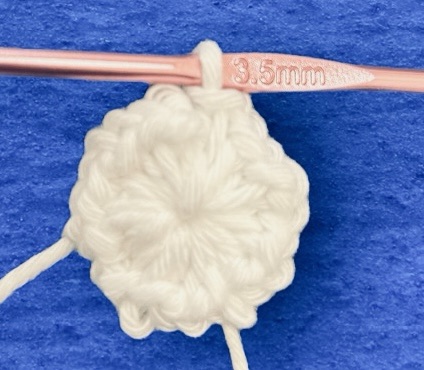
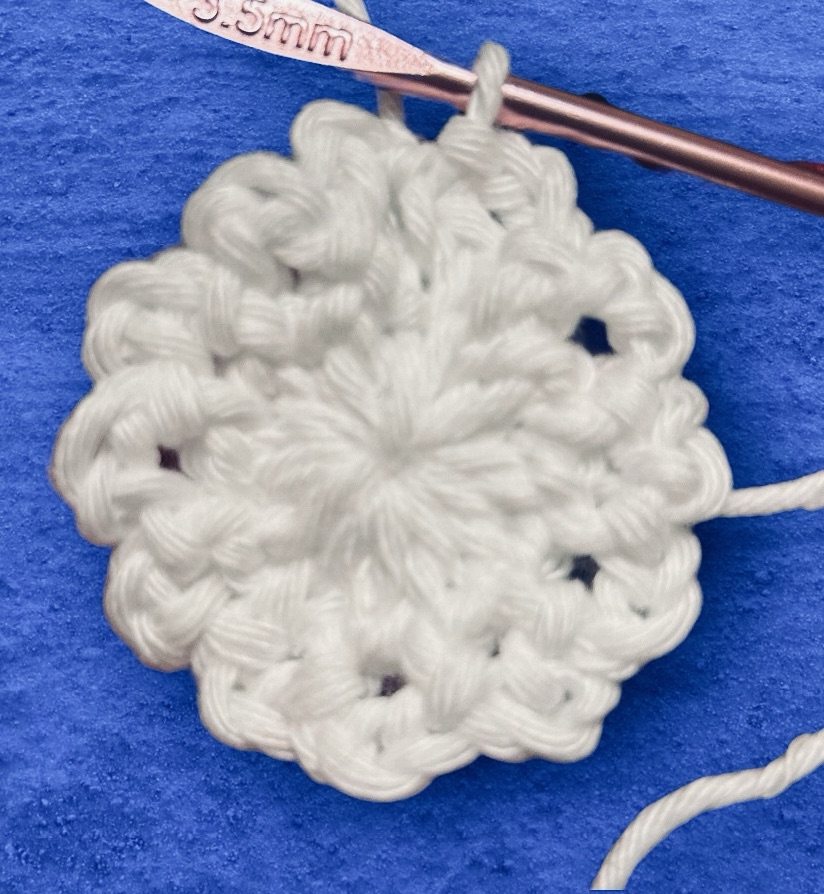
Rnd 1: In a magic ring, ch 2 (counts as first sc, ch 1), (sc, ch 1) 11 times.
Before closing the ring, it could be helpful to place safety pins or stitch markers in each ch-1 space to make them easier to find in the next rnd.
Close mr and join to first ch at of starting ch 2. (12 sc and 12 ch 1).
Rnd 2: sl st into first ch-1 sp (ch 3, sl st into next ch-1 sp) 12 times, placing the final sl st in the first ch-1 sp. (12 ch-3 sp and 13 sl sts).
Note: if you have a hard time finding your ch-1 spaces, don’t worry too much. The important thing here is that you have 12 ch-3 spaces in the end.
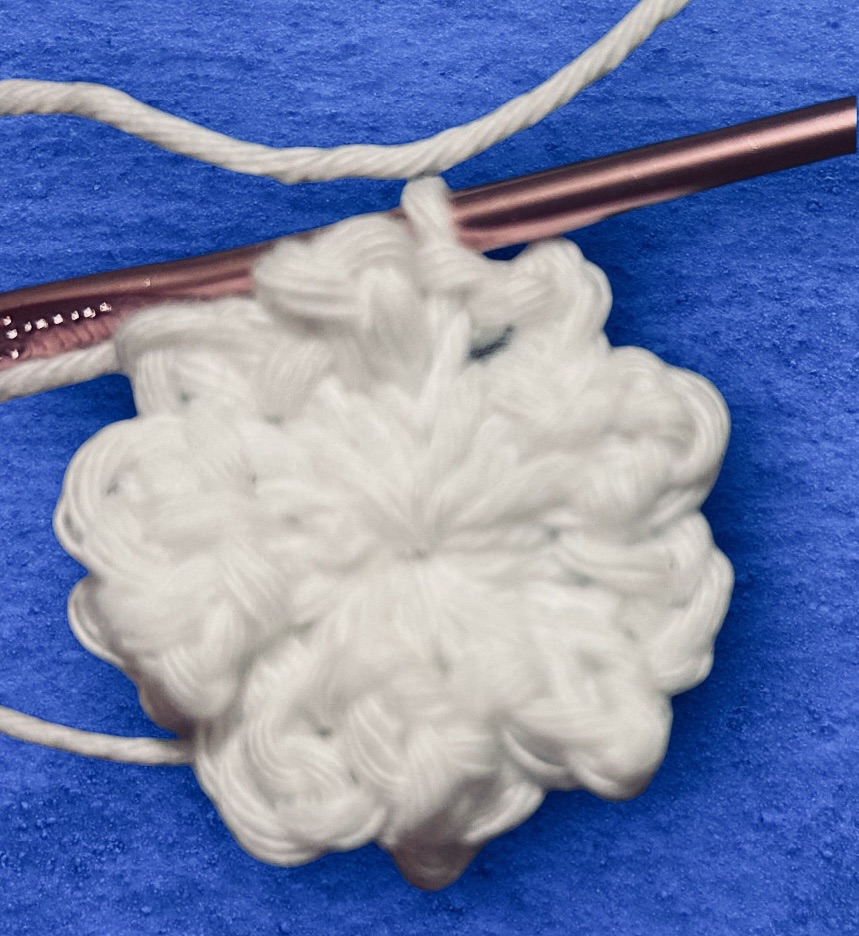
Rnd 3: sl st into first ch-3 sp, [in same ch-3 sp, ch 2 (counts as dc), dc, tr, p5, 2 dc, sl st into next ch-3 sp, ch 3, sl st into same ch-3 sp, sl st into next ch-3 sp] 6 times. The final sl st will be into the first ch-3 sp. (24 dc, 6 tr, 6 p5, 6 ch-3 sp).
Fasten off and weave in ends.
Option: if you would like your snowflake points to look adjoined (and slightly swirly), as pictured, do as above.
If you would rather the points stand out more independently, do this instead: sl st into first ch-3 sp, [in same ch-3 sp, ch 2 (counts as dc), dc, tr, p5, 1 dc in same ch-3 sp, ch 3, sl st into same ch-3 sp, sl st into next ch-3 sp, ch 3, sl st into same ch sp, sl st into next ch-3], 6 times. The final sl st will be into the first ch-3 sp.
Fasten off and weave in ends.
Snowflake 2
In this pattern:
- p3 = ch 3, then sl st into third ch from hook.
- p6 = ch 6, then sl st into sixth ch from hook.
- p9 = ch 9, then sl st in ninth ch from hook.
You will create a string of these picot stitches that will then be slip stitched into ch spaces.
Rnd 1: In mr, ch 2 (counts as first sc, ch 1), (sc, ch 1) 11 times.
Before closing the ring, it could be helpful to place safety pins or stitch markers in each ch-1 space to make them easier to find in the next rnd.
Close mr and join to first st of starting ch 2. (12 sc and 12 ch 1).

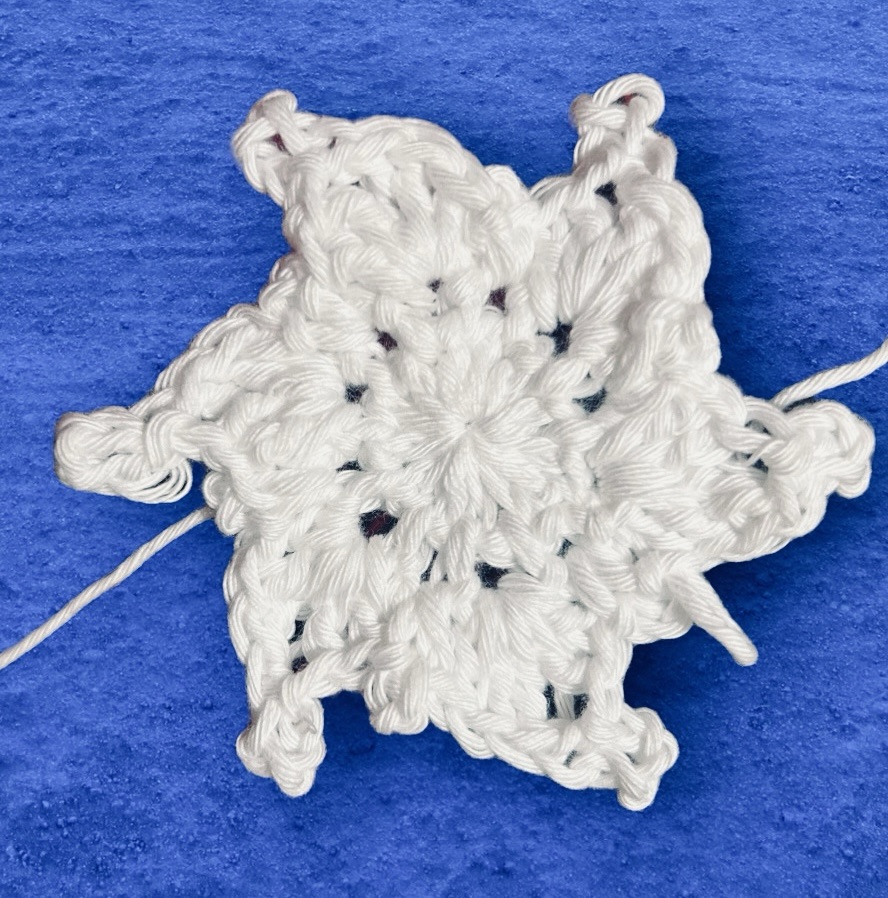
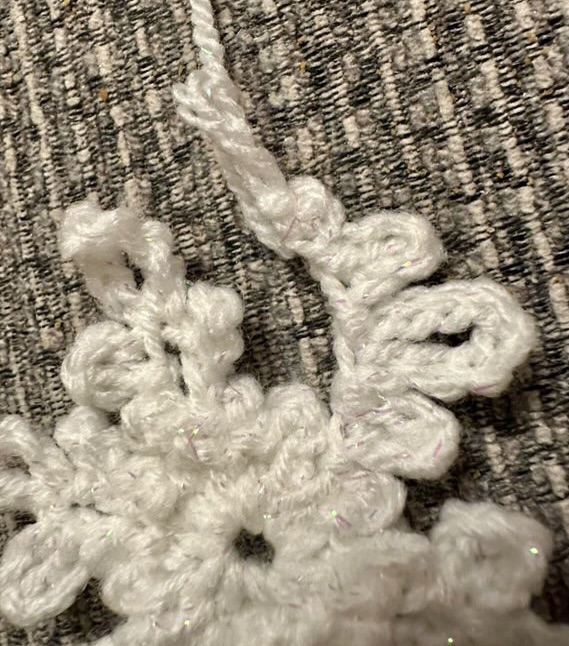
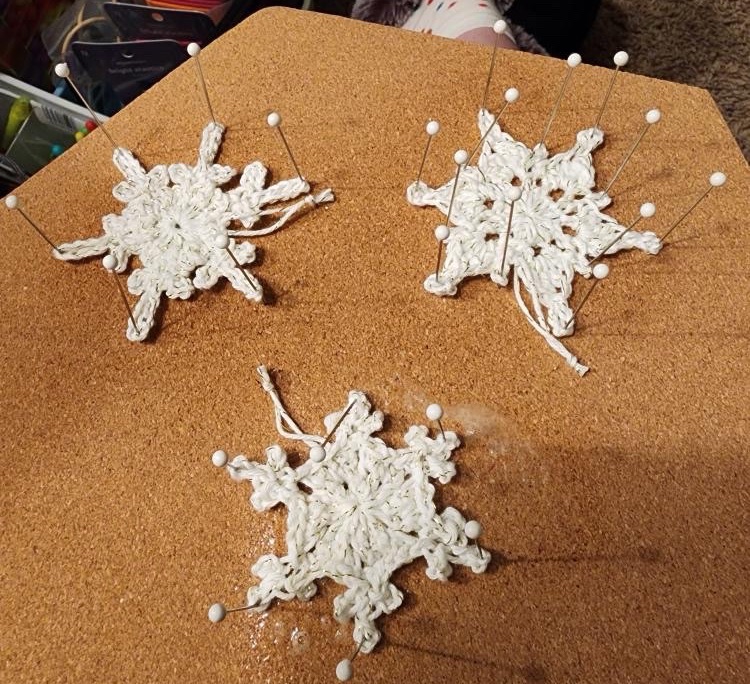
Rnd 2: In this round, you will create a string of picot stitches that will then be slip stitched into the same ch sp. Please see the pics provided by pattern testers below for reference.
(sl st into next ch-1 sp, ch 3, sl st into same ch-1 sp, sl st in next ch-1 space, ch 3, sl st into same space, p6, p9, p6, p3, sl st into same ch-1 sp) six times, sl st into starting ch-1 space. (36 chs, 12 p6, 6 p9, 6 p3).
Fasten off and weave in ends.
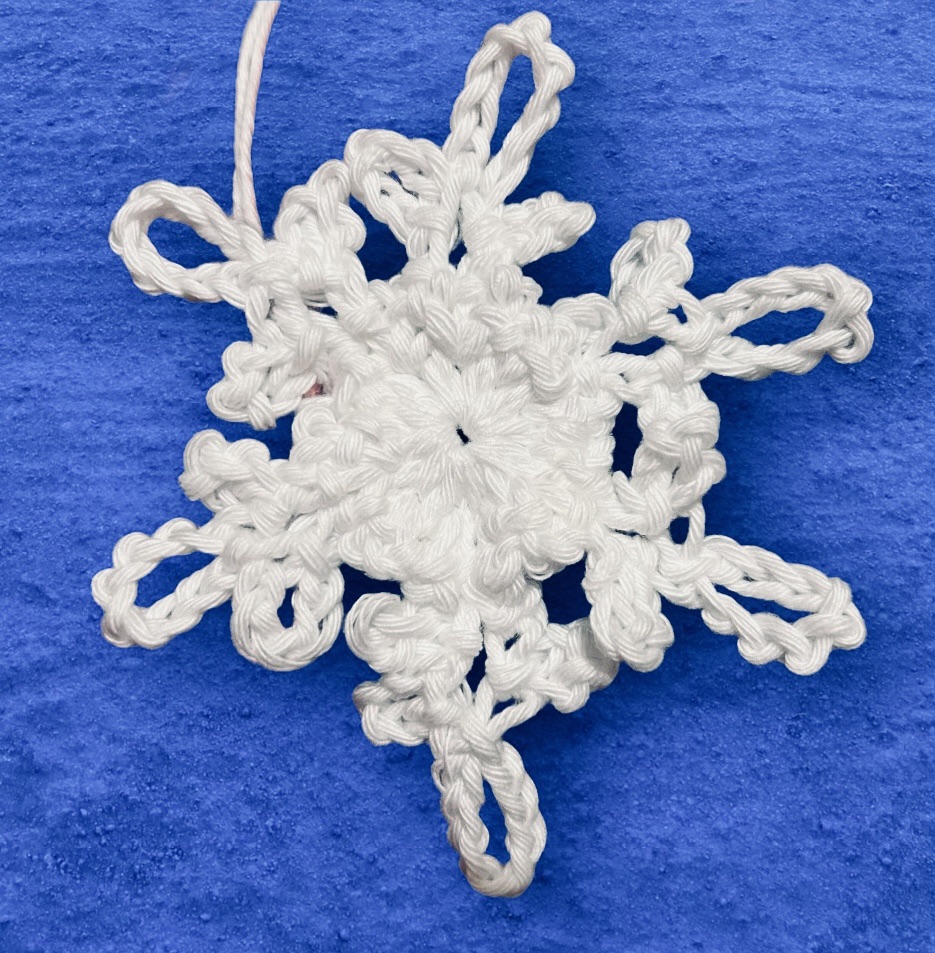
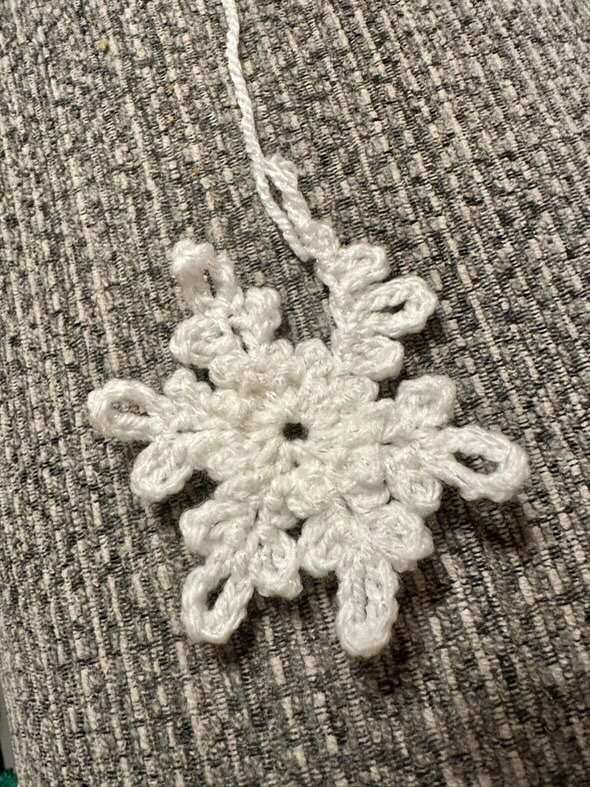
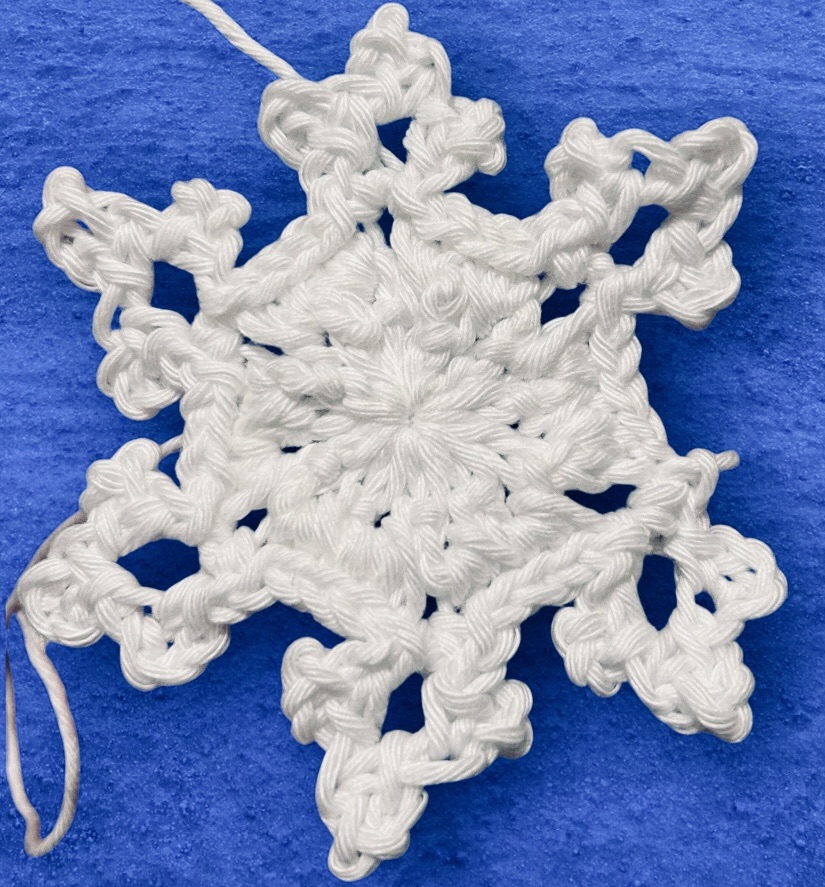
This snowflake looks very floppy before blocking. Trust the process.
Snowflake 3
In this pattern:
- p4 = ch 4, then sc into fourth ch from hook. **Please note, this picot is closed with a sc, not a sl st.**
You will work a string of p4s to form the point of the snowflake.
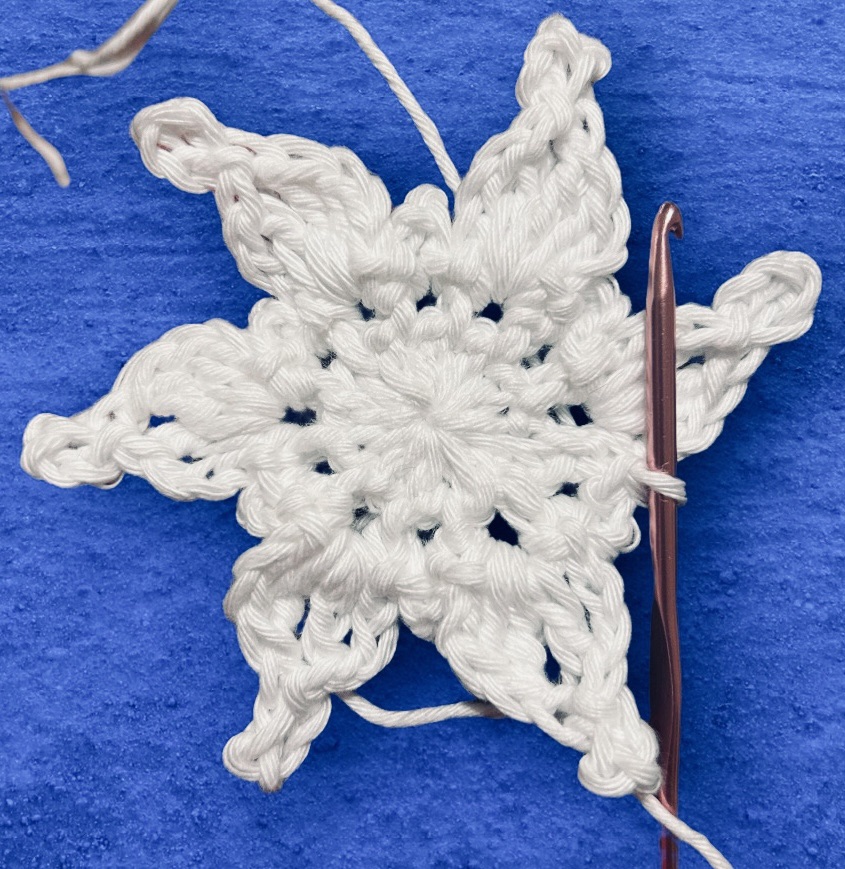
Rnd 1: In mr, ch 4 (counts as sc, ch 3), (sc, ch 3) x11.
Close mr and join to first ch of the starting ch. This round might look very warped. (12 sc, 12 ch-3 sp).
Rnd 2: sl st into first ch-3 space, ch 1, (2 sc in ch 3, 2 sc in next ch 3, ch 2) six times, join to first sc. (24 sc, 6 ch-2 sps).
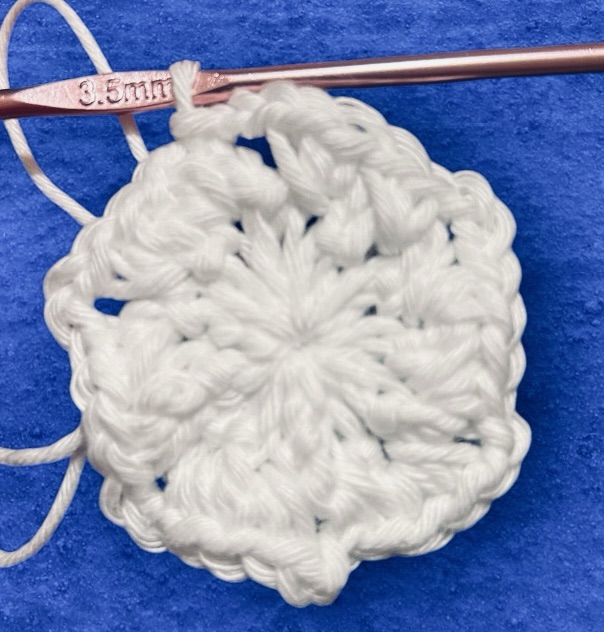
Rnd 3: (sl st across to and into ch-2 sp, three p4 in a row, sc into same ch-2 sp) six times. Join to first sl st to bind more tightly. (24 sl st, 18 p4, 6 sc).
Note that in the above round, you work three p4 in a row, creating a string of p4s, then you sc in the same ch-2sp.
Fasten off and weave in ends.
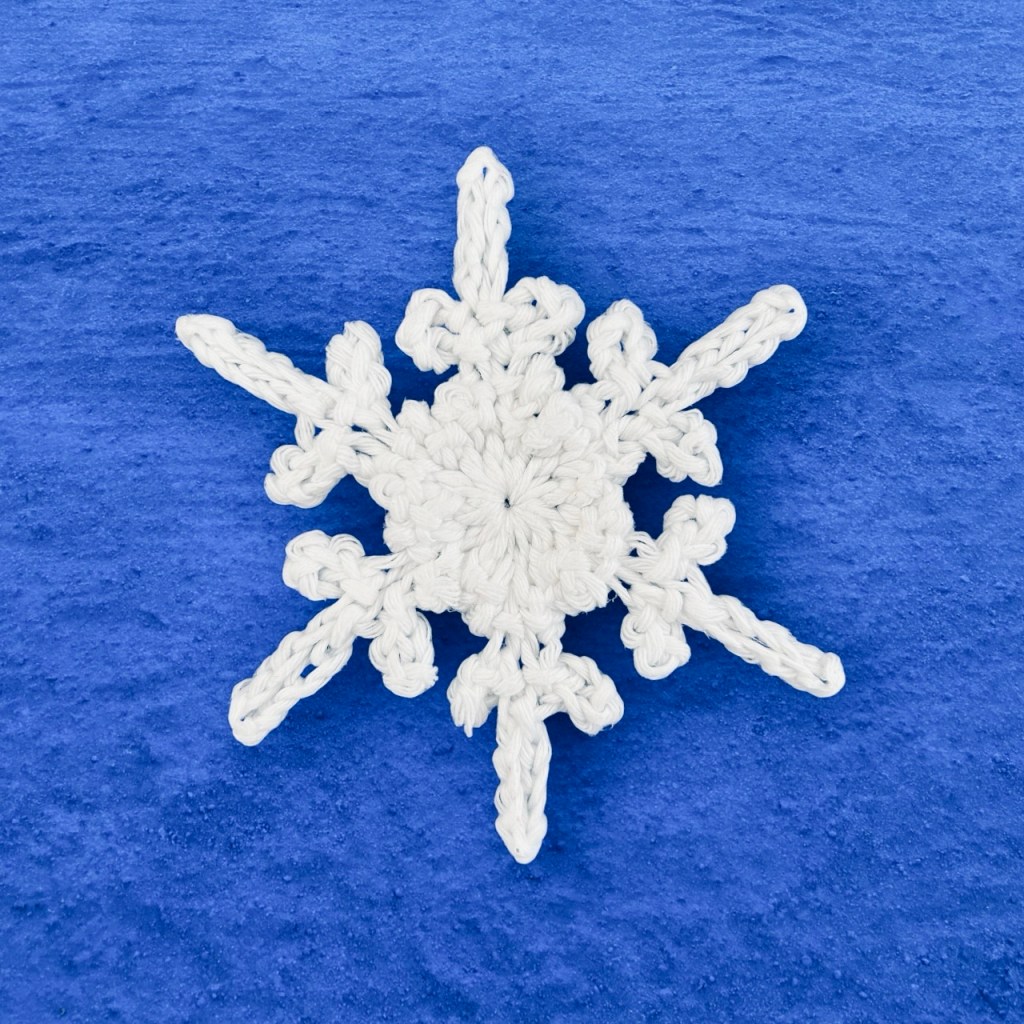
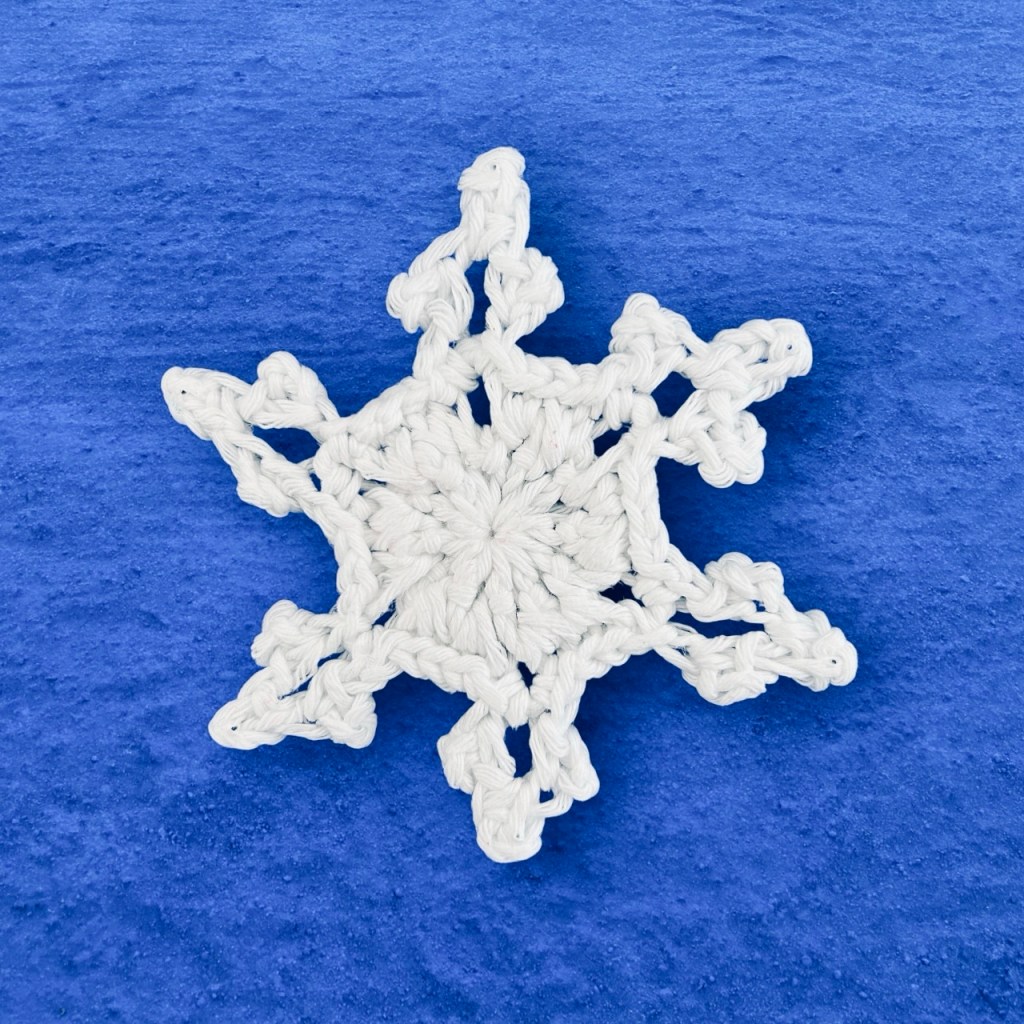
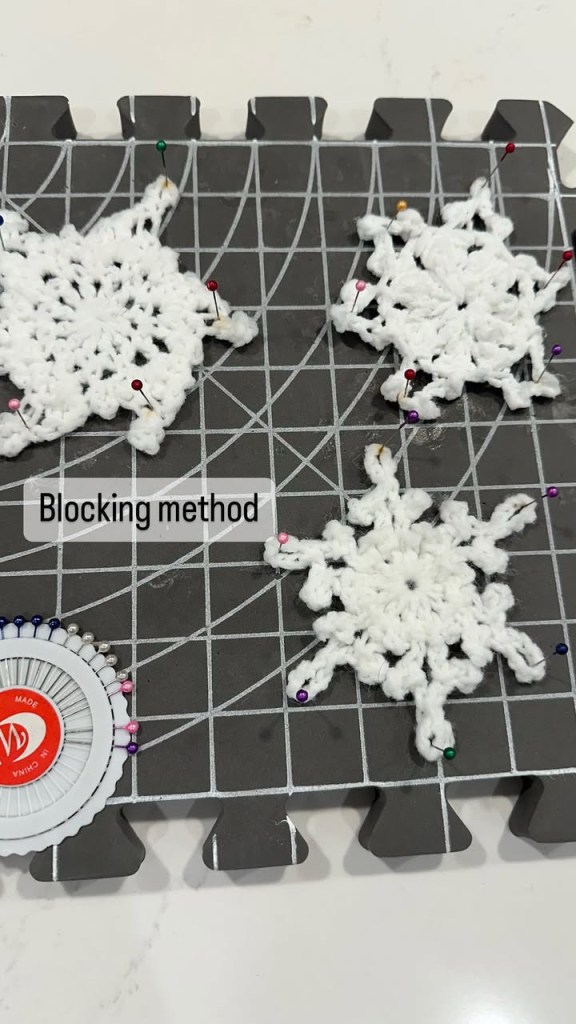
Blocking
When blocking your snowflakes, you need only place pins in the six main points of the flakes, pulling tight enough for them to lie flat. If you would like to be able to place a piece of twine or thread through a point to hang it, use care to also create an opening in one point for this. Once they dry, it is difficult to re-open a space for this.
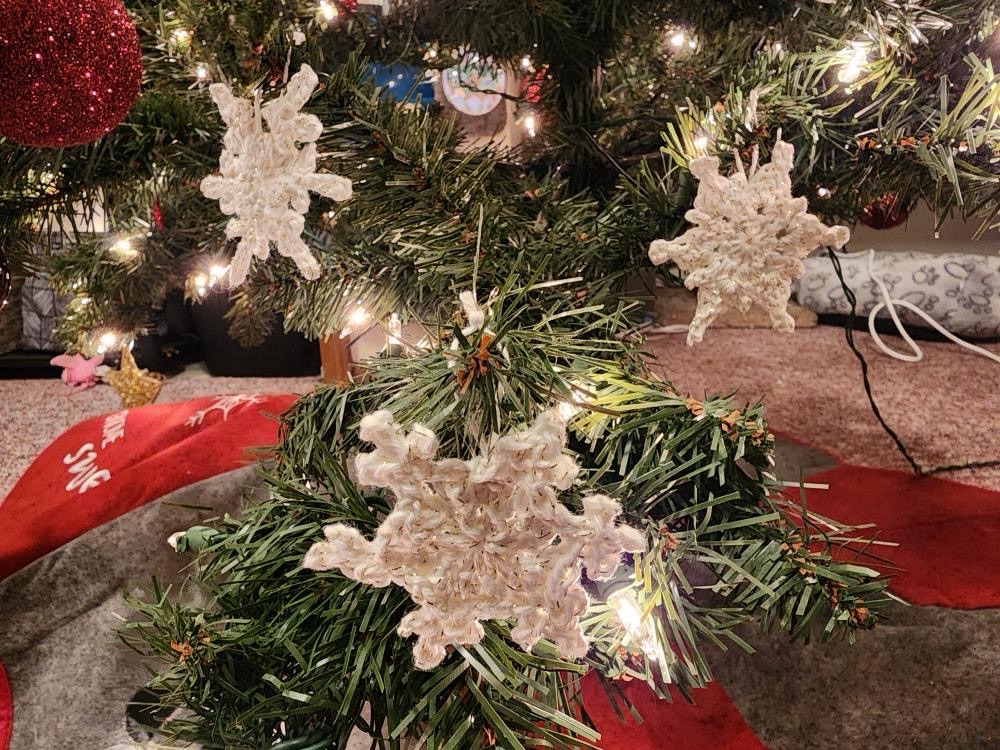
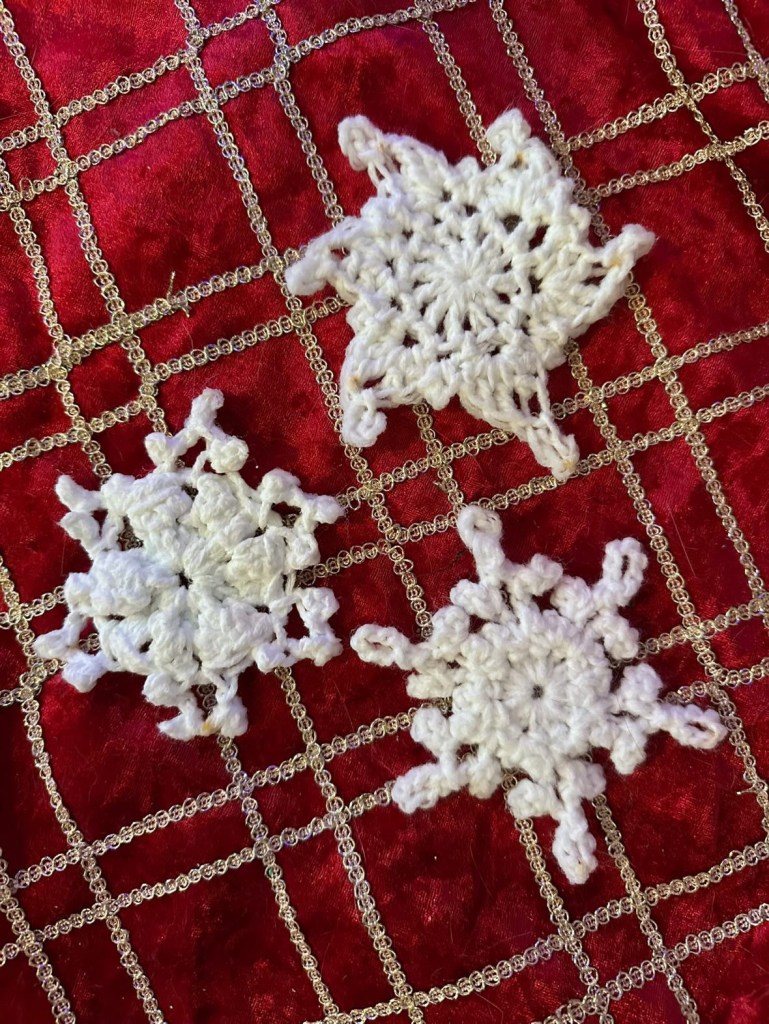
And now you have made three little snowflakes to decorate your home, gifts, or cards!
I would love to see your finished snowflakes! Please share pics in comments or in a Ravelry project page. And let me know what you think or other patterns you’d like to see here below!
Thank you to the amazing crocheters who tested this pattern for me.
- Crochetinggramof6

- @sws.custom.designs

- Ella Mai Crafts
- Stephanie Sell
- Elaine Trotter

Leave a comment