In this tutorial, you learn how to start a project in the round (that is, working in a circle), including a chain four (ch-4) start, chain two (ch-2) start, or working into a magic ring (mr)/ magic circle.
To complete this tutorial, you will need previous knowledge of how to chain, slip stitch, and half double crochet.
I include a textual step-by-step description for these methods below, along with some photos that I hope help. I’ve also included a video link to watch a tutorial that demonstrates each of these methods at the end. For the magic ring, especially, I suggest watching the video.
Because this tutorial builds up to creating a flat circle using the half double crochet (hdc) stitch (st), I’ve written it using hdcs, but you can start working in the round with any stitch (or combination thereof).
Chain 2 Start
A ch-2 start has the benefit of being easy to do and relatively sturdy, but the center of the round can be a bit open, making it less suited for any piece requiring stuffing.
To start working in the round using a ch-2 start:
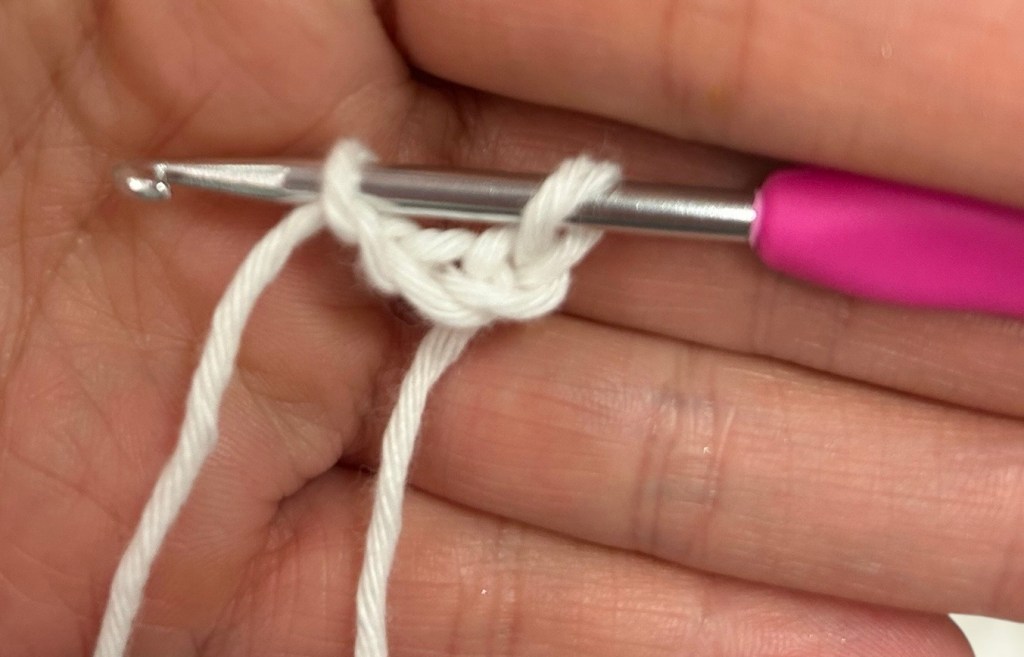
1. Ch 2.
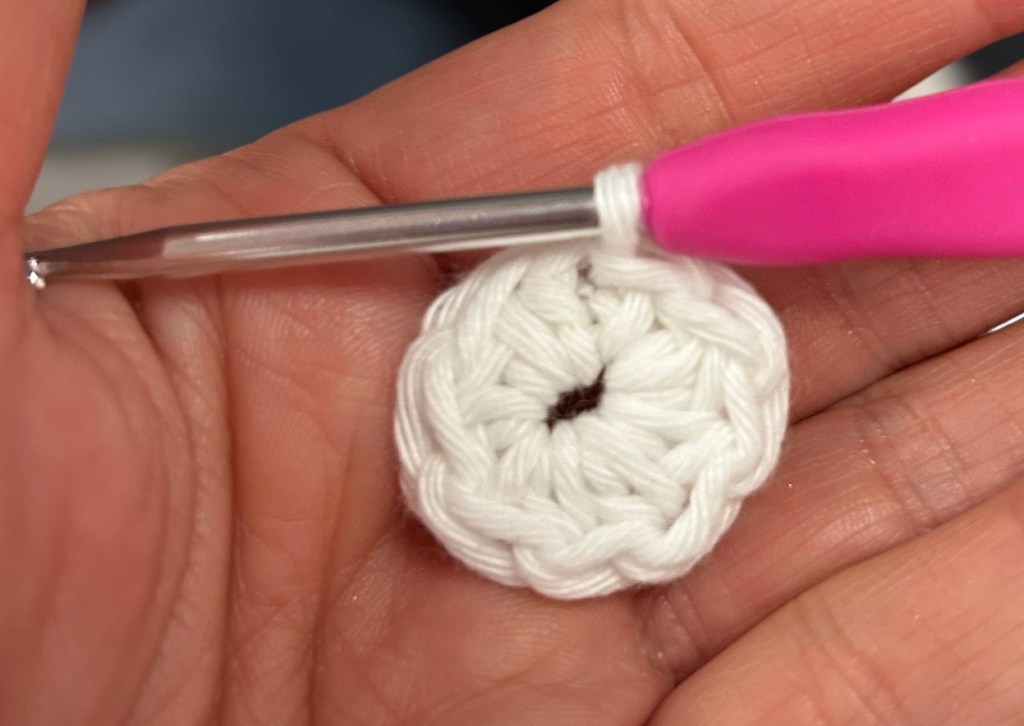
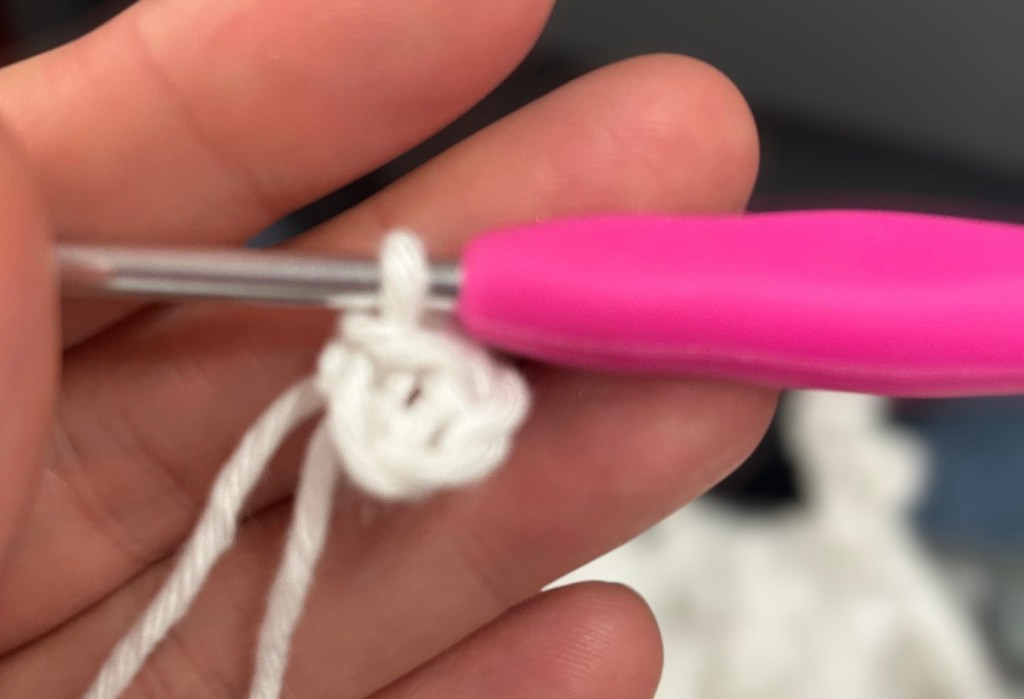
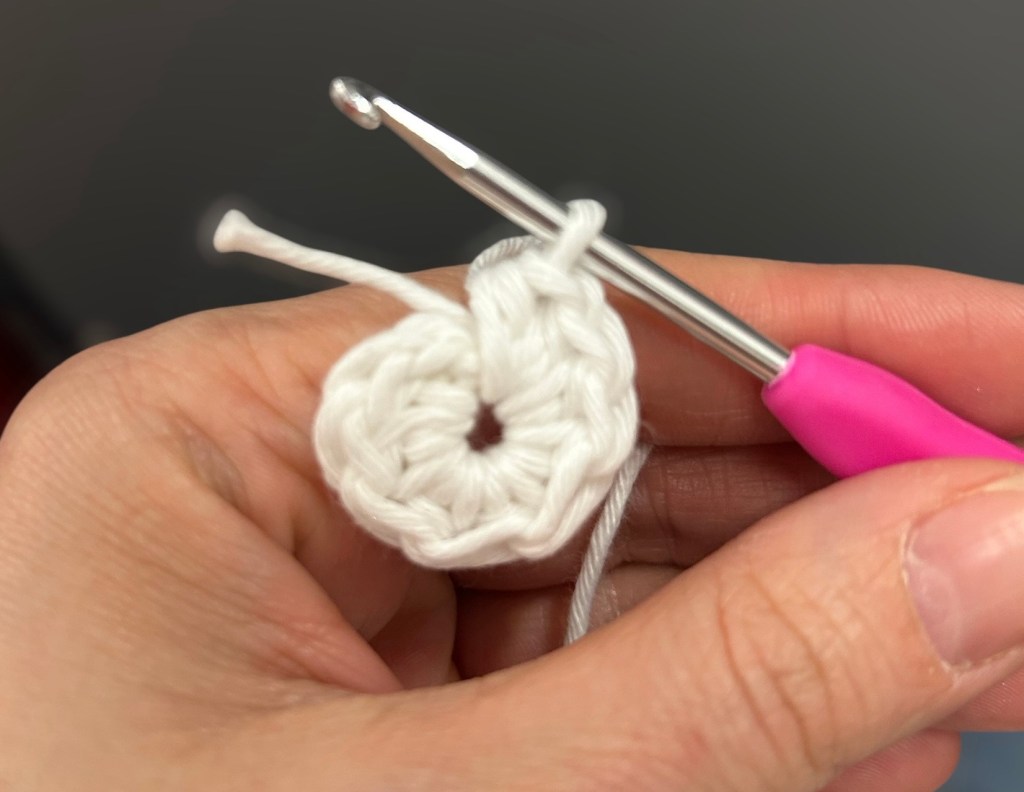
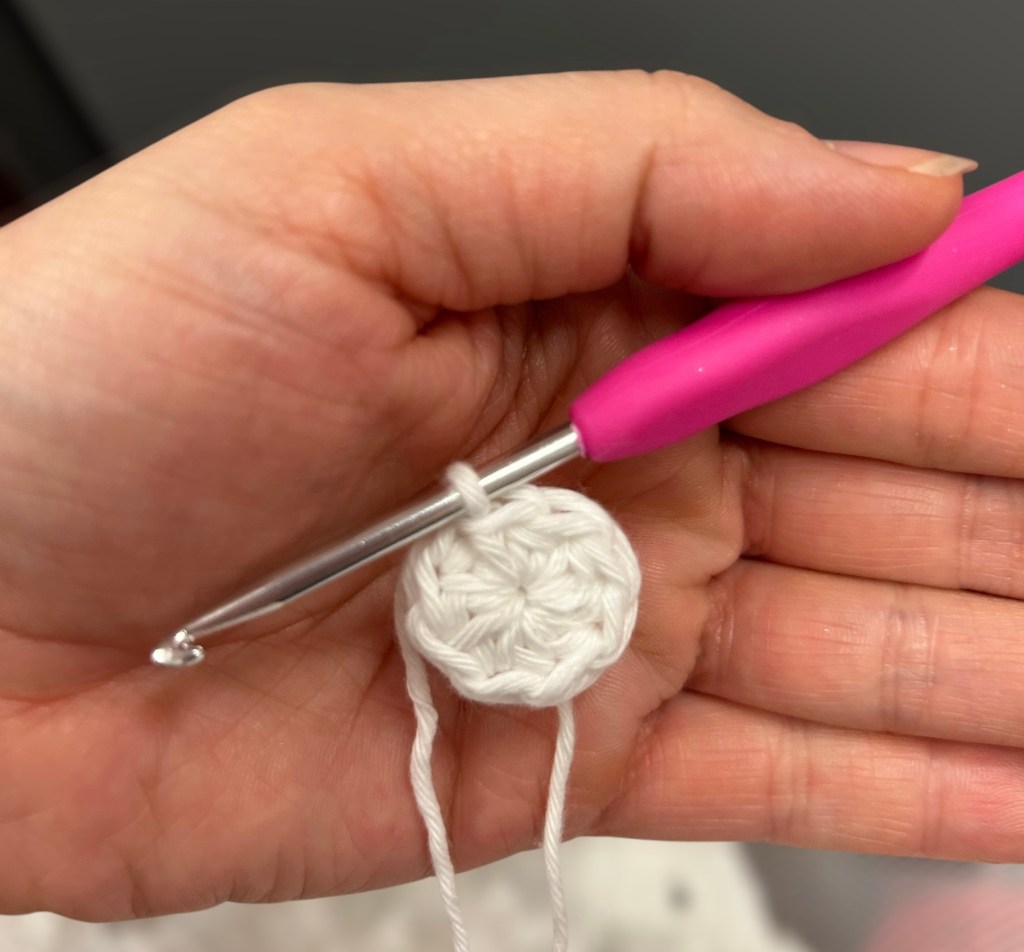
2. Into the first ch (that is, second ch from hook), work your desired stitches. In our case, this is 8 hdcs.
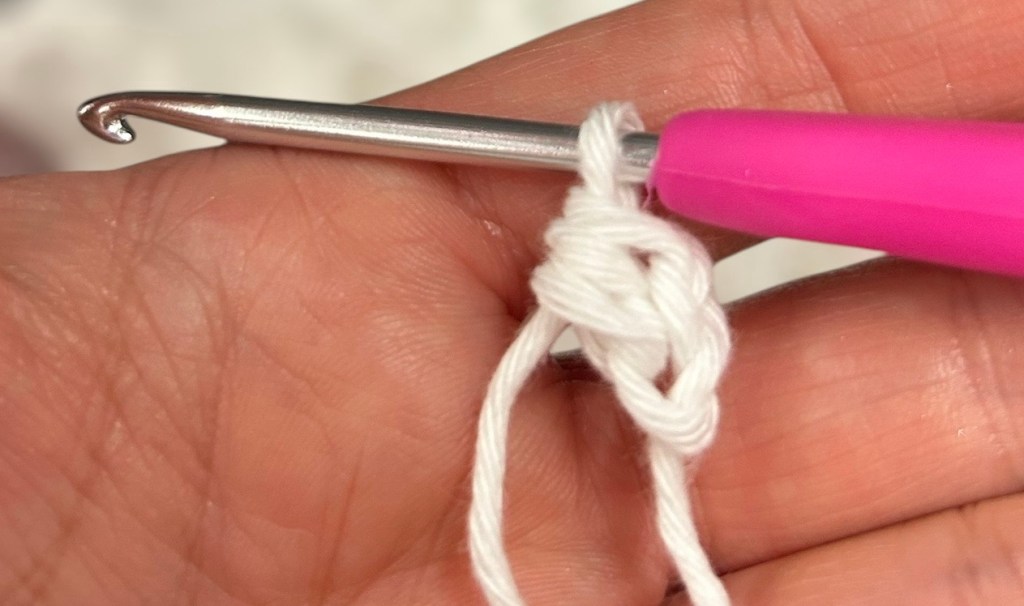
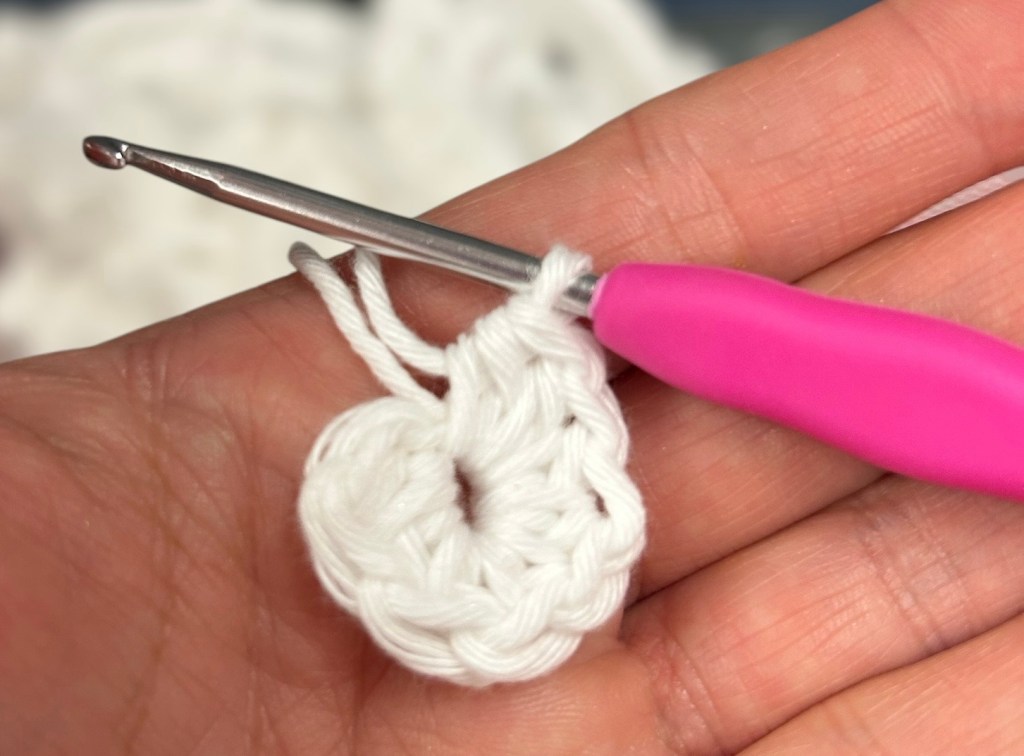
3. Join with a sl st to your first st.
If you are not satisfied with the size of the hole left in the center of your work, instead of working over the tail of your yarn, leave it out and when finished, weave your end in around the gap and then pull it tight. This should close the hole.
You have completed your first round (rnd)! To learn more about working in the round, see my next tutorial on creating a flat circle.
Chain 4 Start
A ch-4 start has the benefit of being easy to do and very sturdy, but the center of the round can be a bit open, making it less suited for any piece requiring stuffing. The ch-4 start is the sturdiest way to start working in the round and is great for making large projects, like blankets or hexi cardigans.
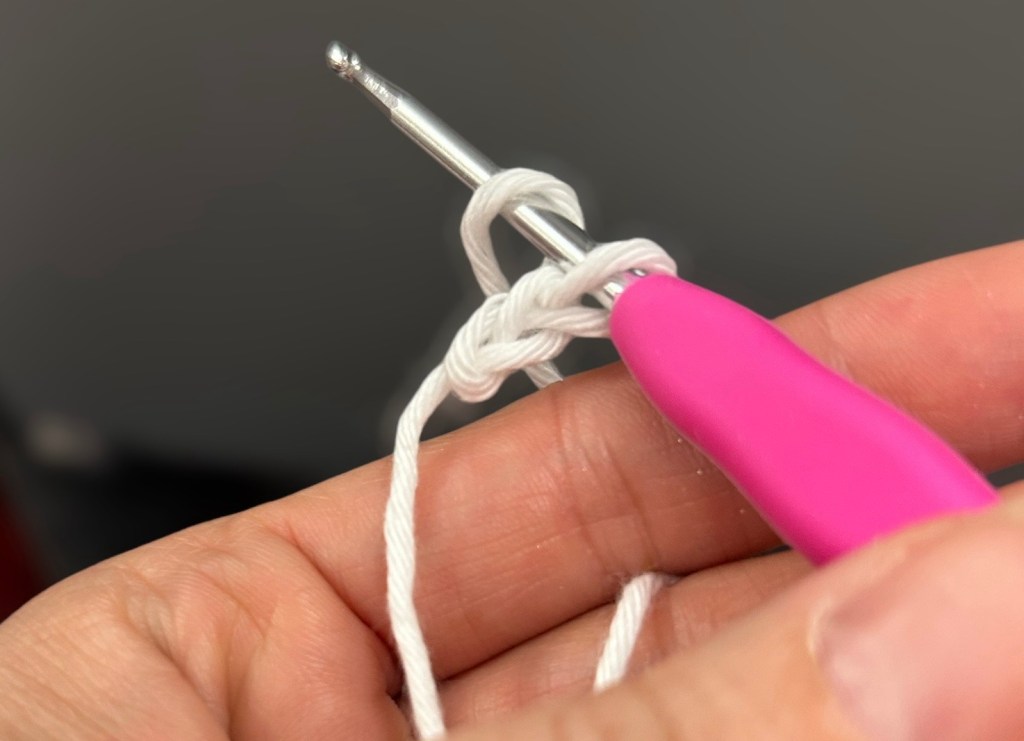
1. Ch 4.
2. Join to first ch (that is, the fourth ch from your hook) with a slip stitch (sl st).
3. You will work your stitches into the circle formed by joining your ch ends together. You will need to first ch to reach the height needed for your stitches. If your next stitch is a single or half double crochet, ch 1. If it is a double, ch 2. If it is a triple (treble) crochet stitch, ch 3.
4. You can now work as many stitches as needed into the circle. In our case, we will work hdcs into the loop by yarning over, placing our hook through the circle, from front to back, yarning over again, pulling the loop back through the circle, then yarning over again and pulling through all three loops on the hook.
5. Continue working as many stitches into the circle as needed for your pattern. In our case, that will be 8 hdc (ch 1 does not count as a stitch, but if you are working with dc or tr, ch 2 and ch 3 do count as first stitch, unless your pattern indicates otherwise).
6. Once you have completed the stitches you need for this round, join. If you are working with sc or hdc, join with a slip stitch to the first sc or hdc, skipping over your starting ch 1. If you are working with dc or tr, join to the top of your dc or tr, unless your pattern indicates otherwise.
If you are not satisfied with the size of the hole left in the center of your work, instead of working over the tail of your yarn, leave it out and when finished, weave your end in around the gap and then pull it tight. This should close the hole.
You have completed your first round (rnd)! To learn more about working in the round, see my next tutorial on creating a flat circle.
Magic Ring (or Magic Circle)
The benefit of working with a magic ring is that you can pull the opening closed, making it the method that leaves the smallest opening. It is great for starting amigurumi / stuffed animals / plush toys.
That said, many crocheters report that when making heavier objects (like blankets or hexi cardigans), the weight of the project eventually pulls the magic ring apart, causing a large project to unravel from the center. For this reason, I recommend using a ch-4 start for heavy, large projects and saving the magic ring for smaller items, like stuffed animals.
The magic ring is also a bit more complicated for beginners (and hard to explain!), so a ch-2 start is probably a better alternative for those new to crochet.
Finally, many chenille and velvet yarns will snap when you pull the tail to close the ring. When using chenille and velvet, I suggest doing a ch-2 start.
To start working in the round using a magic ring:
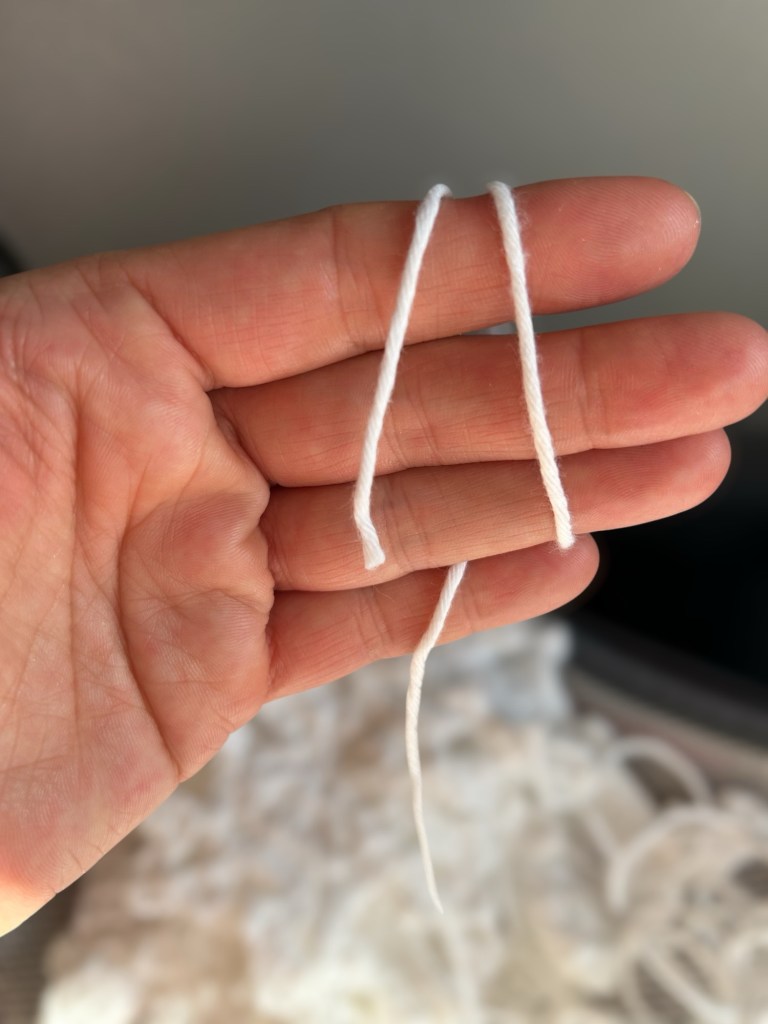
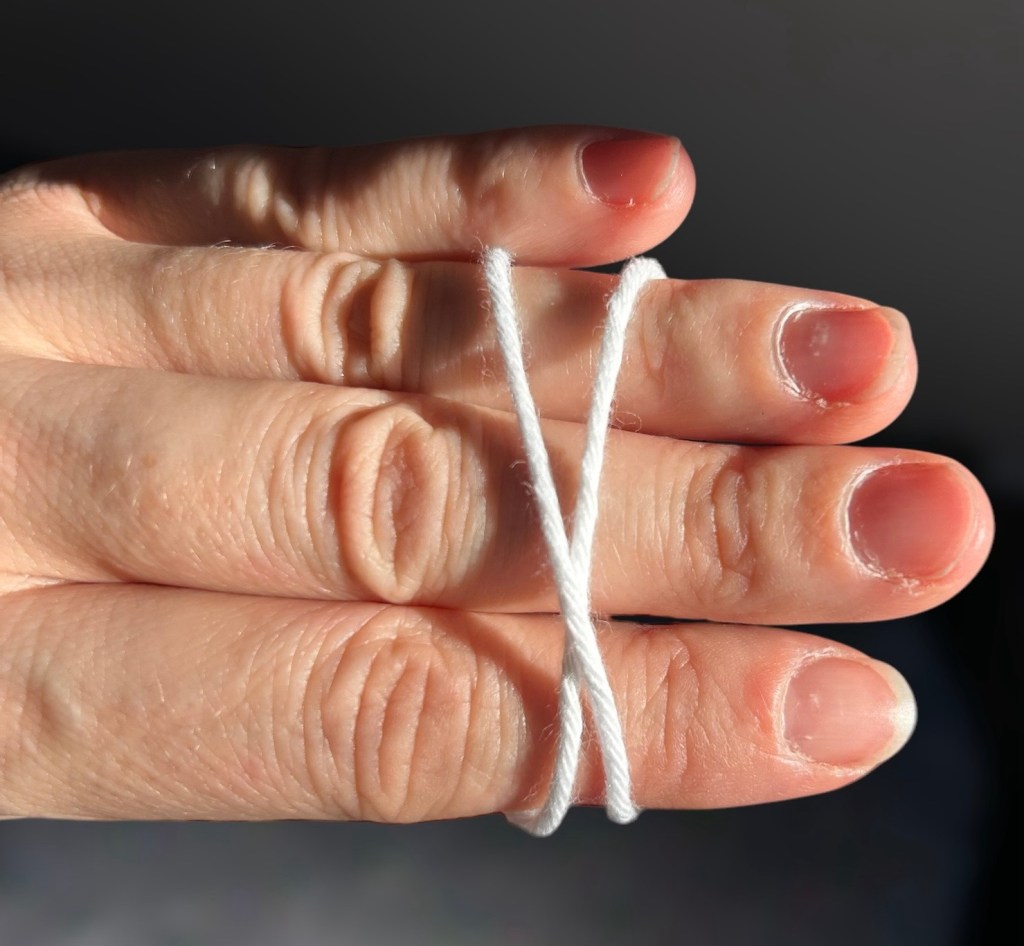
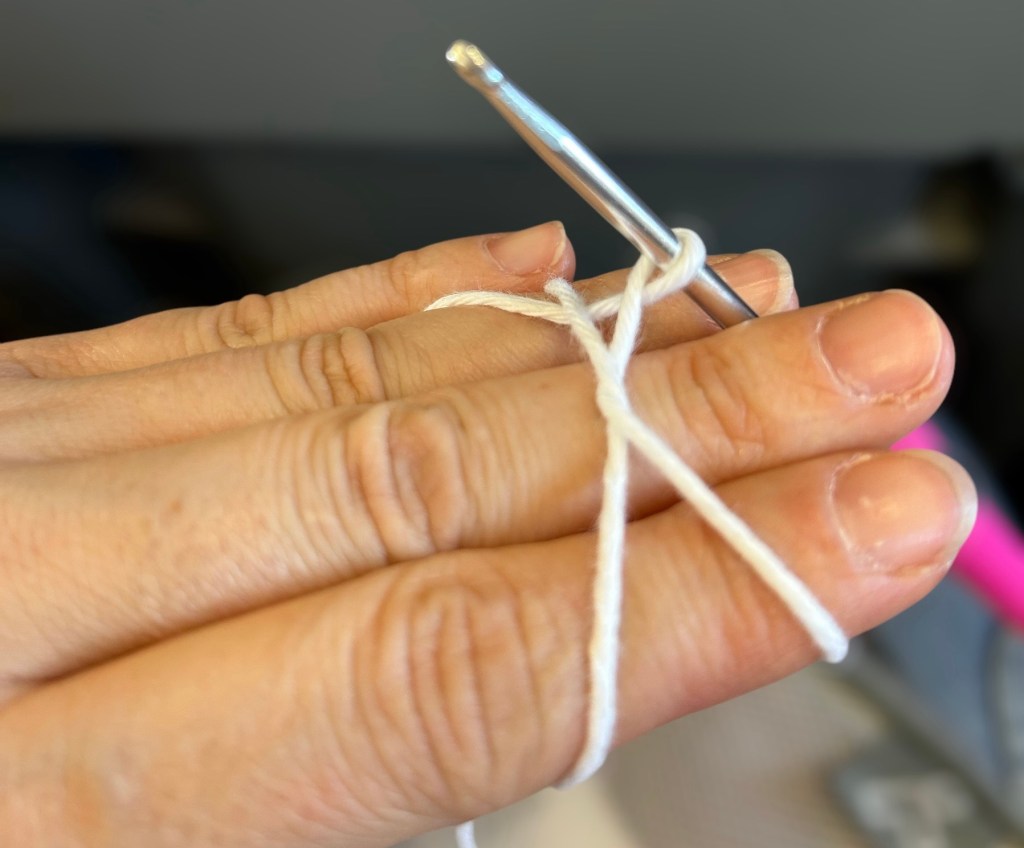
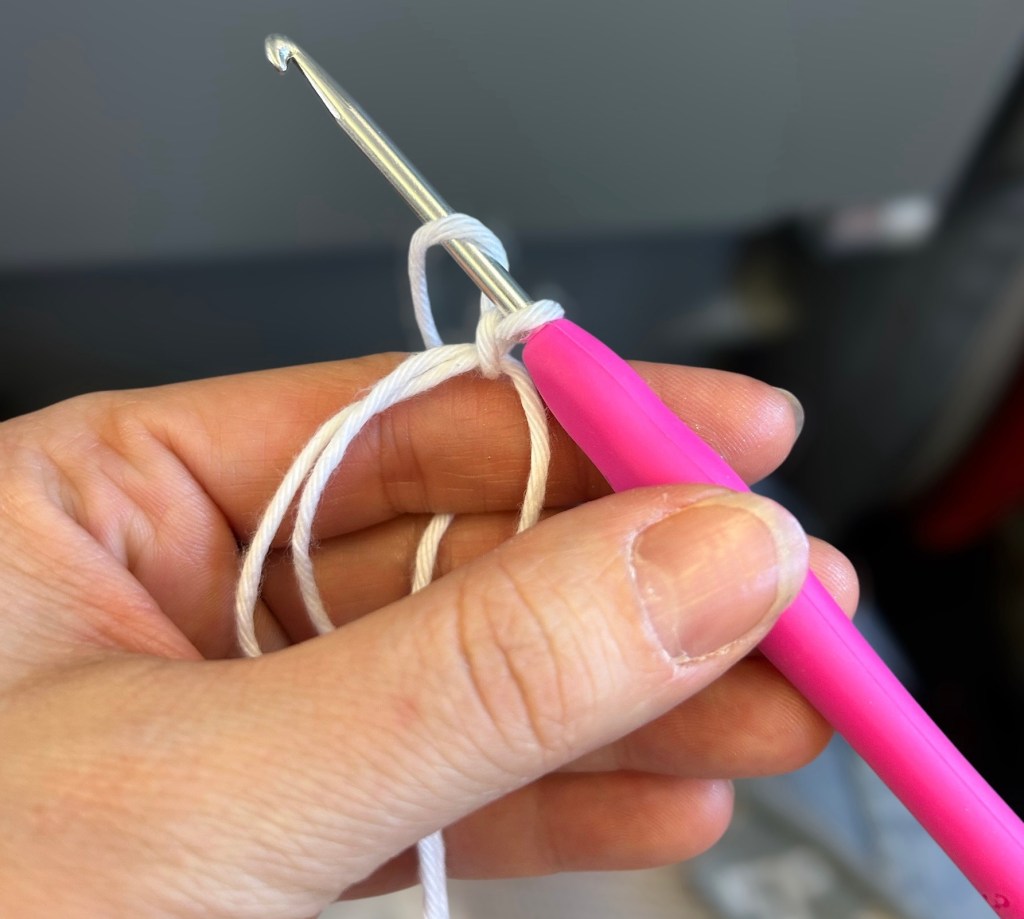
1. Wrap your yarn around three fingers of your non-dominant hand, holding the loose tail of yarn against the underside of your fingers with your thumb and making an x on the top. The top strand of yarn should be the section that leads back to your ball or skein of yarn.
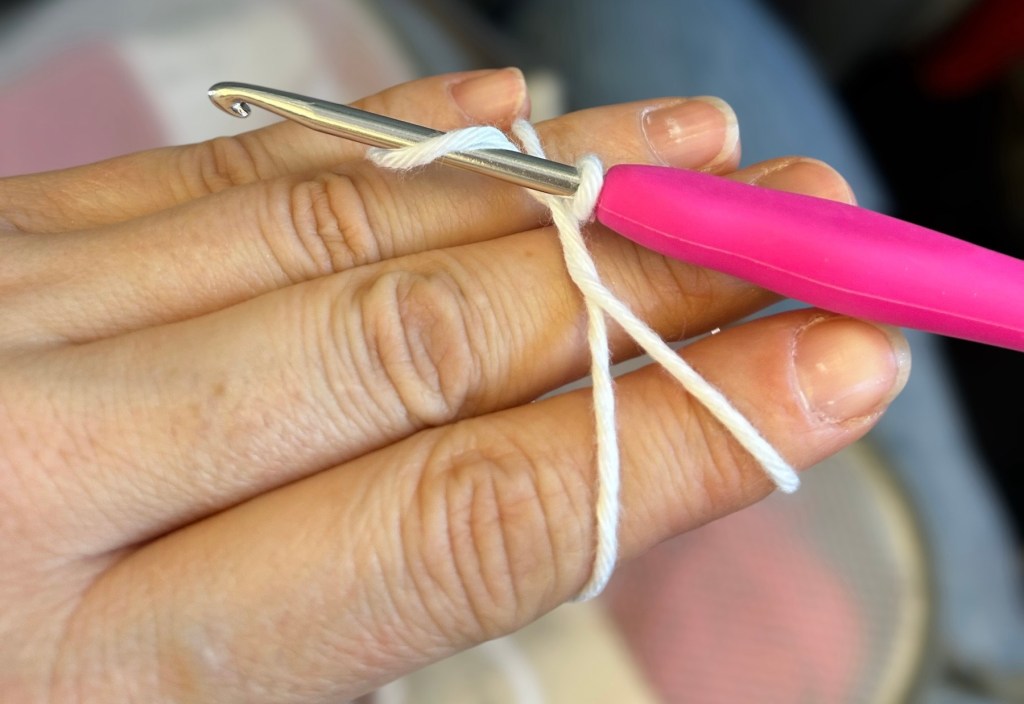
2. With the top of your hook pointing toward the wrist of your non-dominant hand and the actual hook shape facing downward, slide your hook under the strand of yarn above where the x intersects, from the tip of your fingers inward (so if you are right-handed, from right to left, and if you are left-handed, from left to right).

3. Tilt the tip of the hook slightly upward to slide it over the other section of yarn, still above the “x” where the yarn intersects.

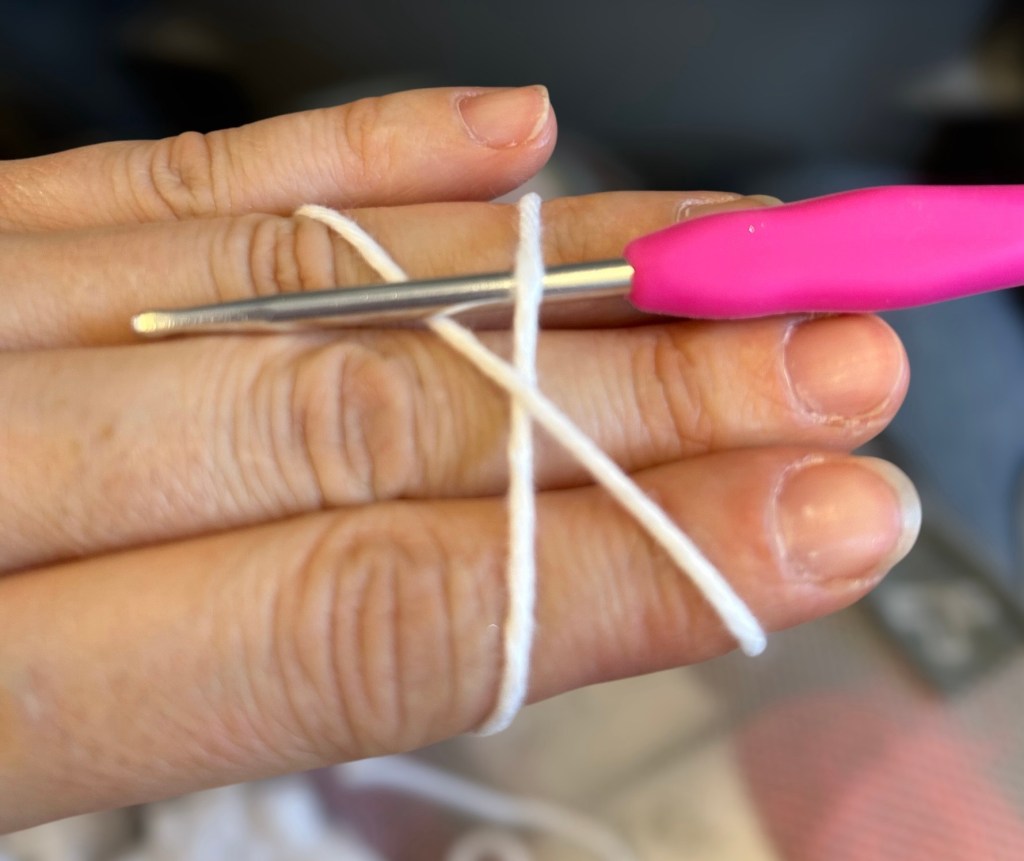
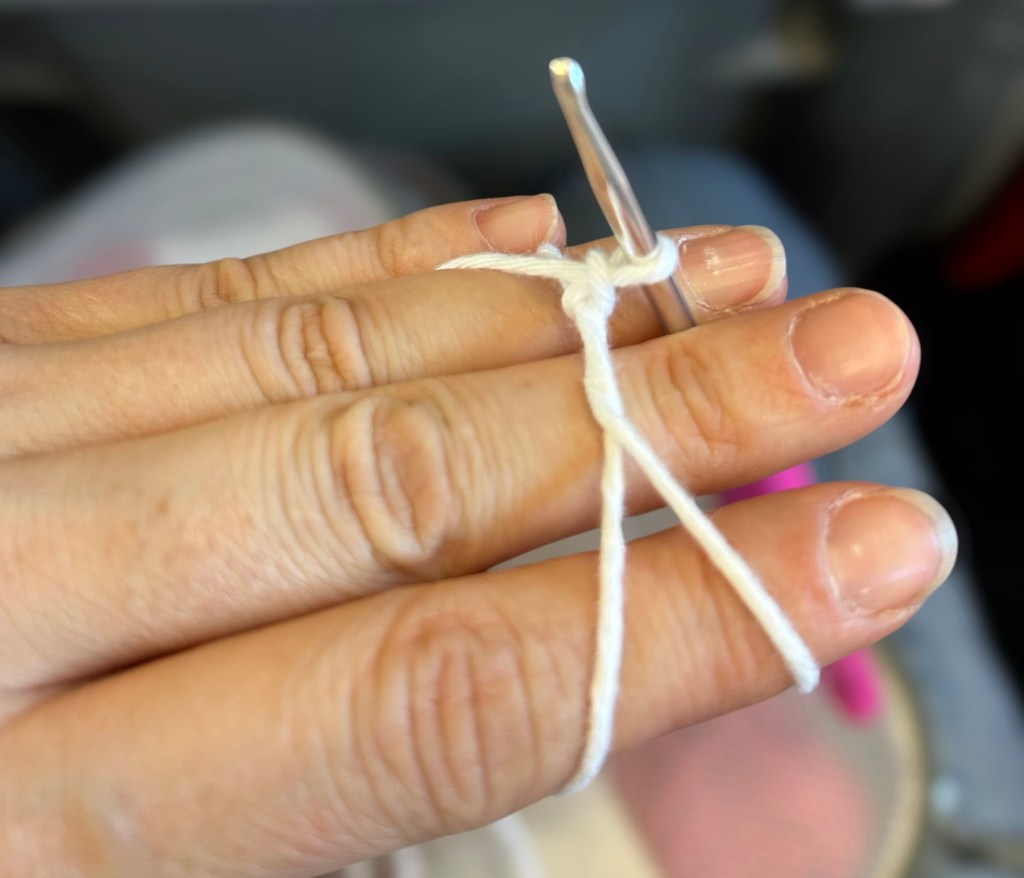
4. Hook the strand of yarn your hook is resting on and pull it under the other strand of yarn. You’ll need to twist the hook to avoid letting the strand of yarn on your hook go. This is the loop you will work your first chain through in the next step.
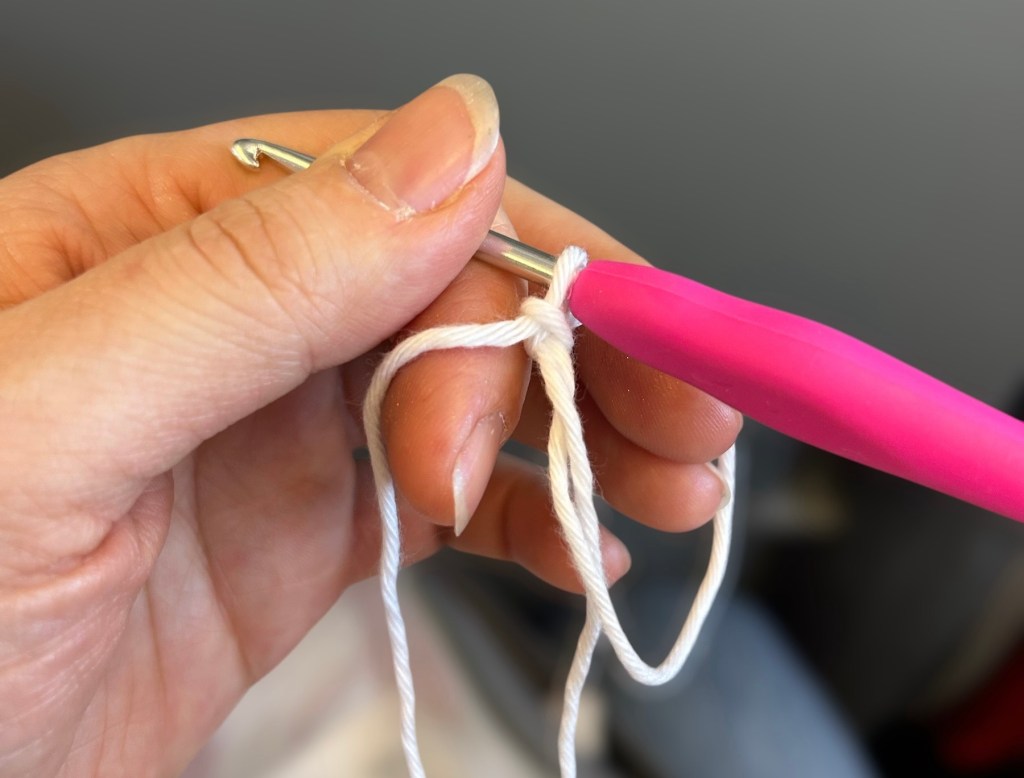
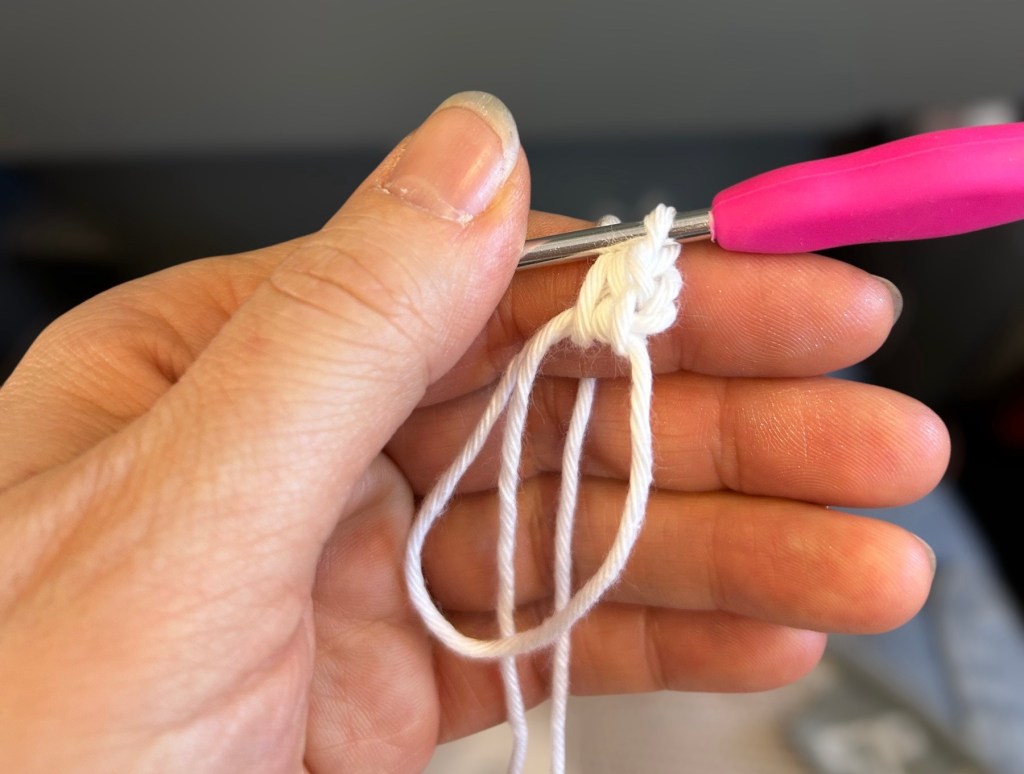
5. Slide your hook over the strand closest to your hand again, hook this strand of yarn again, and pull it through the loop you formed above. This is your starting chain, for gaining height. If your next stitch is a single or half double crochet, this is enough height. If it is a double, repeat this step to create a ch 2 and if it is a triple (treble) crochet stitch, repeat this step a total of three times to create a ch 3 starting chain. You can now gently release the piece from your hand.
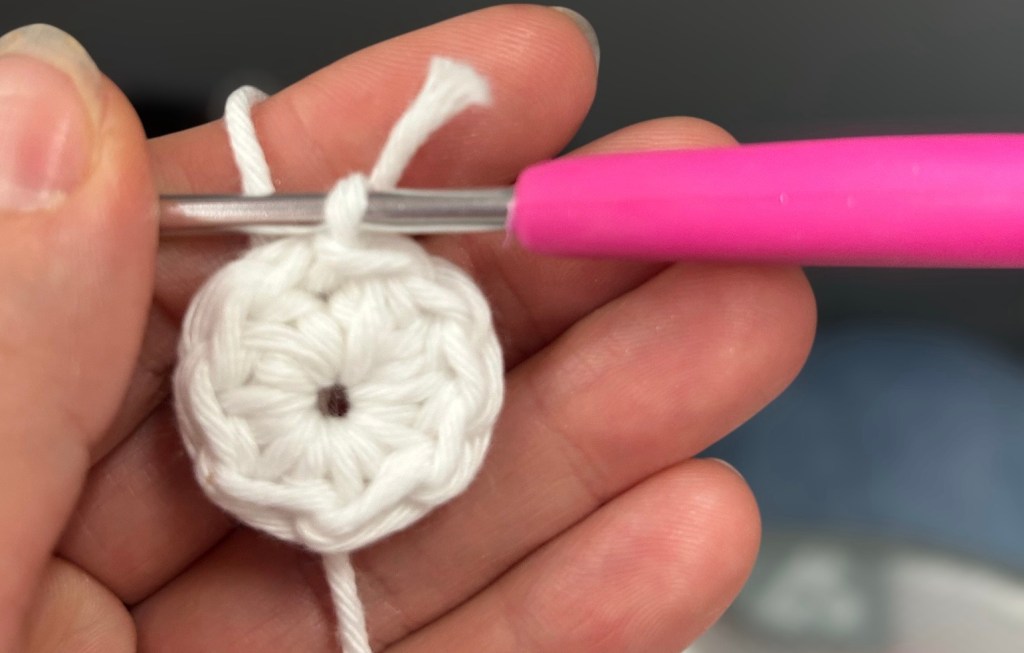
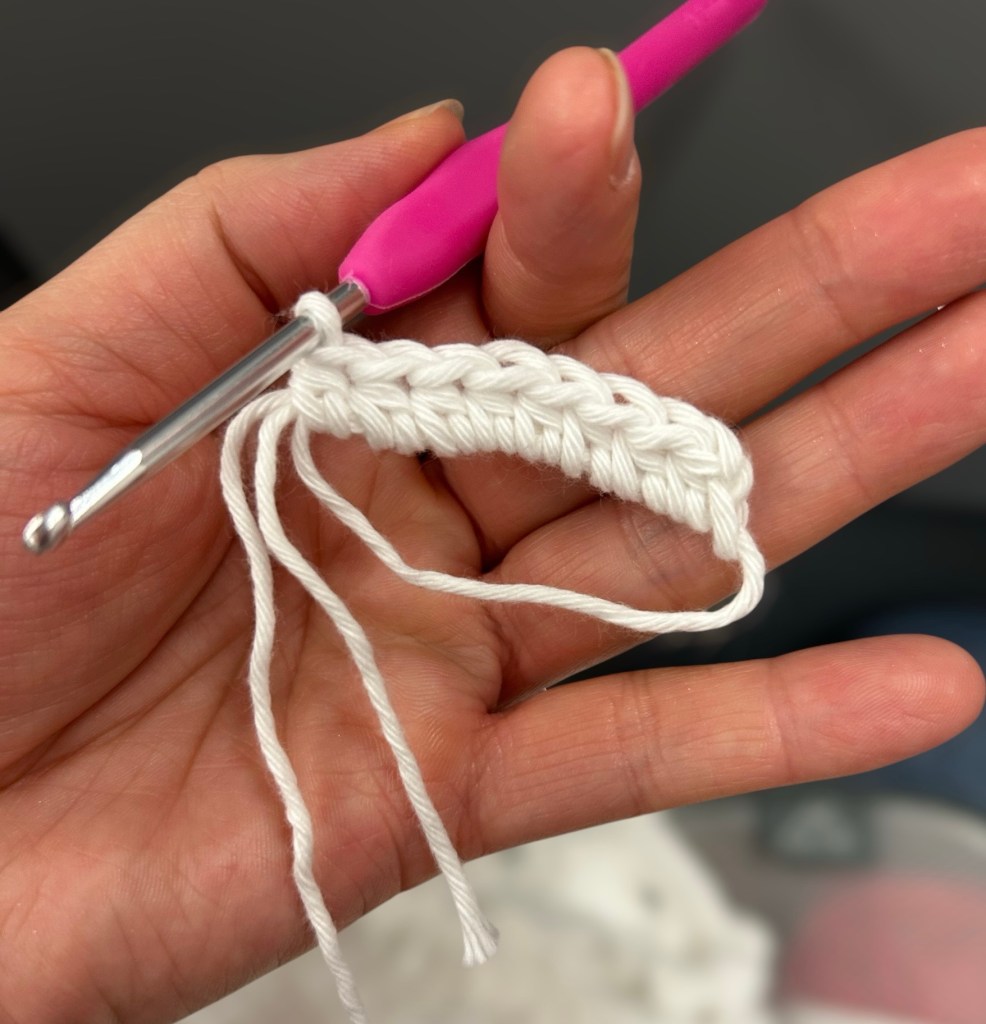
6. You can now work as many stitches as needed into the loop created in the last step, working over the loose yarn tail. Take care that you are working your stitches with the yarn coming from the skein and not the loose yarn tail, which you should be working over. In our case, we will work hdcs into the loop by yarning over, placing our hook through the circle, from front to back, yarning over again, pulling the loop back through the circle, then yarning over again and pulling through all three loops on the hook.
7. Continue working as many stitches into the ring as needed for your pattern. In this tutorial, we work 8 hdc into the loop (ch 1 does not count as a stitch, but if you are working with dc or tr, ch 2 and ch 3 do count as first stitch, unless your pattern indicates otherwise).
8. Once you’ve finished the stitches needed for this round, pull the loose tail to close the ring. You should pull it as tightly as your yarn will allow.
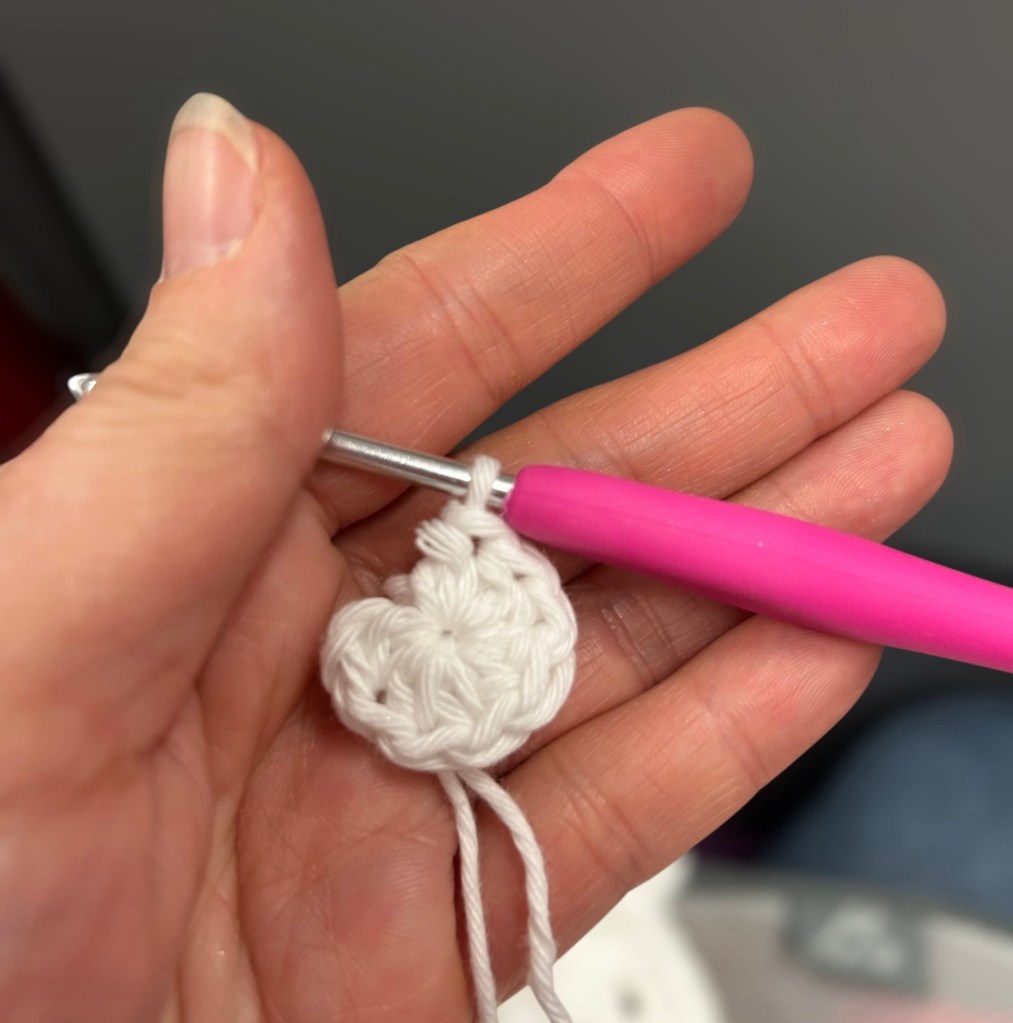
9. Once you’ve pulled the ring tight, join. If you are working with sc or hdc, join with a slip stitch to the first sc or hdc, skipping over your starting ch 1. If you are working with dc or tr, join to the top of your dc or tr, unless your pattern indicates otherwise.
You have completed your first round! To learn more about working in the round, see my next tutorial on creating a flat circle.
Tutorial video
Please let me know what you think of these tutorials, if the videos are helpful, and any questions you have!


Leave a comment